How to Upscale an Image to Higher Resolution
A visual, step-by-step guide to upscaling images ×2 or ×4 with AI — more pixels and sharper detail, not blur. Batch up to 3 photos, PNG output.
Upscale your photos nowEnlarging a photo the ordinary way just stretches what is already there: four times the pixels, four times the blur. Upscaling is different — an AI model reconstructs edges and texture as it enlarges, so the result genuinely looks sharper at the new size. This guide shows you how to do it with AmiIMG's image upscaler. Pick ×2 for everyday enlargements or ×4 for low-resolution and old photos, queue up to 3 images at once, and get PNGs back at full new resolution.
Upscaling images, step by step
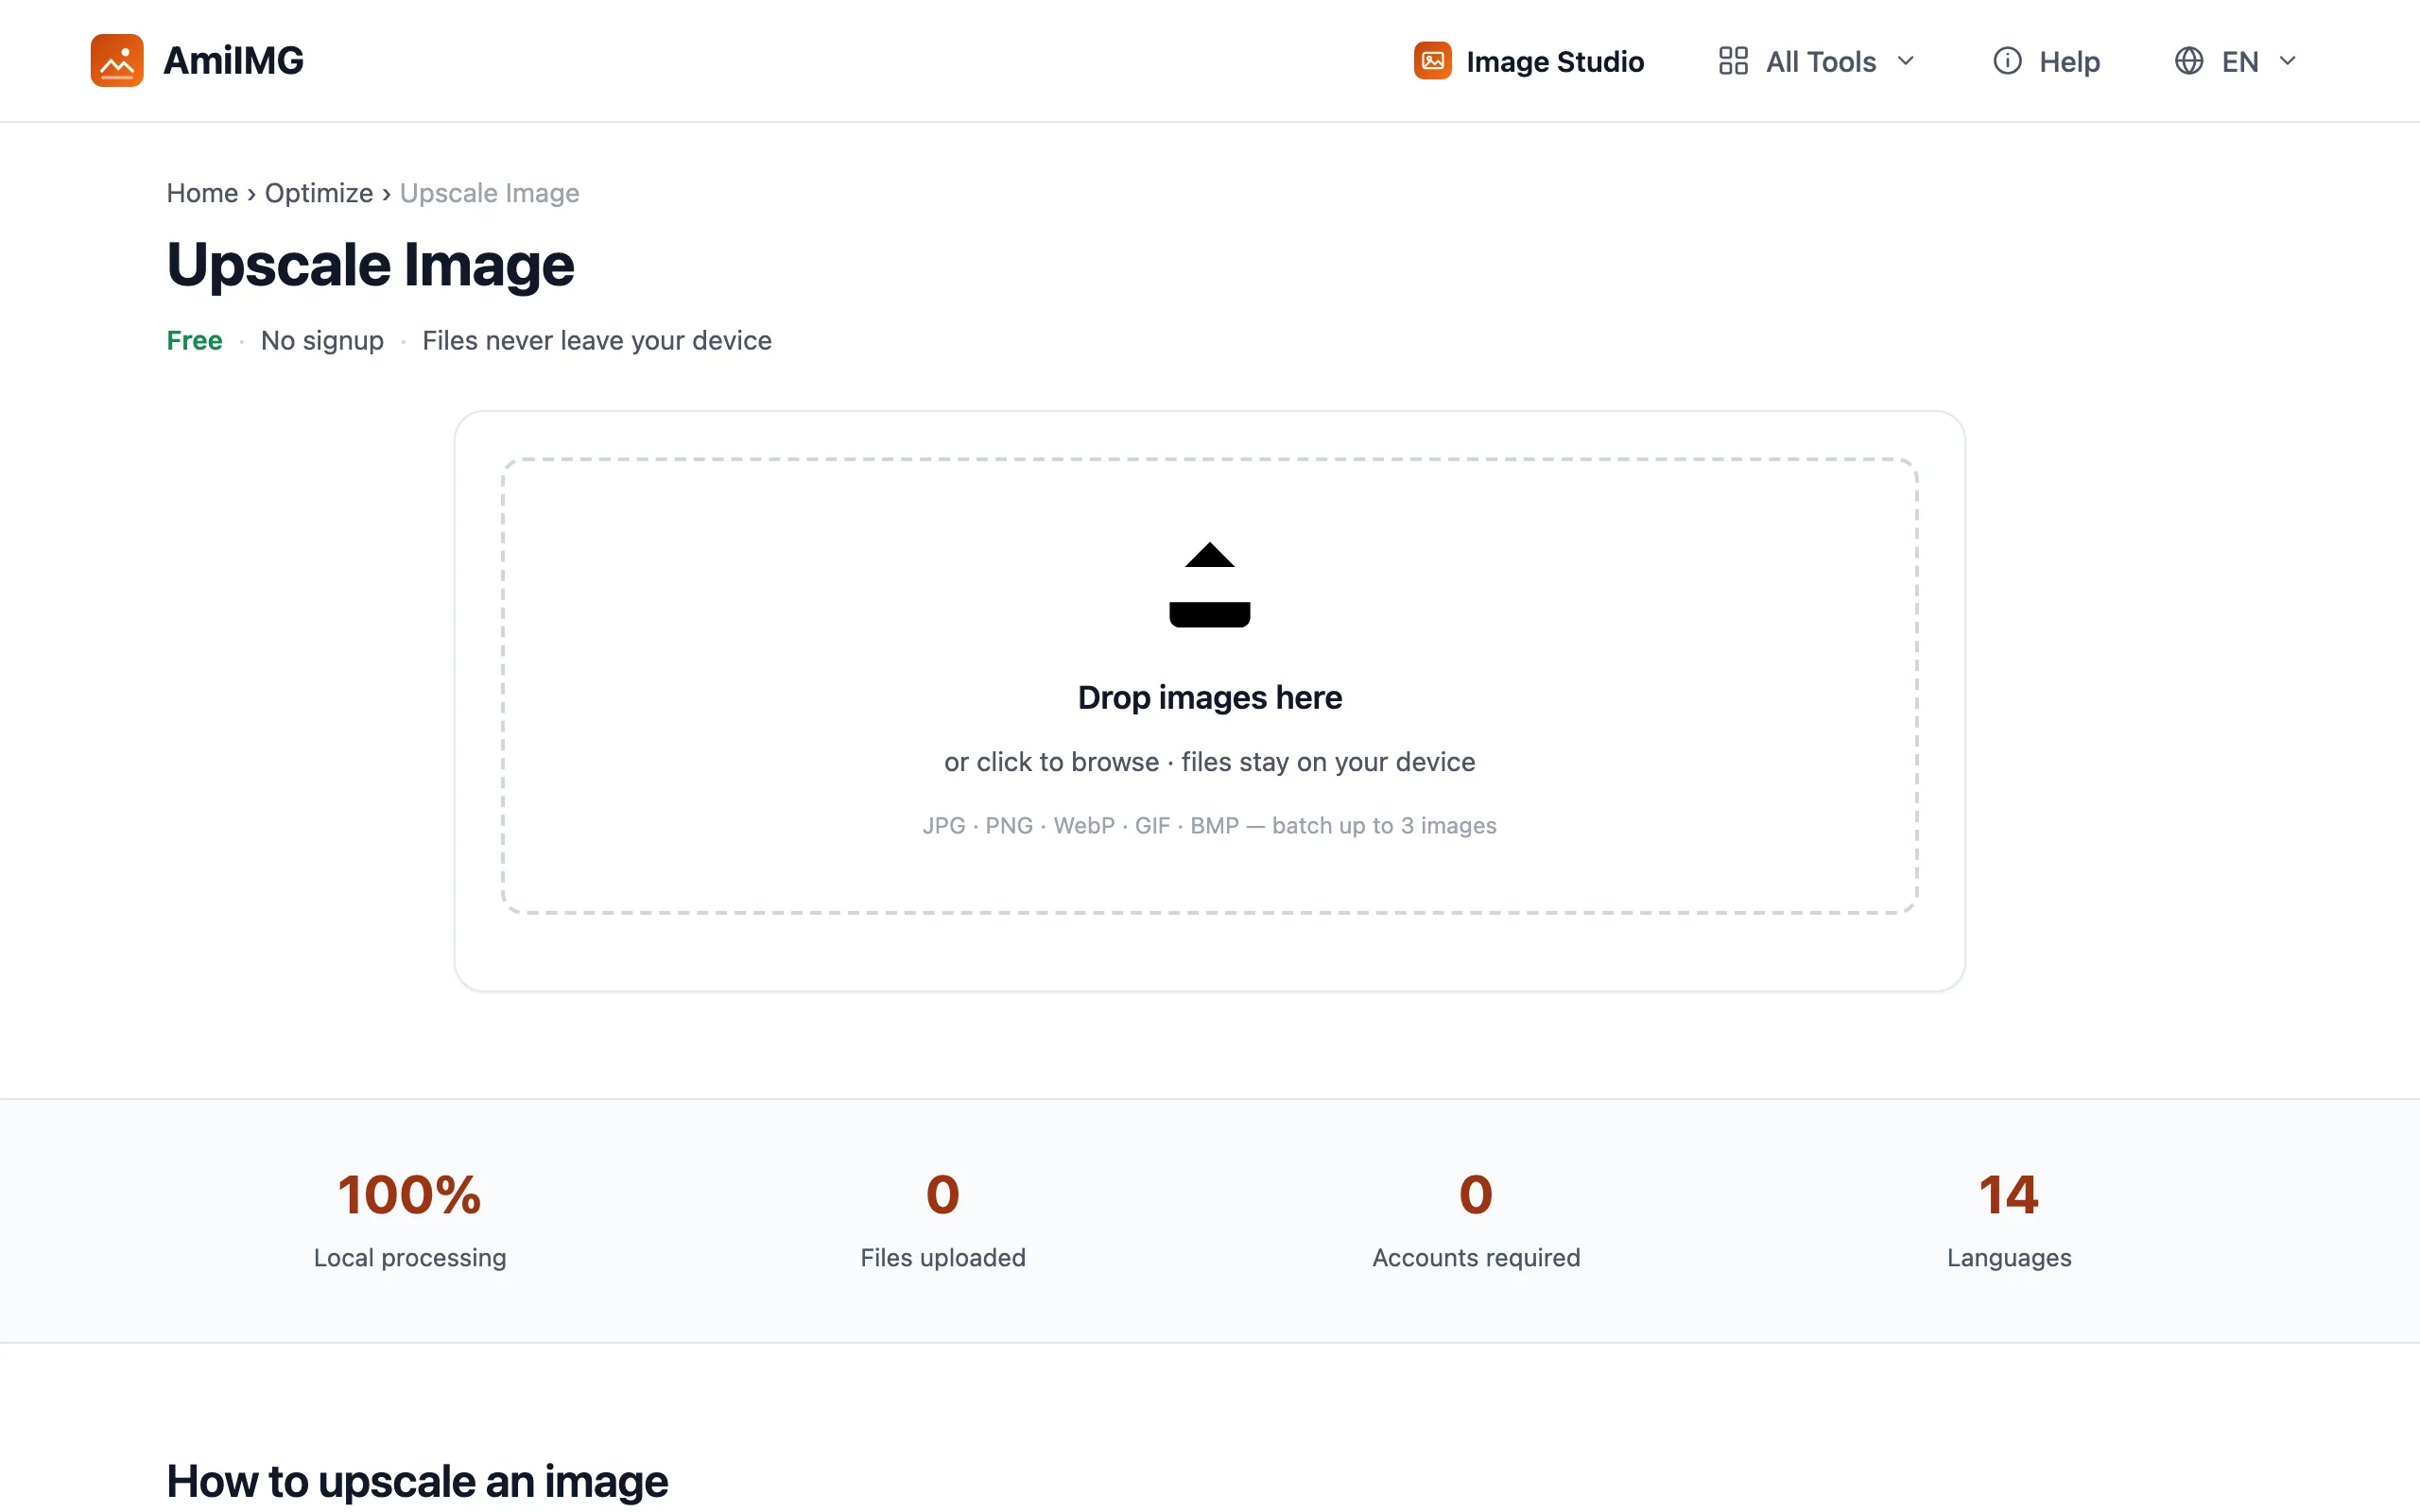
Open the upscaler and add your photos
Go to the AmiIMG image upscaler and drag in up to 3 JPG, PNG, WebP, GIF, or BMP files. Upscaling is compute-heavy, which is why the batch is smaller than other AmiIMG tools — each photo gets full AI processing rather than a quick resize.
Choose ×2 or ×4
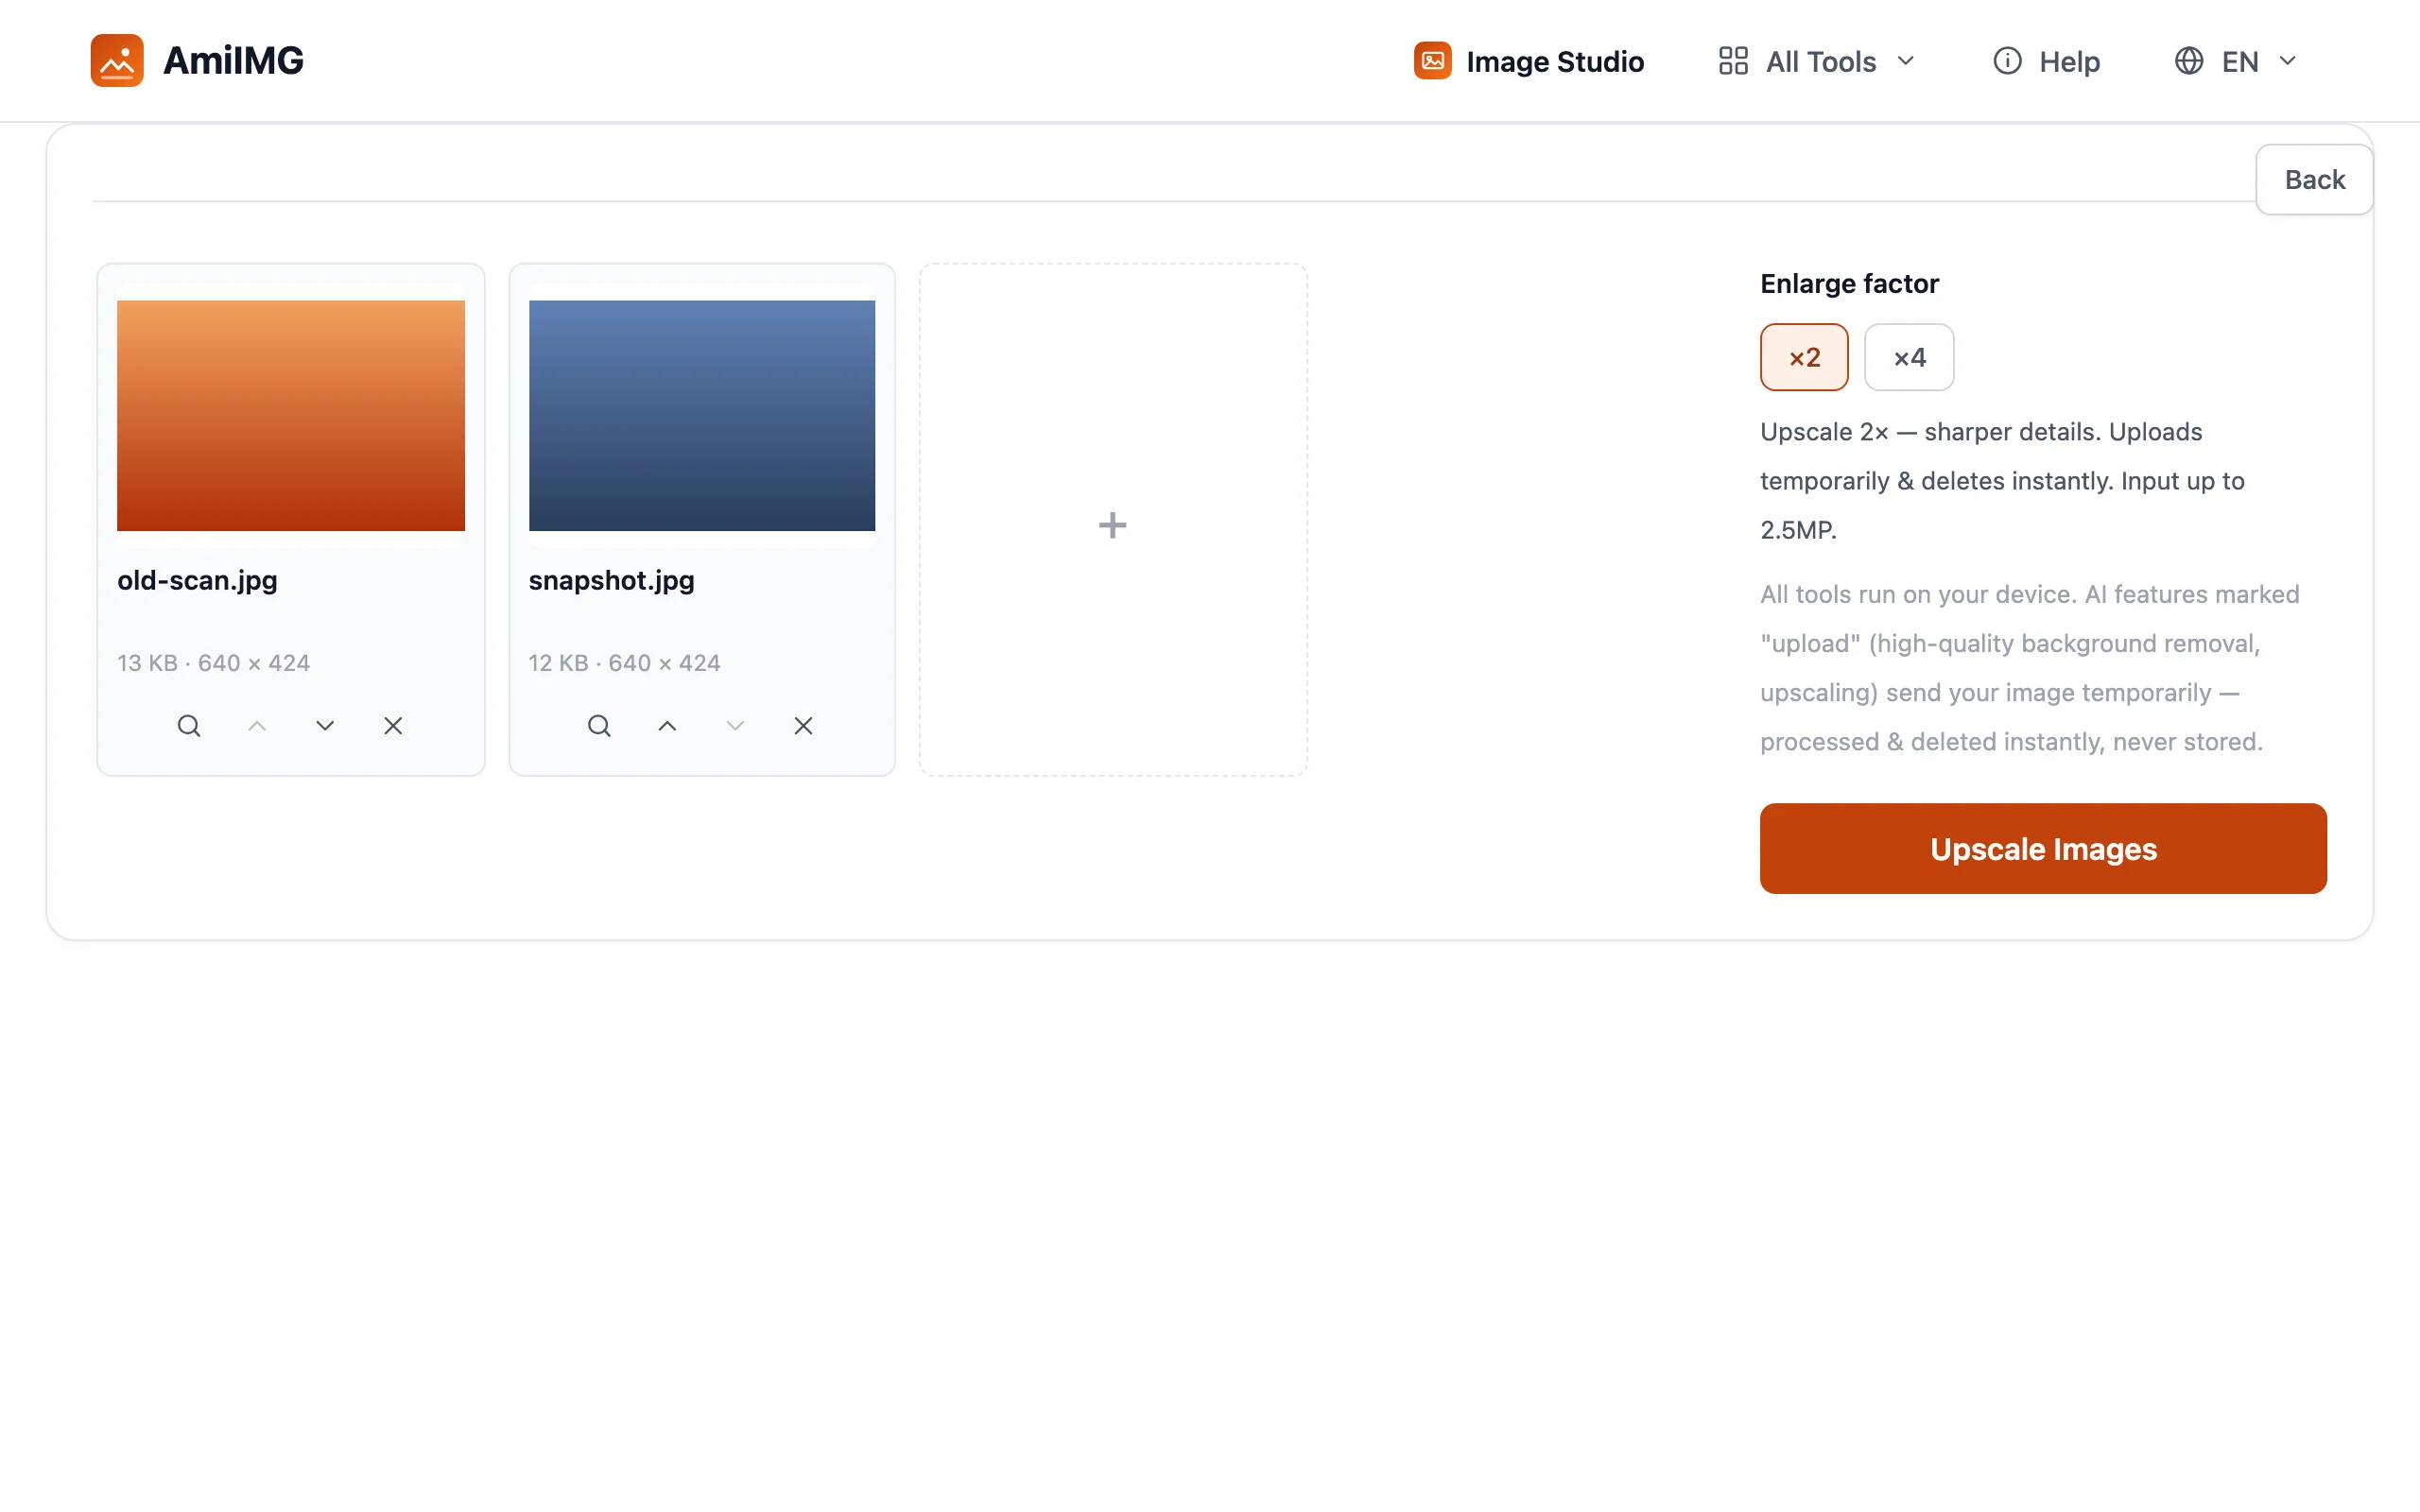
Under Enlarge factor, pick ×2 to double width and height — a 1600 × 1200 photo becomes 3200 × 2400 — or ×4 for quadrupling, aimed at low-resolution and old photos. Input size limits protect the output: photos up to 2.5 megapixels can use ×2, while ×4 accepts up to 1 megapixel, keeping the largest results within what browsers and editors handle reliably.
Upscale and watch the progress
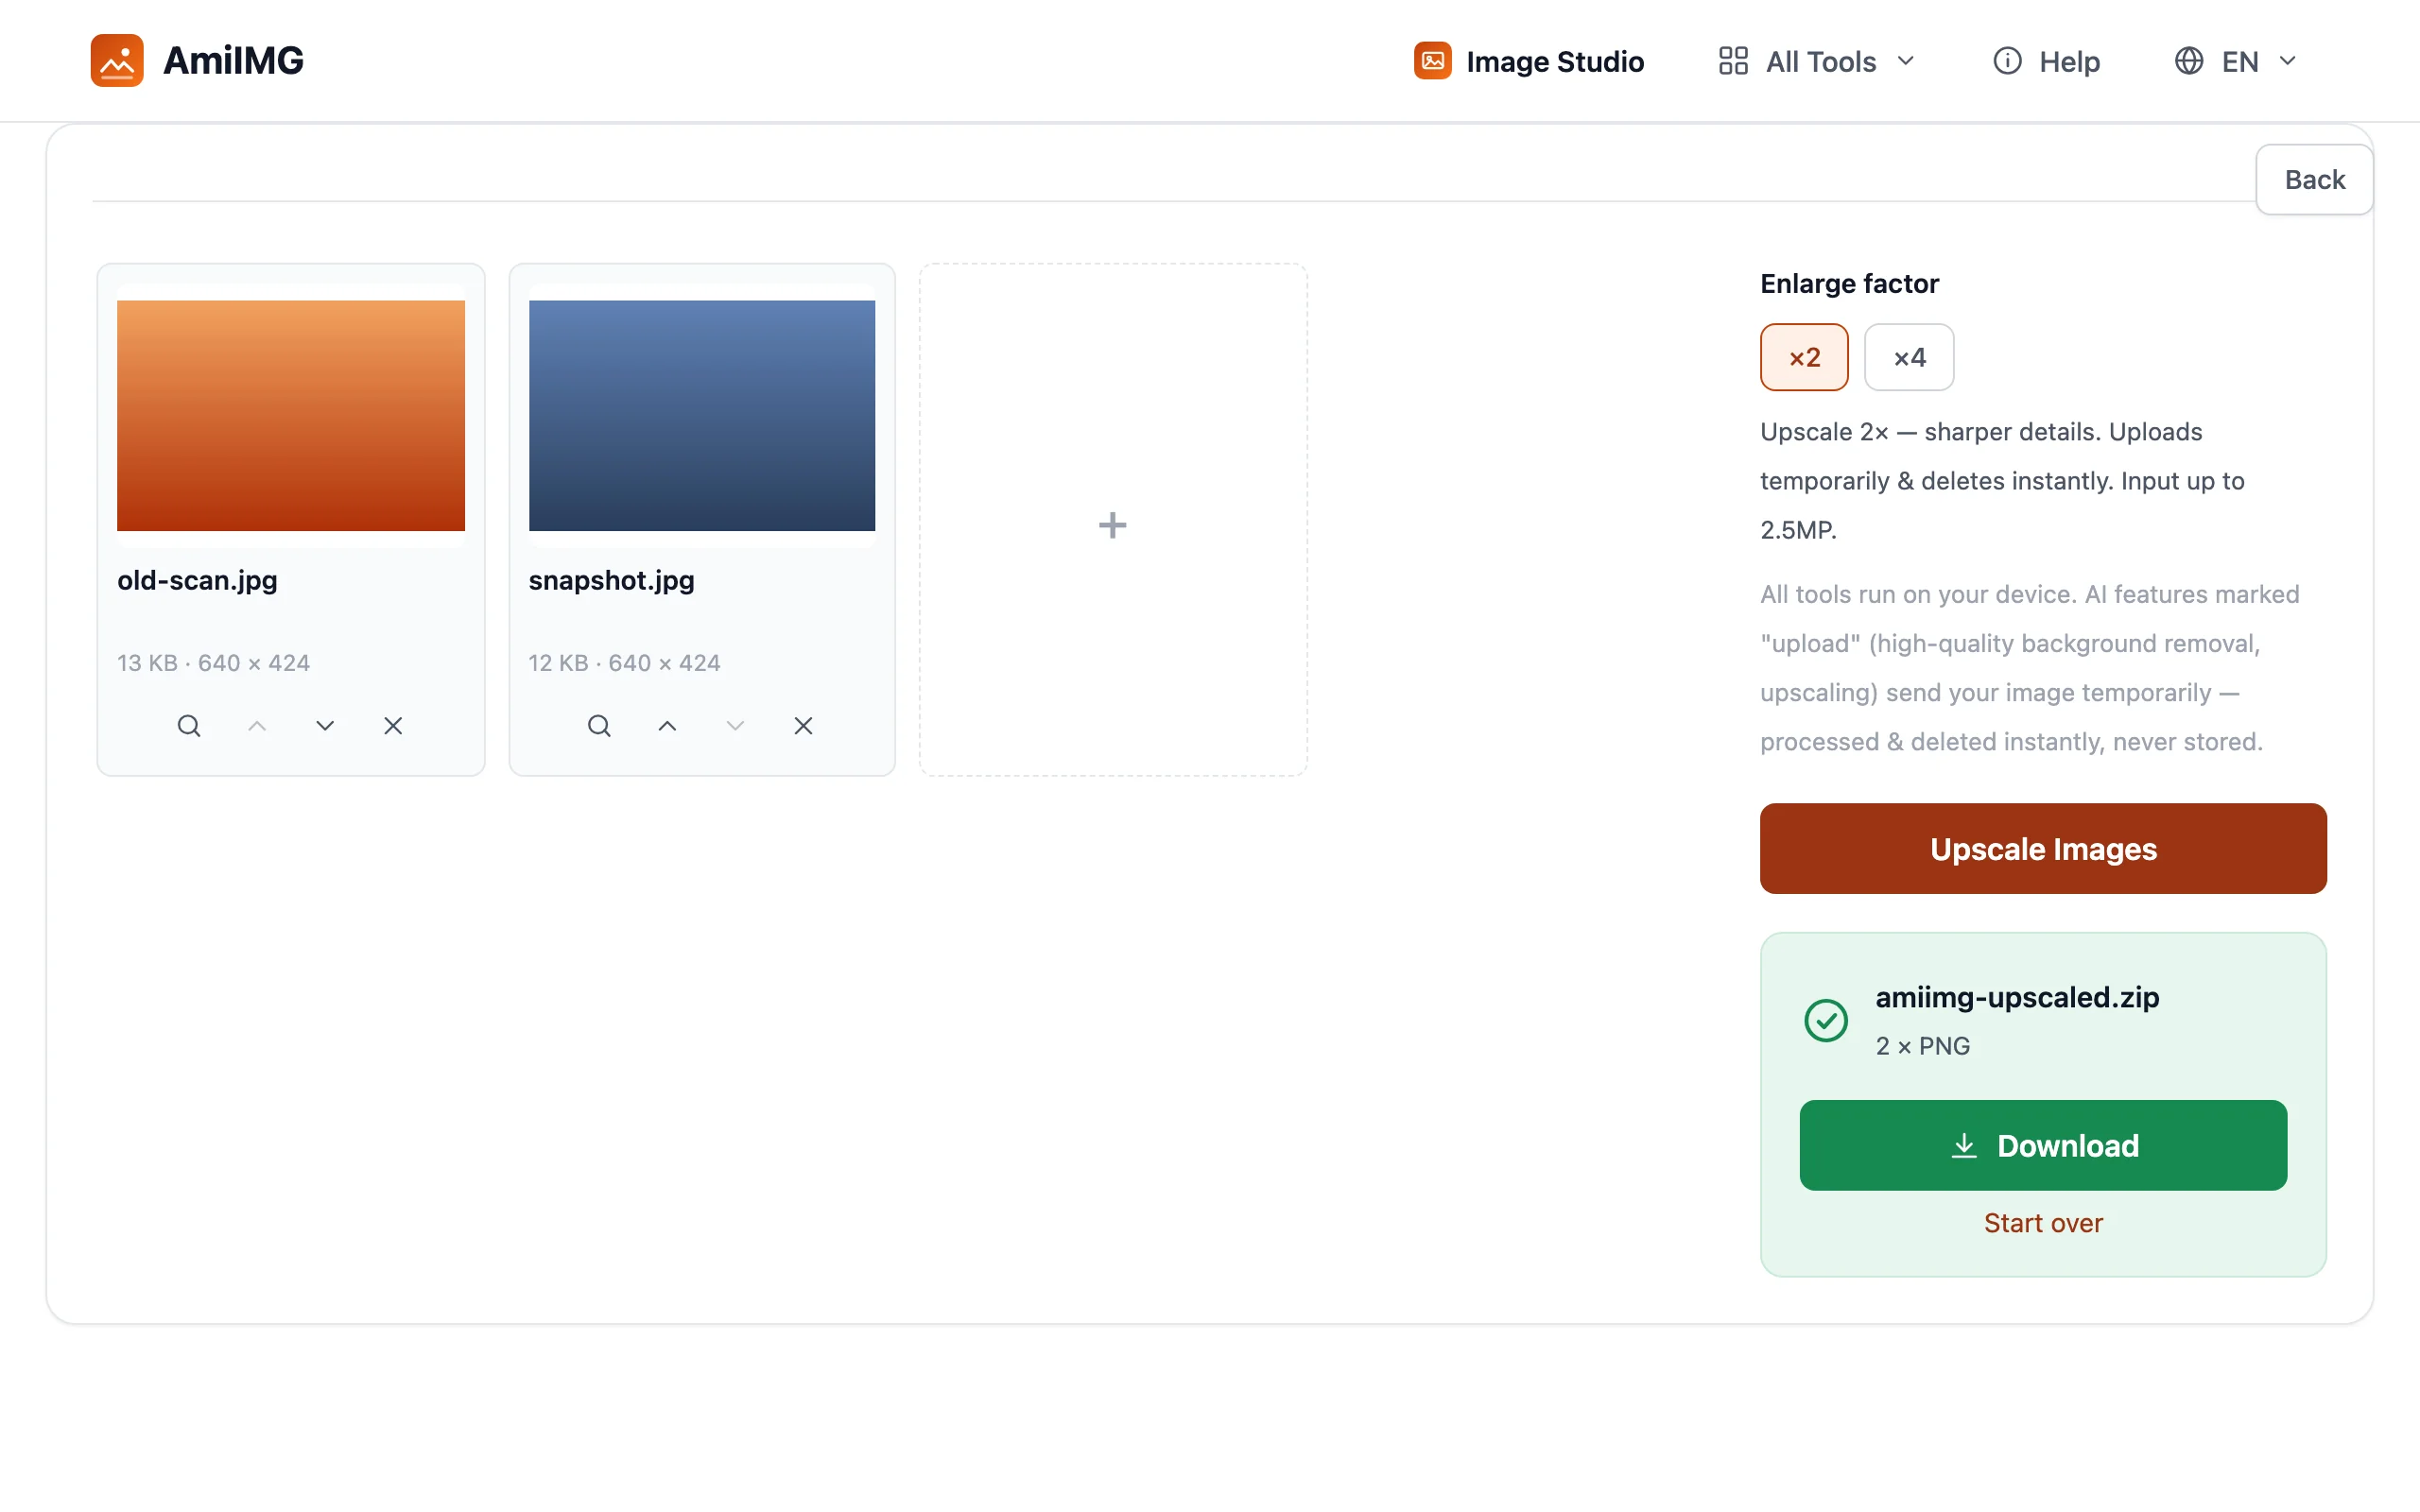
Hit the Upscale Images button. Processing runs on the server — each photo is uploaded temporarily and deleted the instant it finishes. The progress bar and time estimate update per photo, so you always know how much of the batch is left.
Download your enlarged PNGs
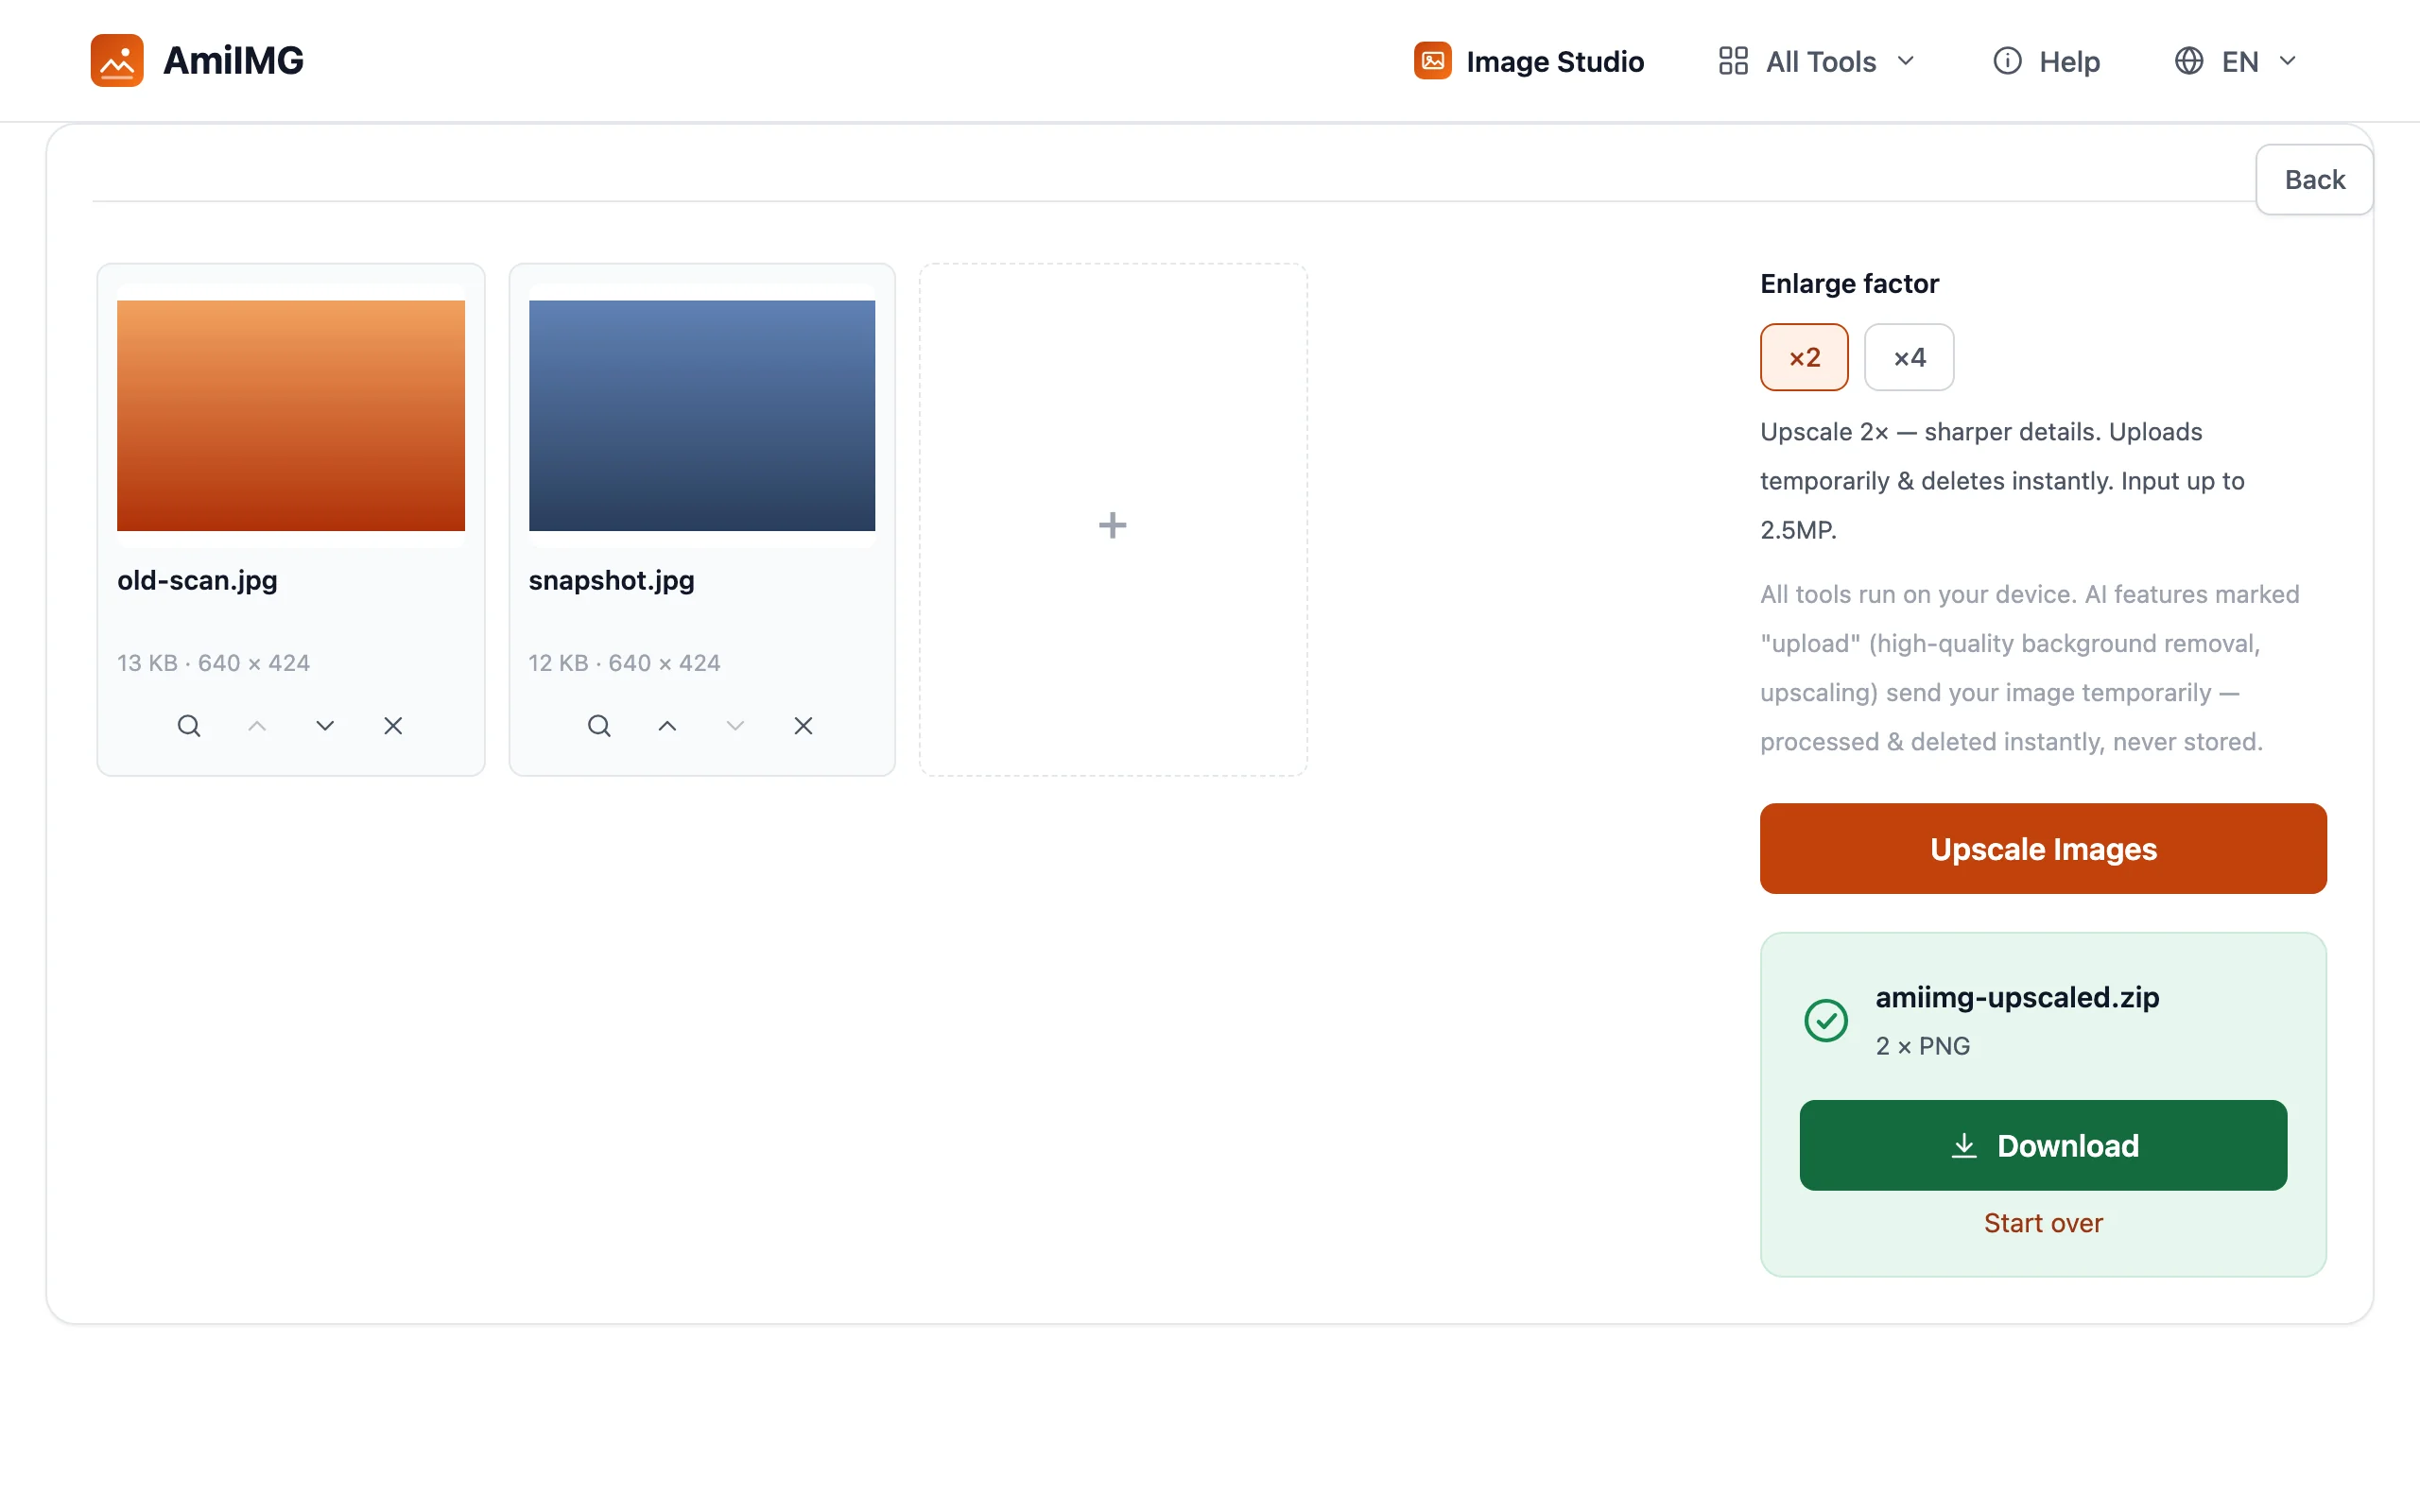
Save photos one by one or as a single ZIP. Every result is a PNG at the full new resolution — no recompression artifacts on top of the AI output — with names that match the originals so nothing gets mixed up.
Getting the best results
Which factor should you pick?
×2 is the everyday choice: a solid size jump with minimal risk of artifacts. Reserve ×4 for genuinely low-resolution sources — old scans, early phone photos, thumbnails — where the AI has the most to reconstruct. Upscaling an already-large photo mostly wastes processing.
Start from the best original you have
AI reconstruction fills in detail, it does not invent what was never captured. A clean, in-focus input yields a crisp enlargement; a blurry or heavily compressed input still improves, but never turns into a studio shot.
Size it for the destination
Do the print or layout math first. A ×2 result quadruples total pixels — a 2-megapixel photo lands at 8 megapixels, comfortably above 300 DPI for a 6-inch print. If you only need smaller web dimensions, the resizer is instant and runs on your device.
Frequently asked questions
Are my photos uploaded for upscaling?
Yes — upscaling needs server-side AI. Each photo is uploaded temporarily and deleted immediately after processing. Nothing is stored, and there is no signup.
Why does ×4 accept smaller photos than ×2?
×4 quadruples both dimensions, so the output can grow 16-fold. The 1-megapixel input cap keeps results within the size range browsers and image editors handle reliably; ×2 allows inputs up to 2.5 megapixels.
Can I upscale more than 3 photos?
The queue holds 3 photos per batch because each one gets full AI processing. Finish a batch and start another — there is no daily or total limit.