How to Remove the Background From an Image
A visual, step-by-step guide to removing image backgrounds and getting transparent PNGs — batch up to 50 photos, pick on-device standard or hair-level high quality.
Remove backgrounds nowCutouts used to mean hours with the lasso tool, or a green screen and a photo editor. Today the whole job is one click: an AI model finds your subject, erases everything behind it, and hands you a transparent PNG that drops straight into any design, presentation, or storefront. This guide shows you how to do it with AmiIMG's background remover. You can queue up to 50 JPG, PNG, WebP, GIF, or BMP files at once, pick between two cutout engines, and never sign up for anything.
Removing backgrounds, step by step
Open the tool and add your photos
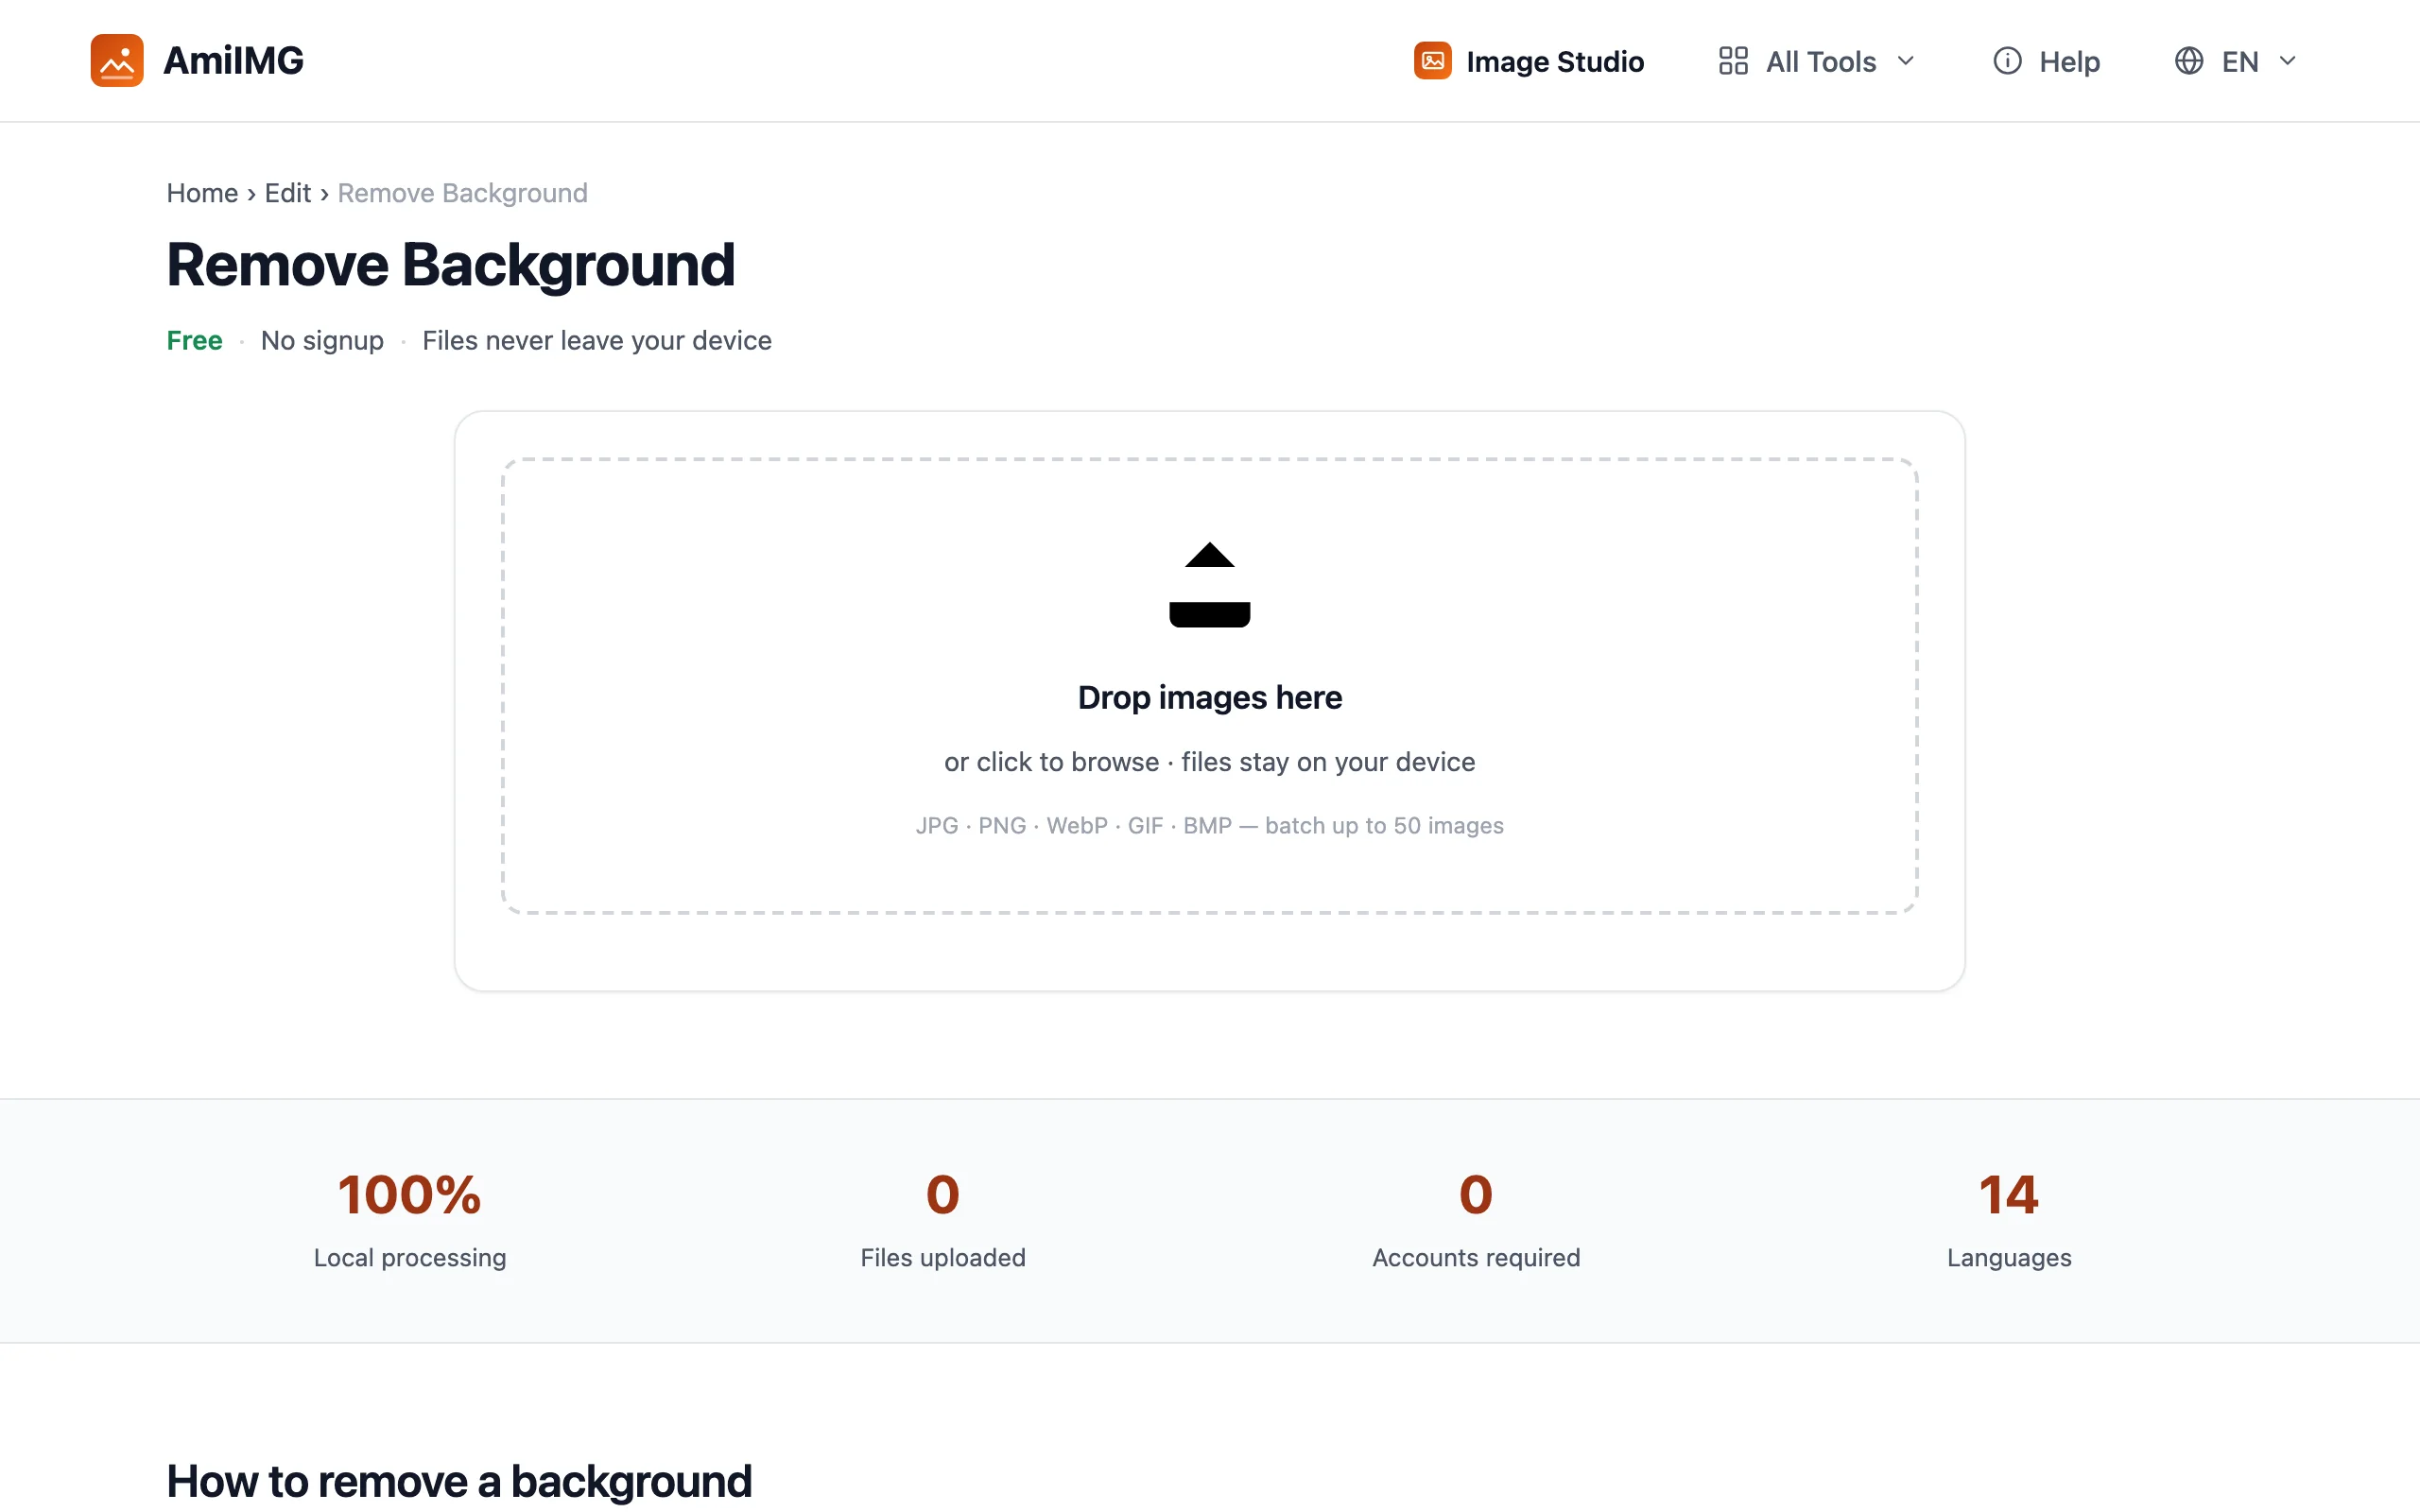
Go to the AmiIMG background remover and drag your photos onto the drop zone — or click it to browse your device. Up to 50 images can go in one batch, and formats can be mixed freely. Nothing happens until you press the button, so you can review the queue before anything is processed.
Choose the cutout quality
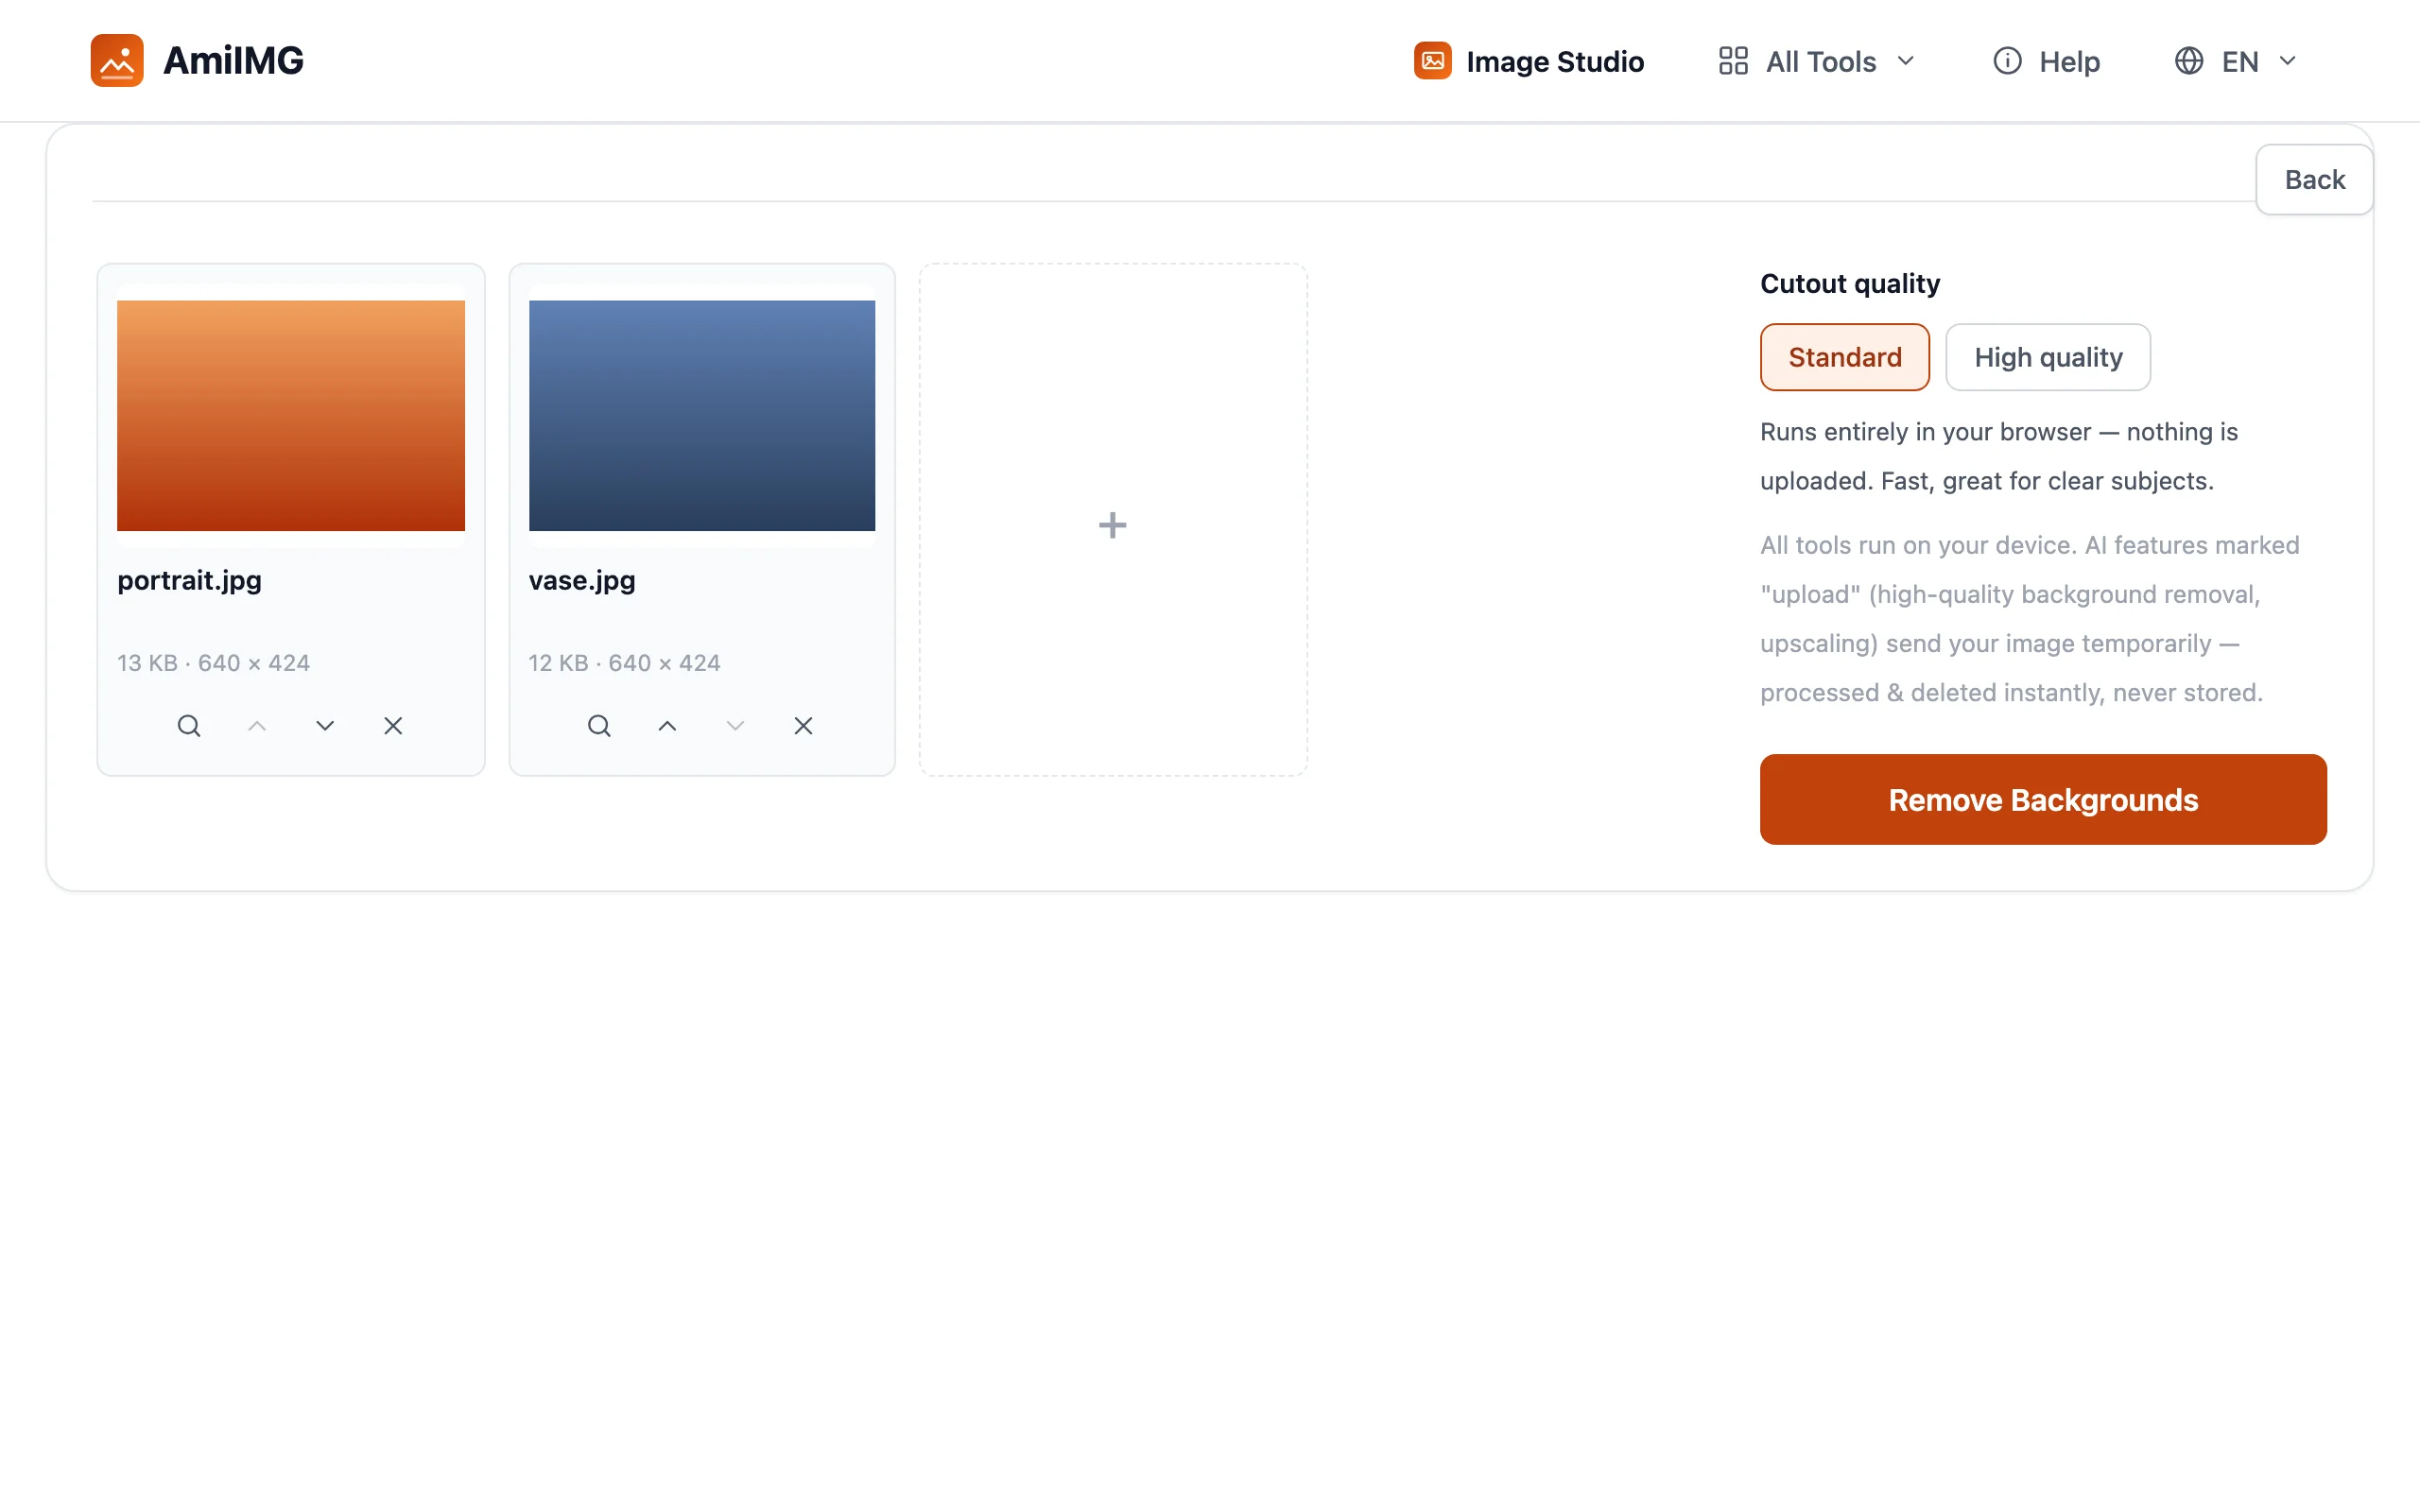
Two engines are available under Cutout quality. Standard runs entirely in your browser — nothing is uploaded, and it is fast and reliable for photos with a clear subject. High quality sends the photo to a stronger model that resolves hair-level edges; the file is processed and deleted instantly, never stored. For portraits, pets, and flyaway hair, High quality is worth the extra seconds.
Remove the backgrounds
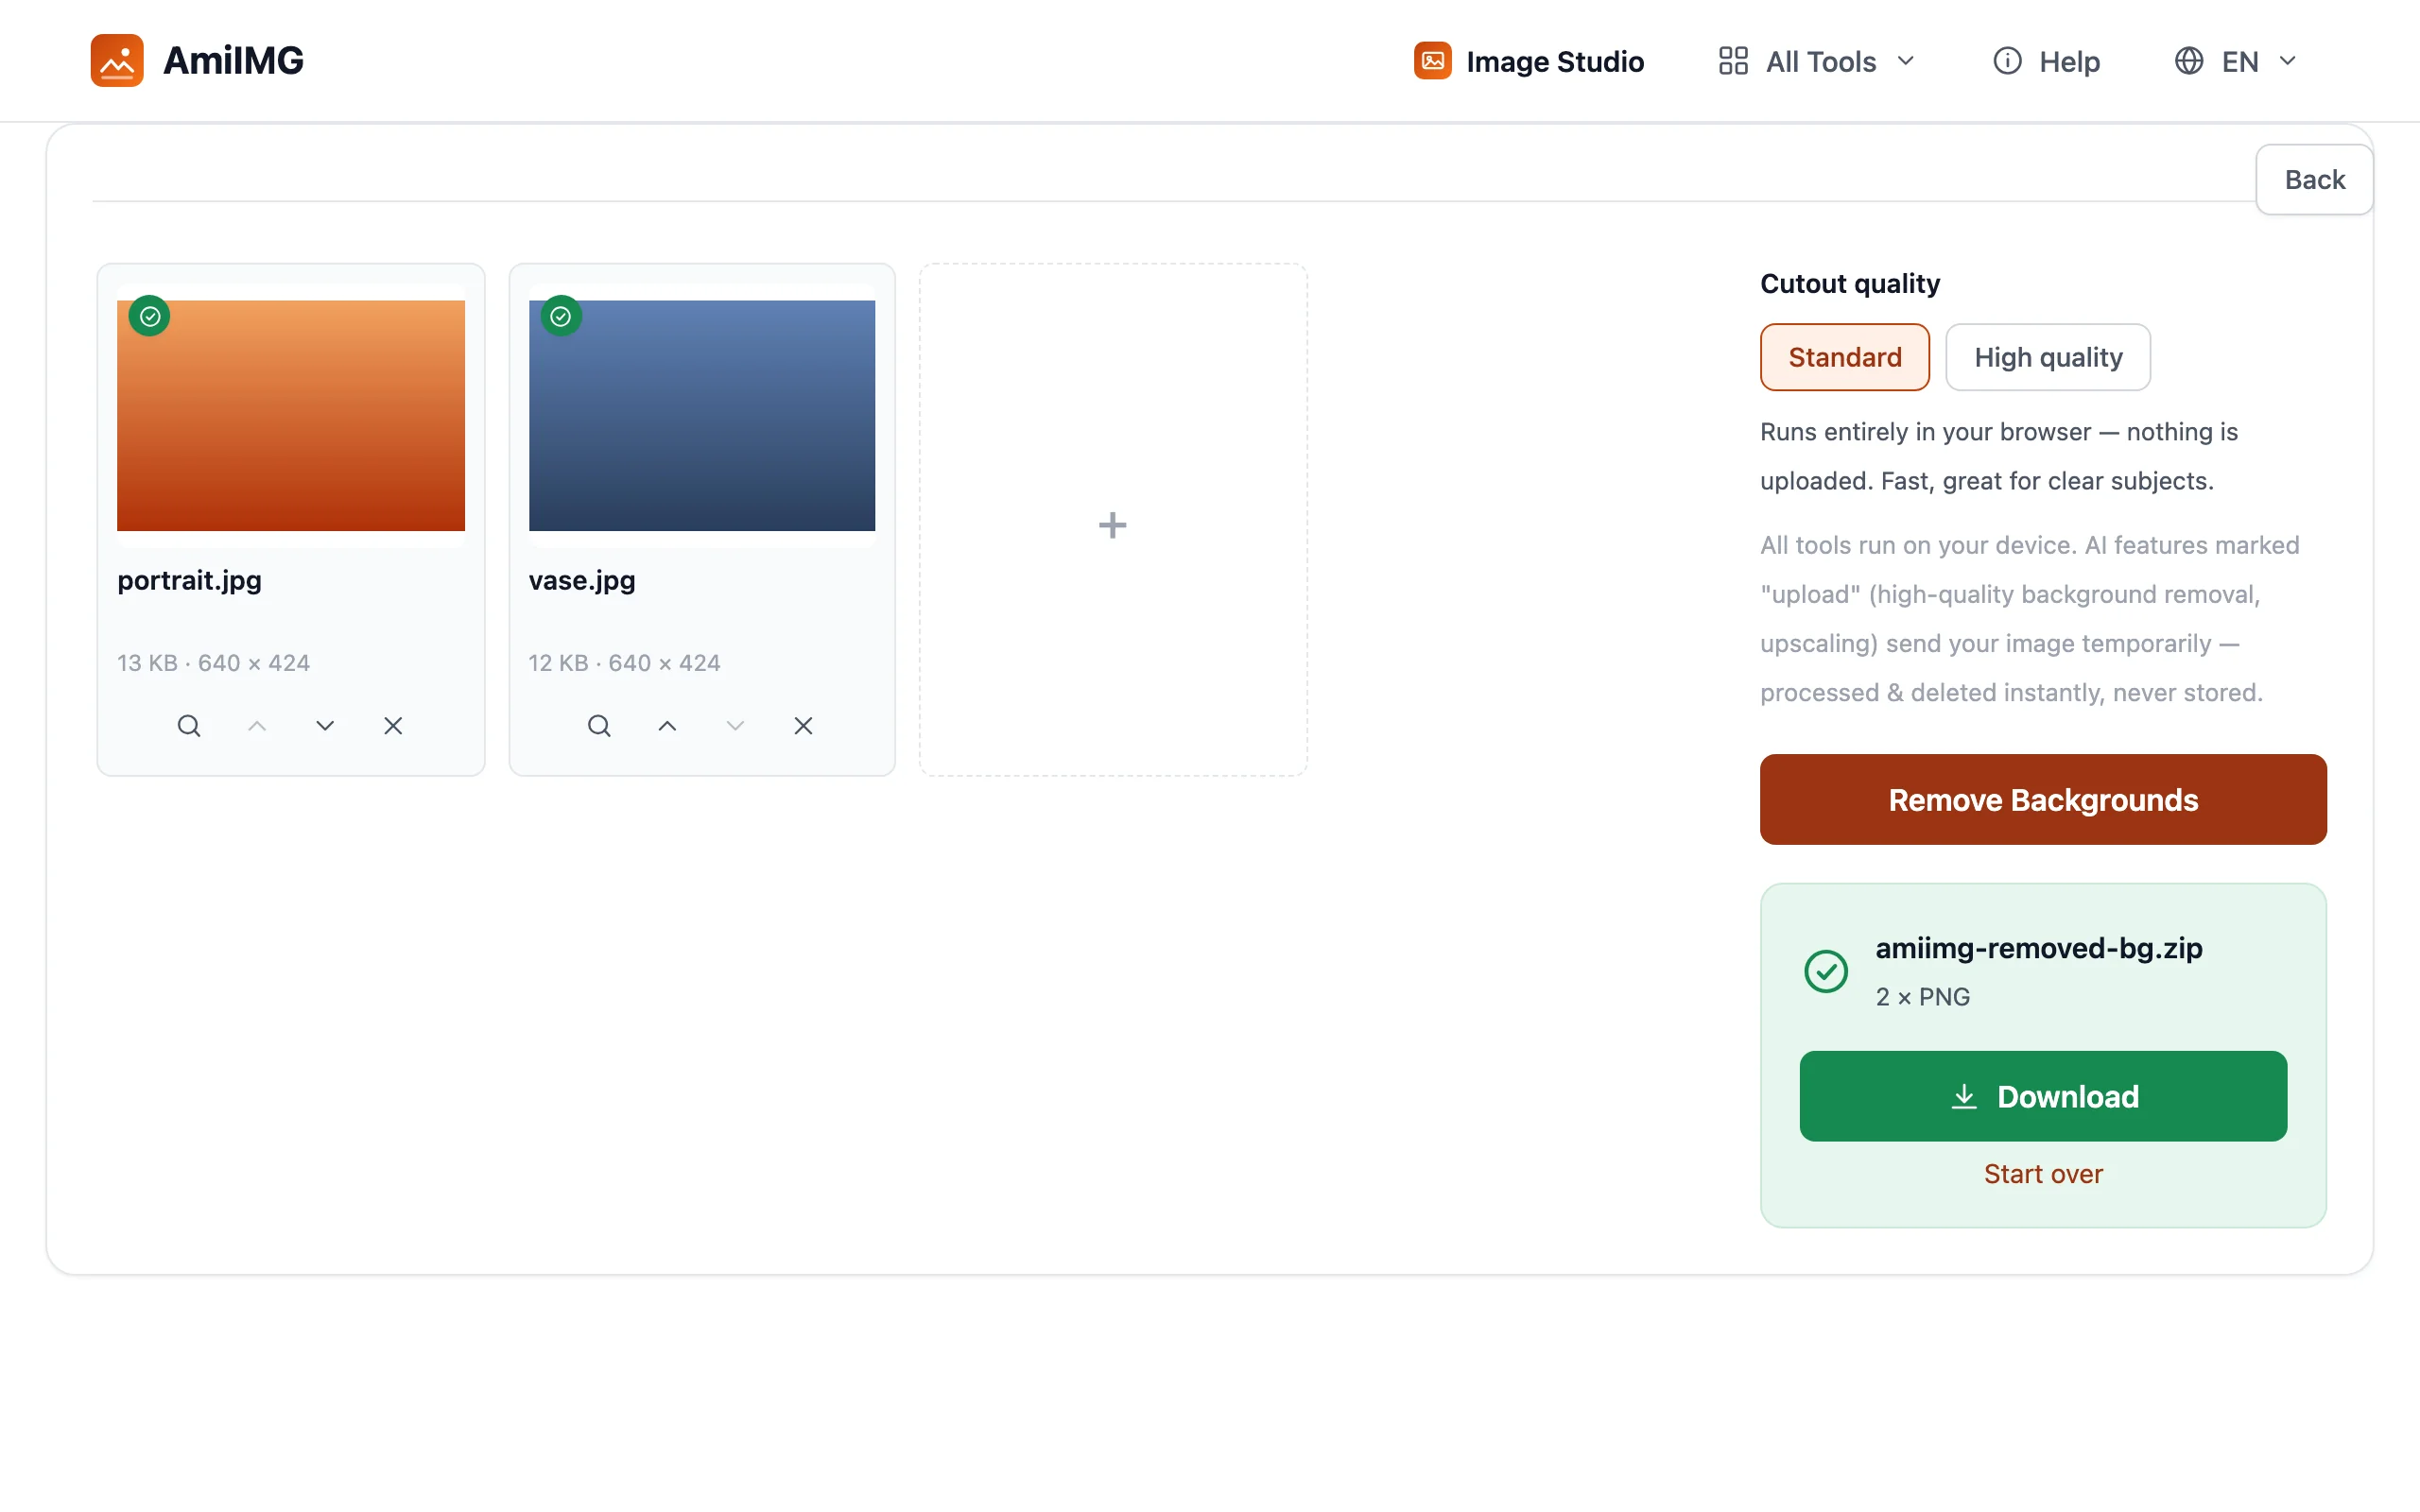
Hit the Remove Backgrounds button. Standard runs on your machine; High quality streams each photo for a few seconds of server processing. A progress bar tracks the batch, and each file card shows the cutout as it finishes so you can spot any photo that needs a different quality setting.
Download your transparent PNGs
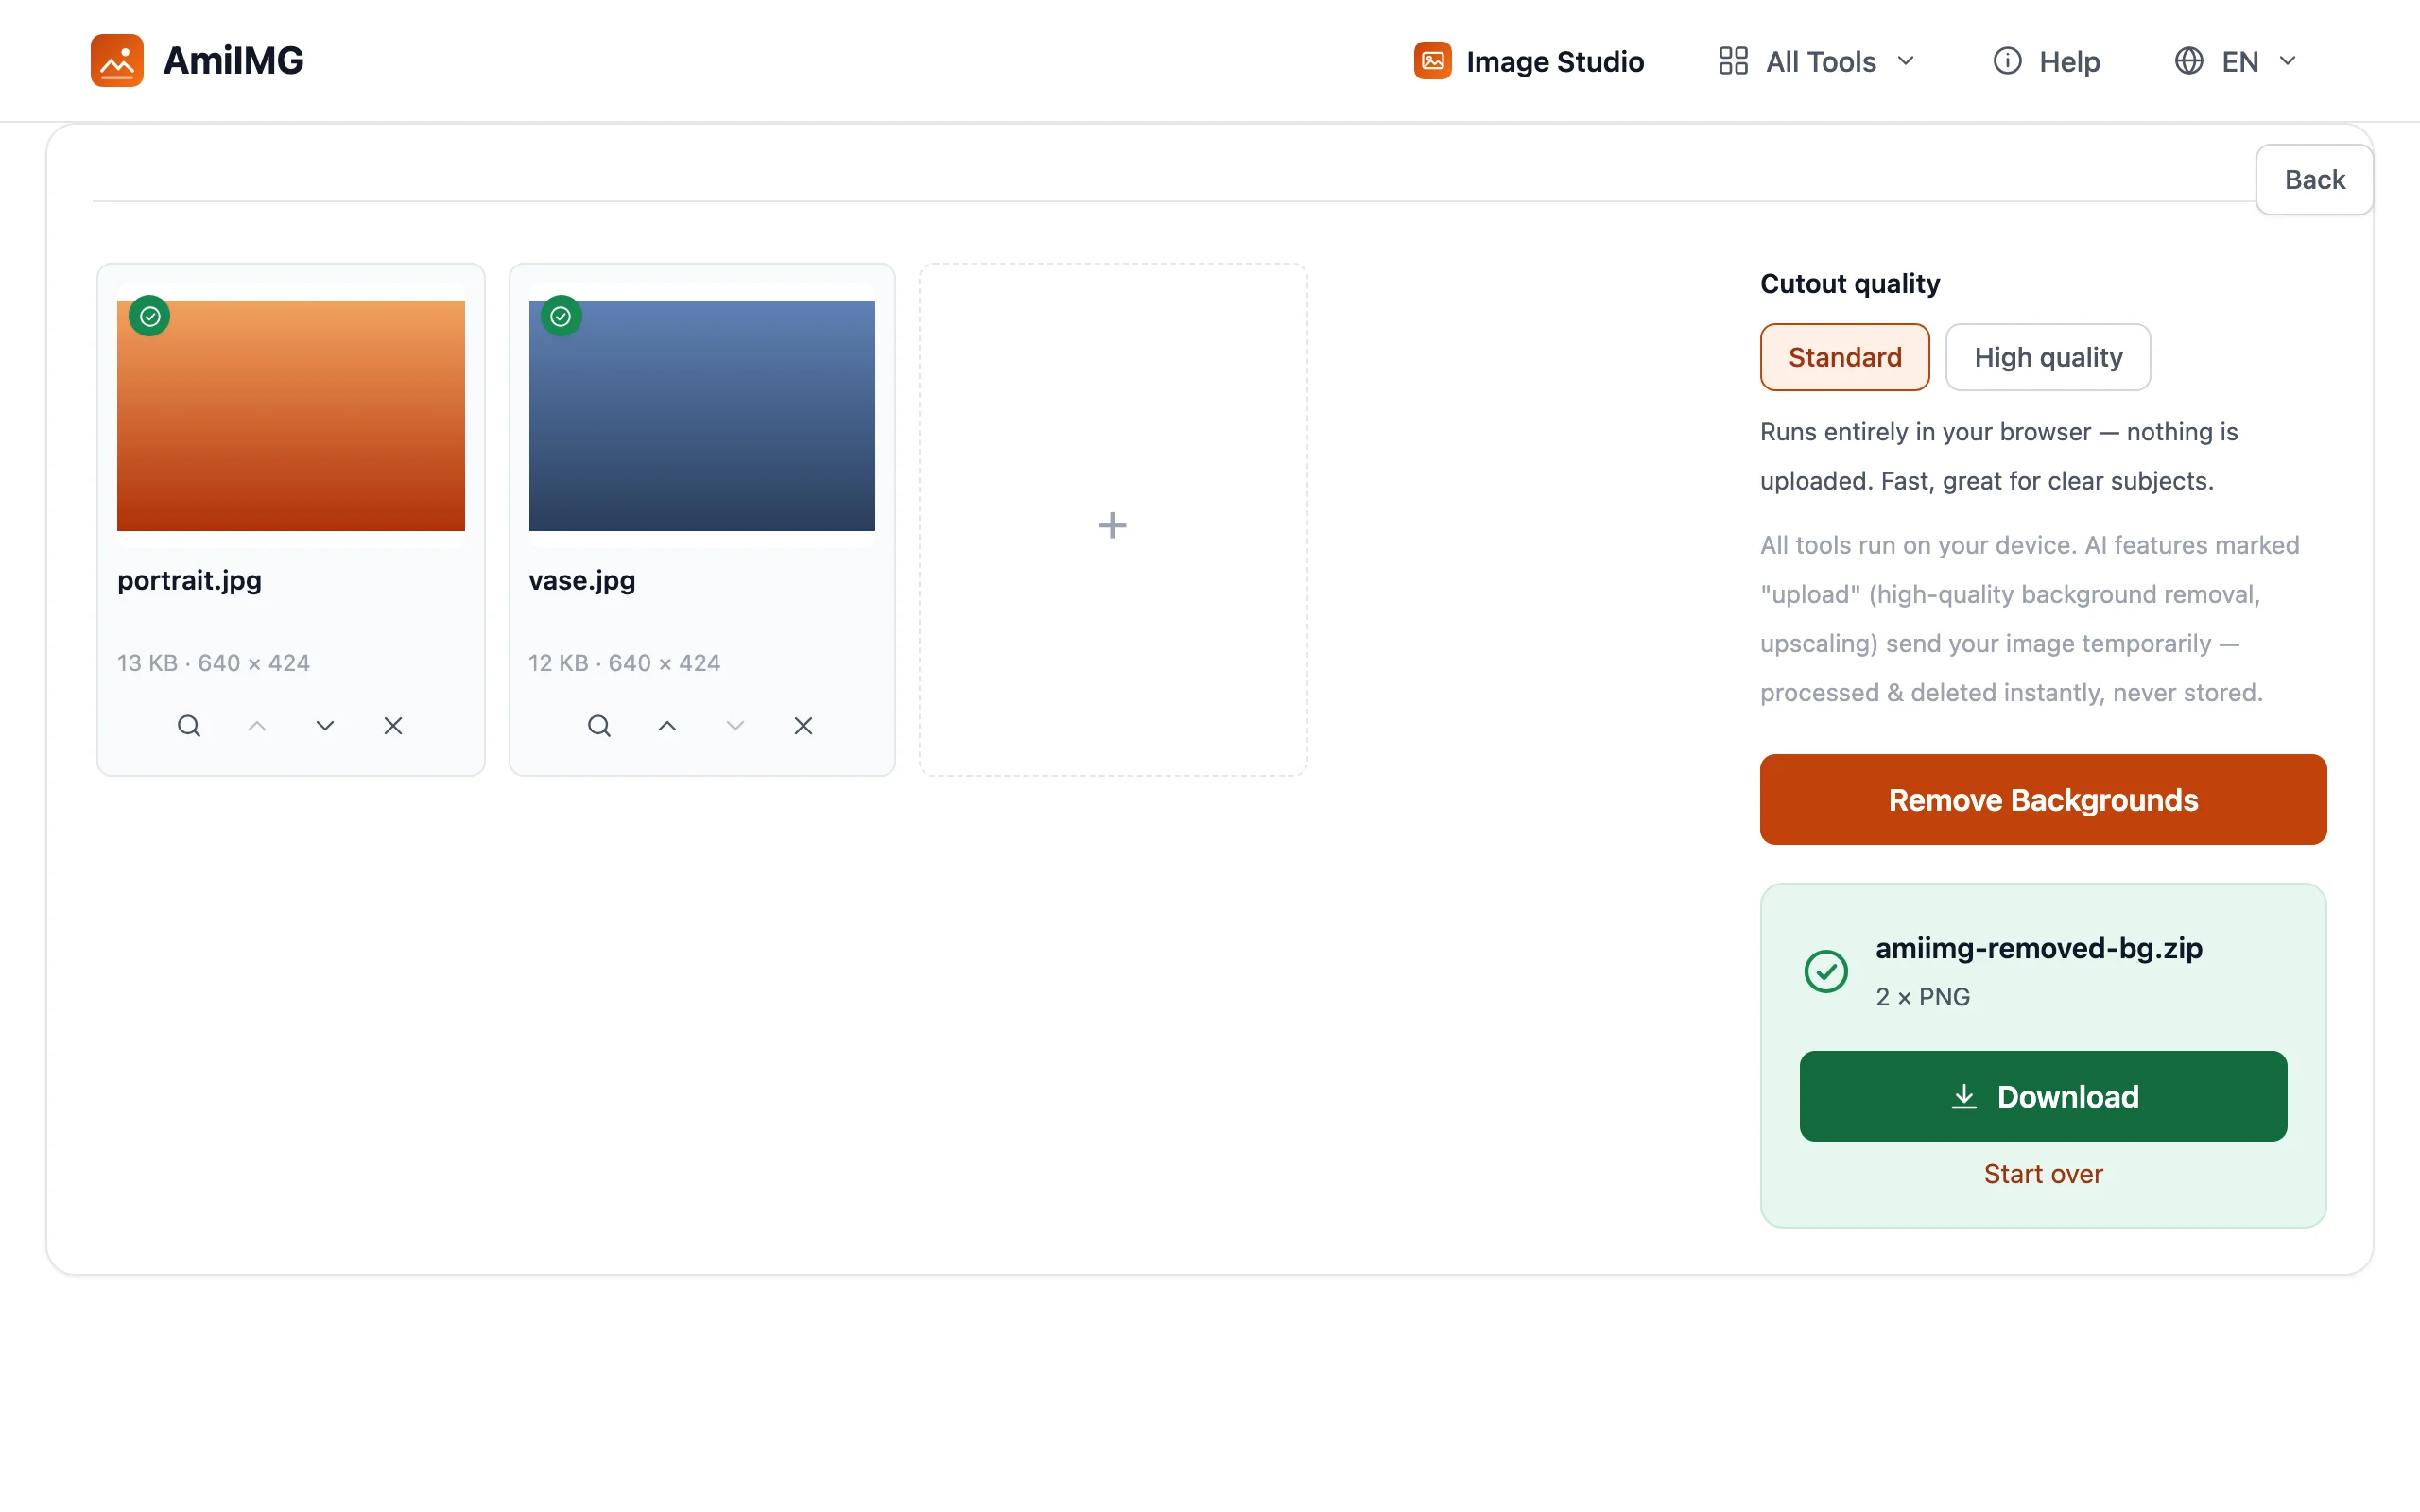
Save images one by one, or grab the whole batch as a single ZIP. Every output is a transparent PNG — the checkerboard you see in previews just marks transparency, it is not part of the file. The cutouts keep their original resolution, ready for compositing or a new background.
Getting the best results
Which quality should you pick?
Start with Standard: it is instant, private, and handles most photos of objects, logos, and people against everyday backgrounds. Switch to High quality when the edges matter most — hair, fur, lace, glass, or a subject that blends into the background.
Give the AI an easier job
Cutouts are cleanest when the subject stands out: even lighting on the subject, a background with different brightness or color, and the subject fully in frame. A crisper original always beats a softer one, regardless of engine.
Chain the next tool
A transparent PNG is the starting point, not the end. Drop cutouts into the white background tool for marketplace listings, or run them through the compressor before uploading to the web.
Frequently asked questions
Are my photos uploaded anywhere?
In Standard mode, no — processing happens entirely in your browser. High quality mode sends each photo temporarily for sharper edges and deletes it immediately after processing; nothing is stored.
Does it handle hair and fine detail?
Yes — that is exactly what High quality mode is for. It resolves hair-level and fur-level edges far better than Standard, at the cost of a few extra seconds per photo.
What format is the output?
Always a transparent PNG, whatever format your input was. PNG is the standard format that preserves transparency across all design tools and marketplaces.