How to Add a White Background to a Photo
A visual, step-by-step guide to putting your subject on a clean white background — marketplace-ready JPGs or transparent PNGs, batch up to 50 photos.
Add white backgrounds nowMarketplaces and catalogs want product photos on pure white — but shooting that way takes a lightbox, even lighting, and patience in post. The shortcut is a cutout: remove whatever background the photo actually has, then fill the canvas with white. AmiIMG's white background tool does both in a single pass. Queue up to 50 photos, choose a white JPG for listings or a transparent PNG for design work, and skip the studio entirely.
Adding white backgrounds, step by step
Open the tool and add your photos
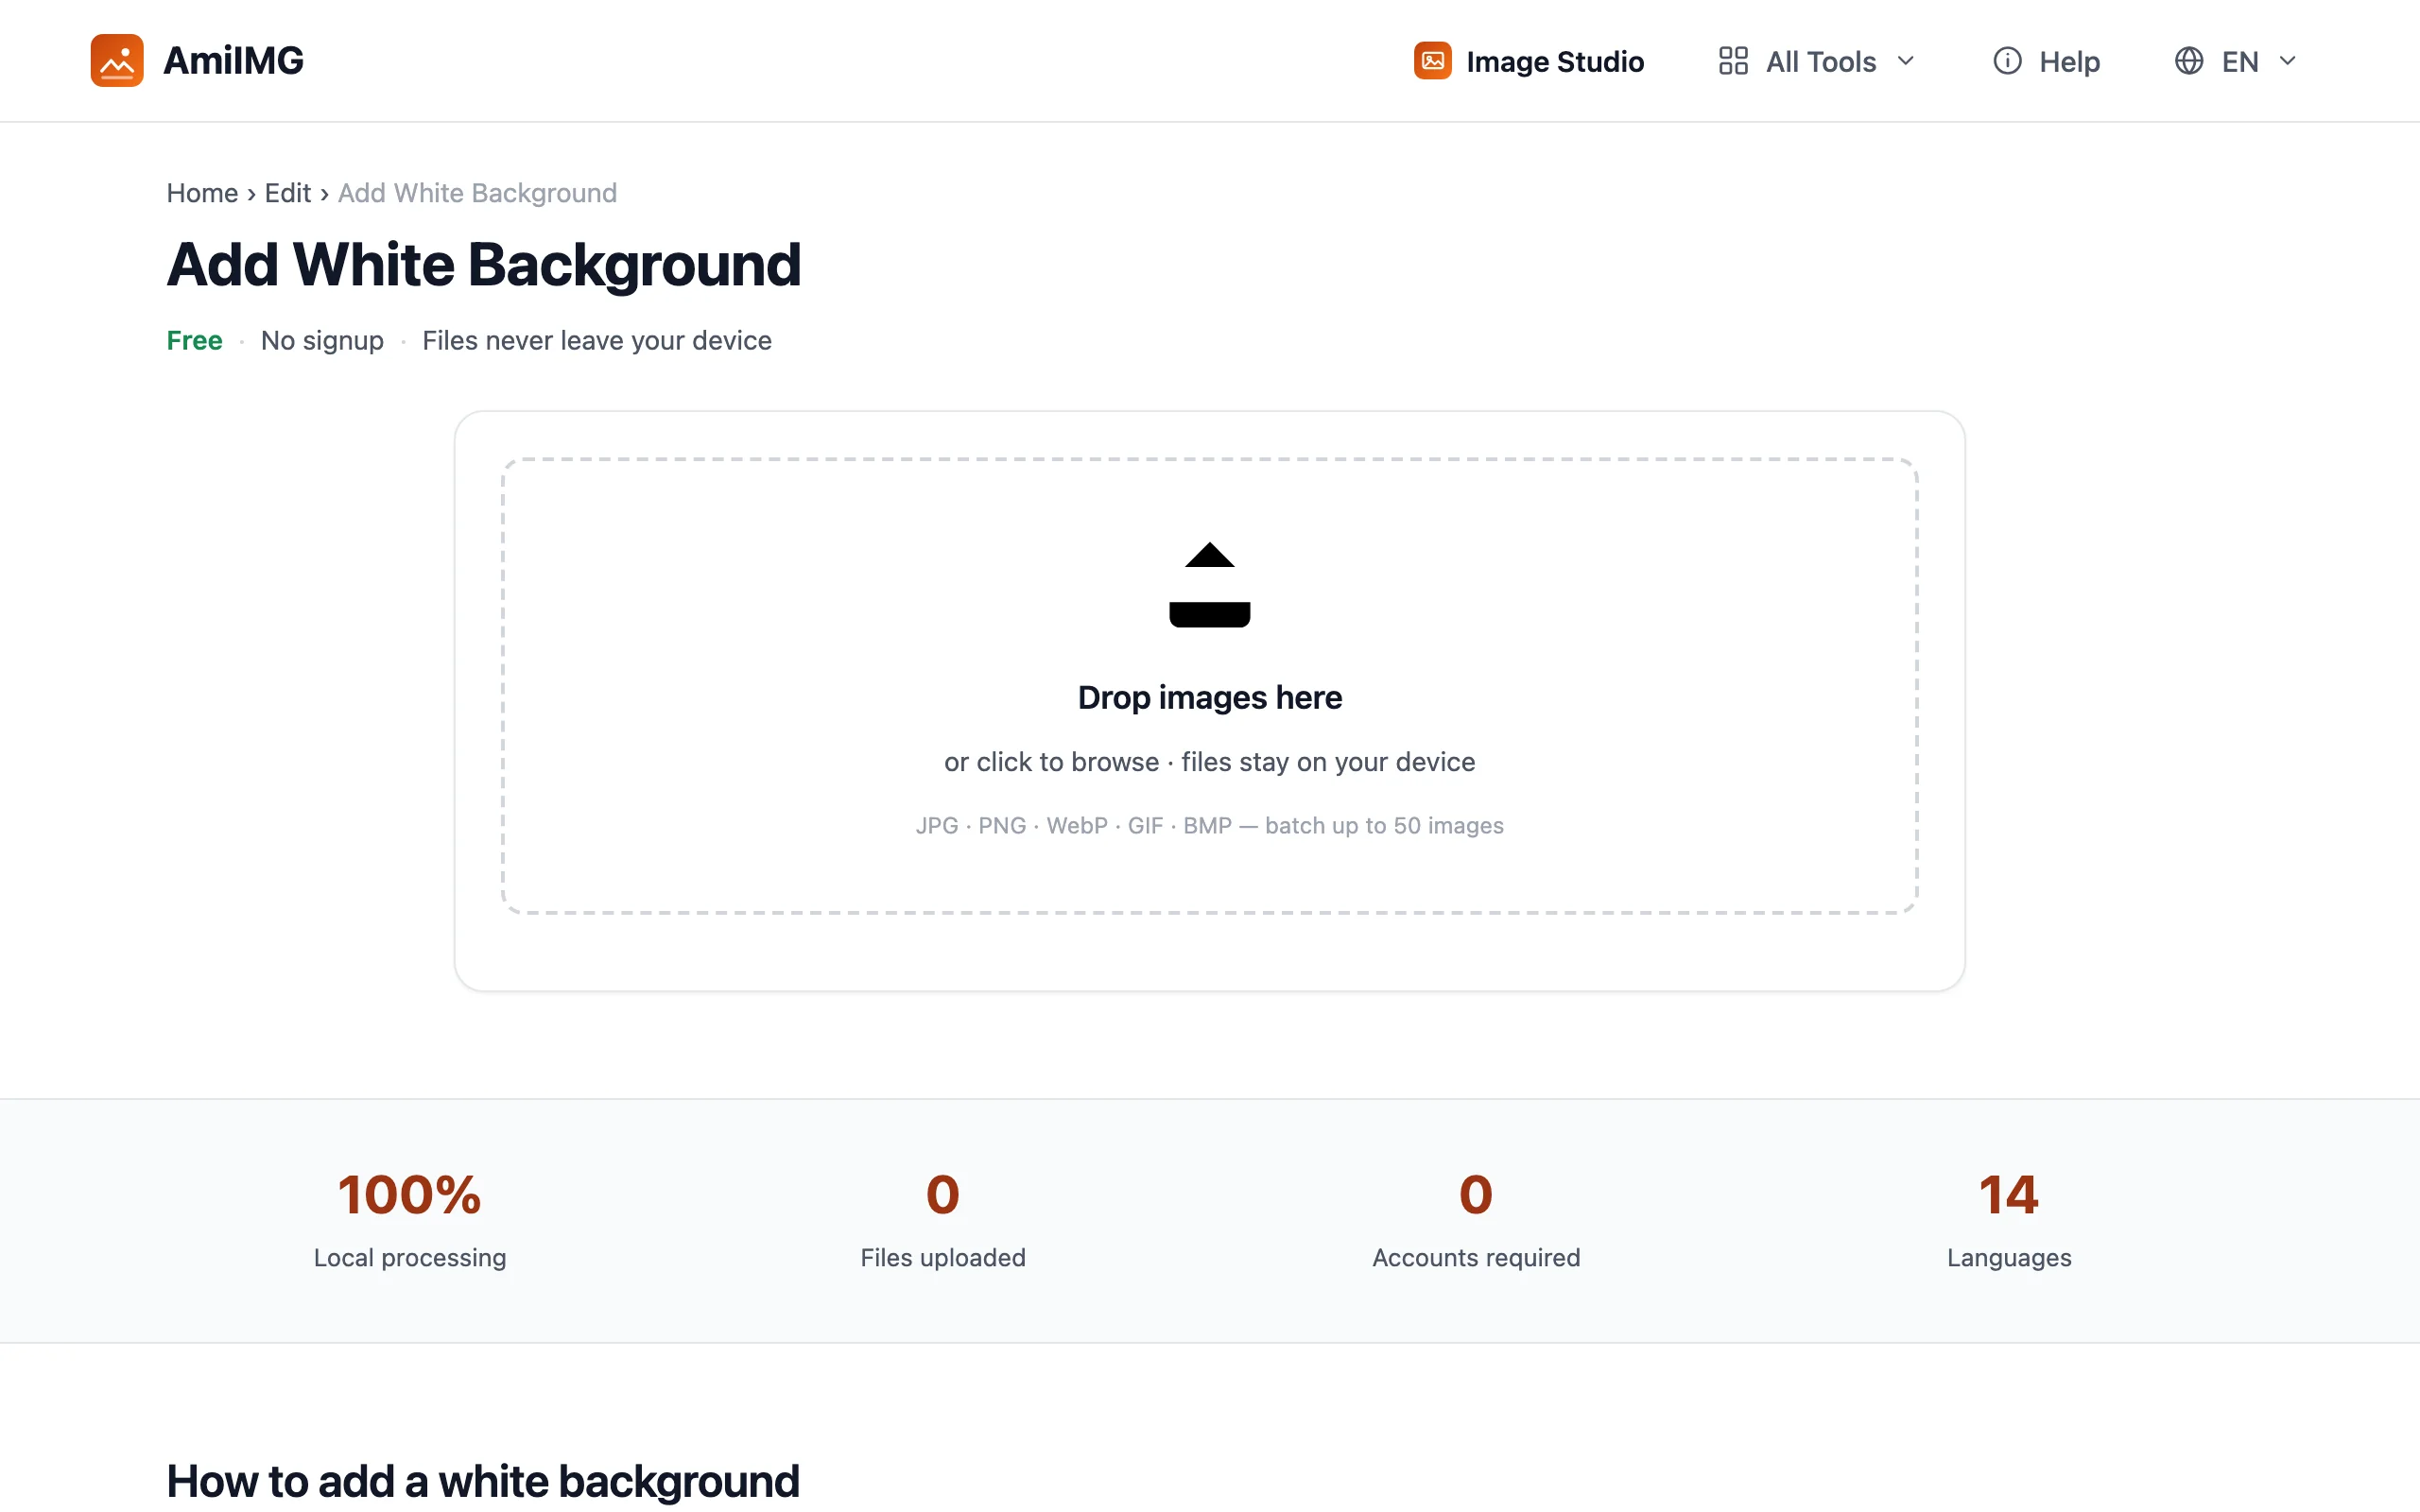
Go to the AmiIMG white background tool and drag your photos onto the drop zone. Up to 50 JPG, PNG, WebP, GIF, or BMP images can go in one batch — the same output settings will apply to all of them, which is exactly what a product catalog needs.
Pick the output and quality
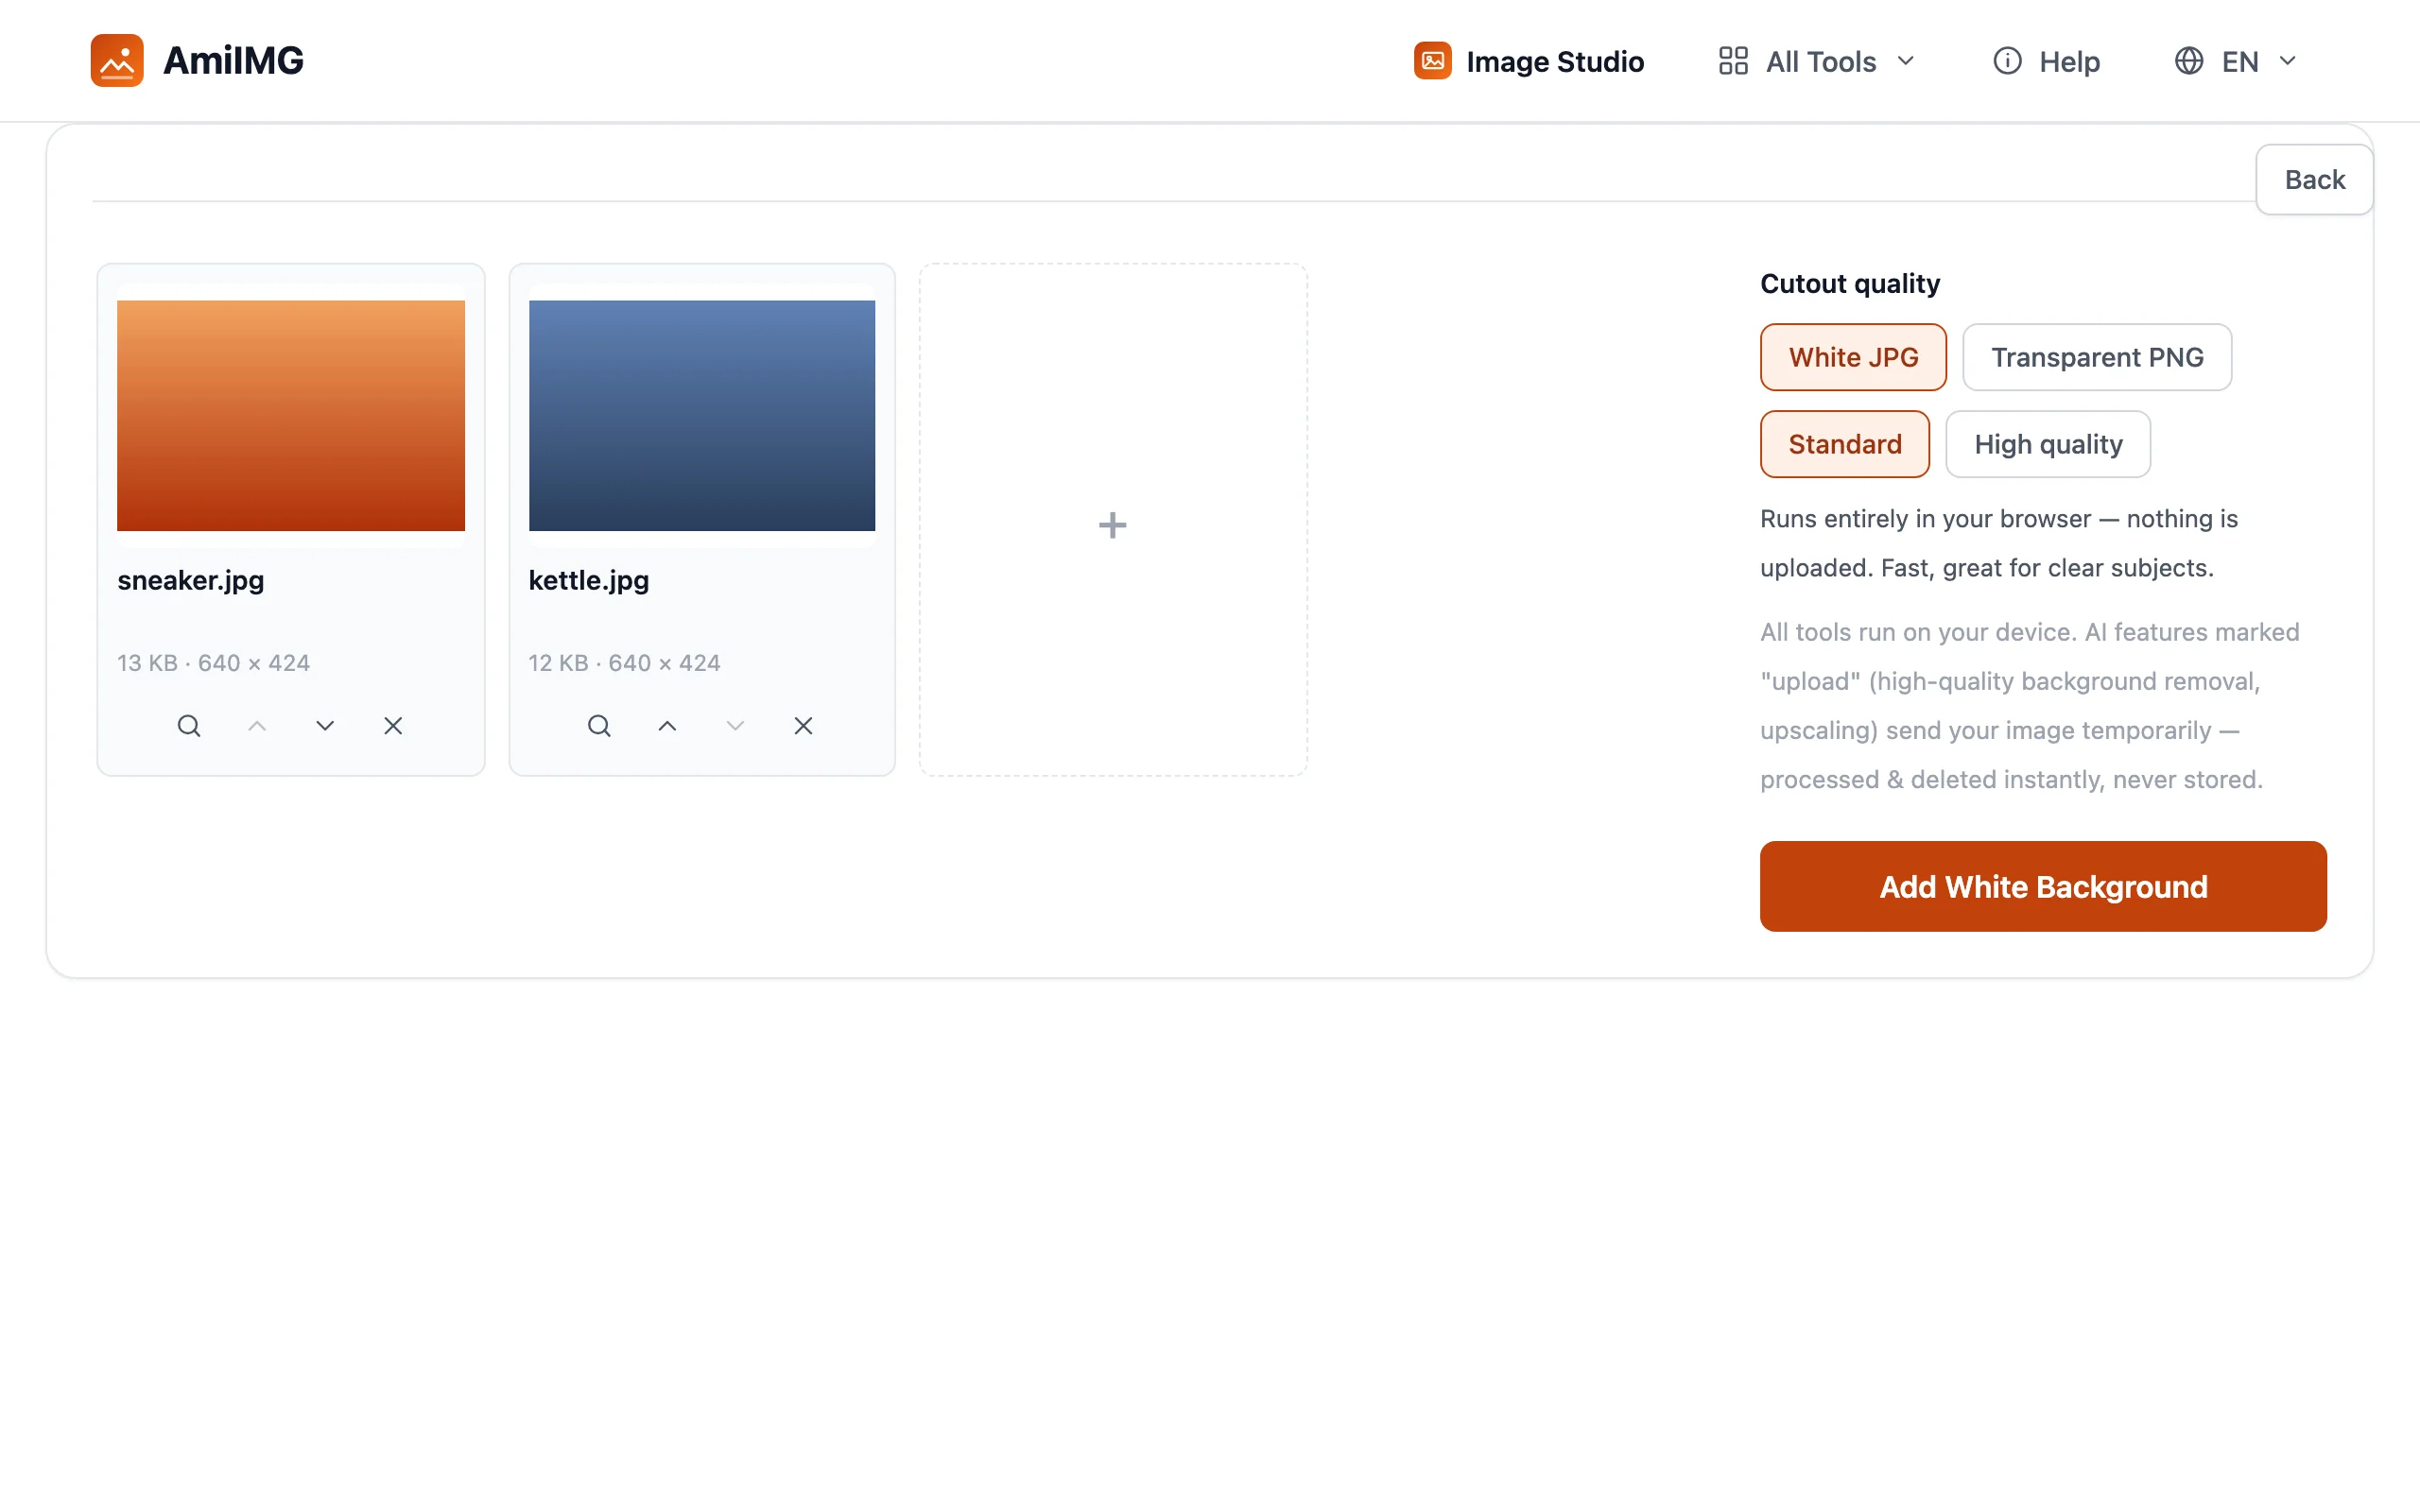
Choose the output first: White JPG for a finished image with the background filled in, or Transparent PNG if you want the cutout alone. Then pick Cutout quality — Standard runs entirely in your browser, while High quality resolves hair-level edges by processing each photo on the server and deleting it instantly.
Apply the white background
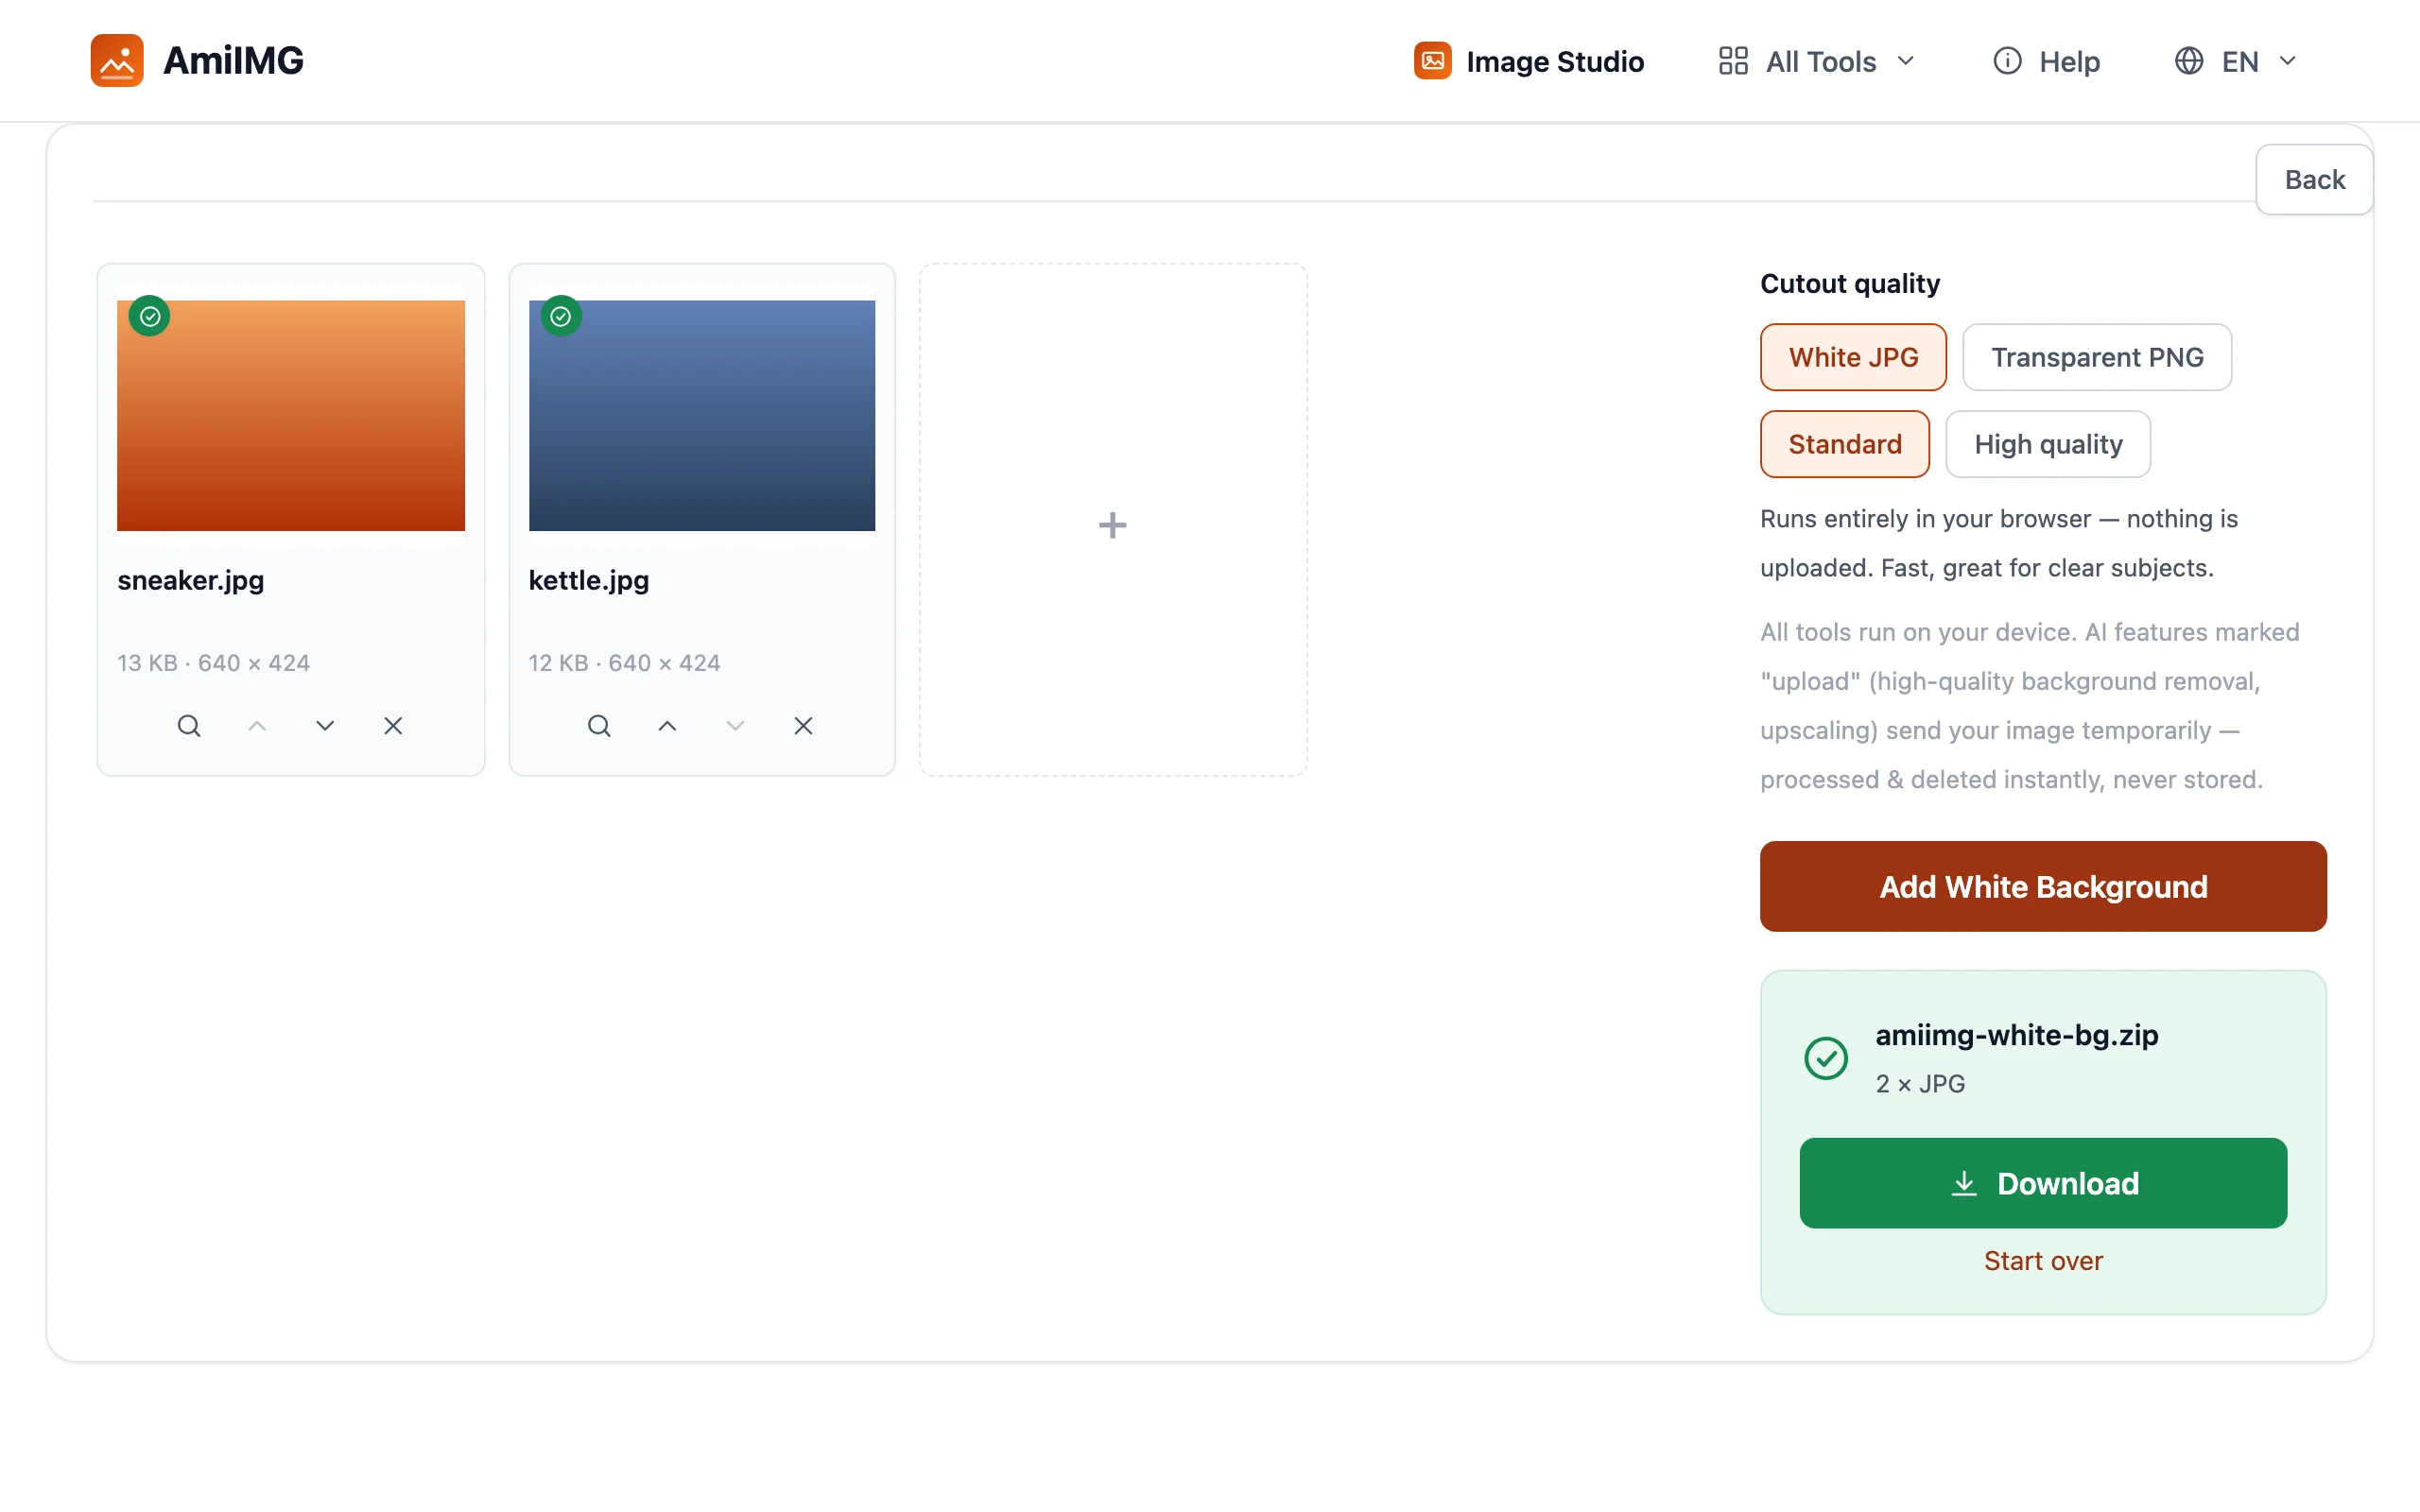
Hit the Add White Background button. Each photo is cut out and re-composited onto white in one pass — no separate background-removal step, no manual masking. The progress bar tracks the batch, and each file card previews the result as it completes.
Download your images
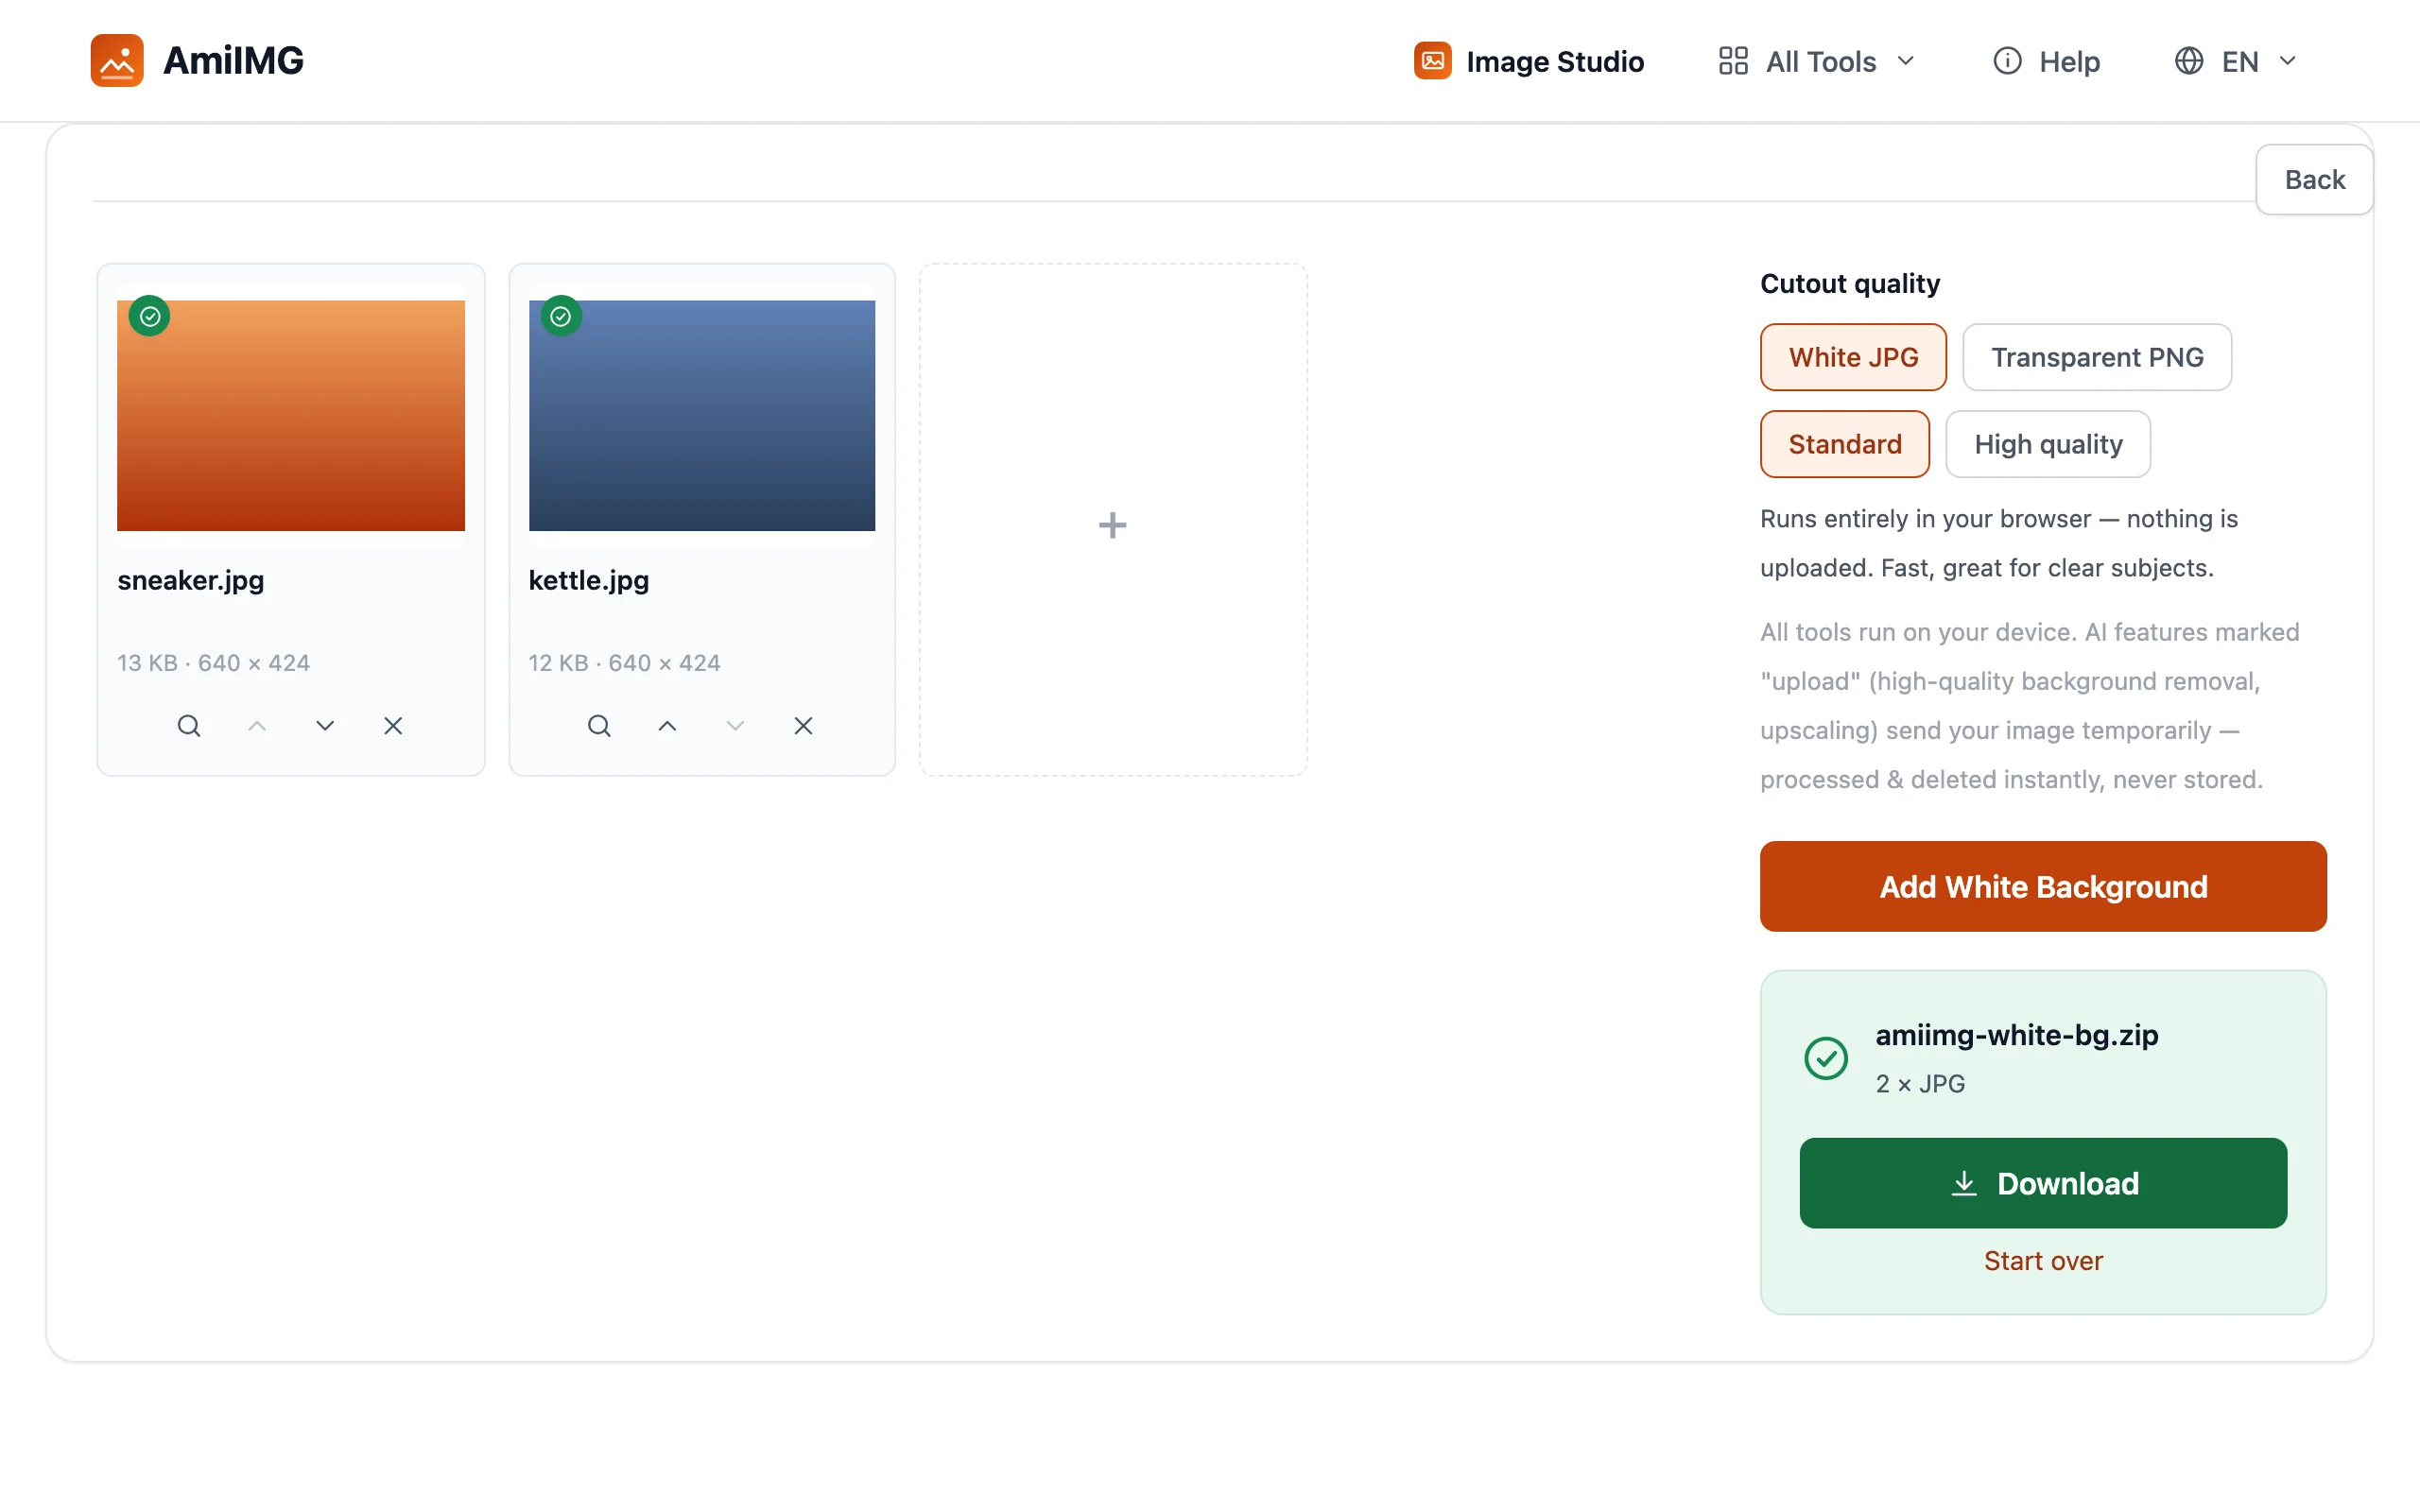
Save photos one by one or grab the whole batch as a ZIP. White JPGs are ready to upload straight to listings; transparent PNGs slot into any design where you might want a different backdrop later.
Getting the best results
White JPG or transparent PNG?
Marketplace listings almost always want the White JPG — a flat, upload-ready file. Pick Transparent PNG when the white is temporary: design mockups, layered documents, or stores that composite their own backgrounds.
Shoot for the cutout, not the white
The tool replaces the background, so the original just needs a subject that stands out — contrast in brightness or color between product and backdrop does most of the work. Even lighting on the product keeps edges clean all the way around.
Match the marketplace spec in one chain
Most stores also require exact dimensions. Run the results through the resizer — longest-edge mode is perfect for the common 1600-pixel rule — then the compressor if there is a file size cap.
Frequently asked questions
Is the background really pure white?
Yes — the white JPG fills the entire canvas with solid white (#FFFFFF) behind the cutout, which is what marketplace image checks look for.
Does this remove the background first?
Yes, in one pass: the tool cuts out the subject and composites it onto white. You never run a separate background remover, and the output keeps the original resolution.
Are my photos uploaded anywhere?
In Standard quality, no — everything runs in your browser. High quality sends each photo temporarily for hair-level edges and deletes it immediately after processing.