How to Resize an Image
A visual, step-by-step guide to resizing images — exact pixels, percentages, or longest-edge caps. Proportions locked, batch up to 50, runs in your browser.
Resize your images nowSooner or later everything asks for a specific size: an upload form that caps dimensions, a marketplace with a longest-edge rule, a thumbnail that must be exactly 320 pixels wide. Resizing sounds trivial until an image comes out stretched or squashed — which is what happens when width and height are set independently. This guide shows you how to resize correctly with AmiIMG's image resizer: proportions are always kept automatically, you can work in pixels, percentages, or longest-edge limits, and up to 50 images take the same settings in one batch. Everything runs in your browser, so your files never leave your device.
Resizing images, step by step
Open the resizer and add your images
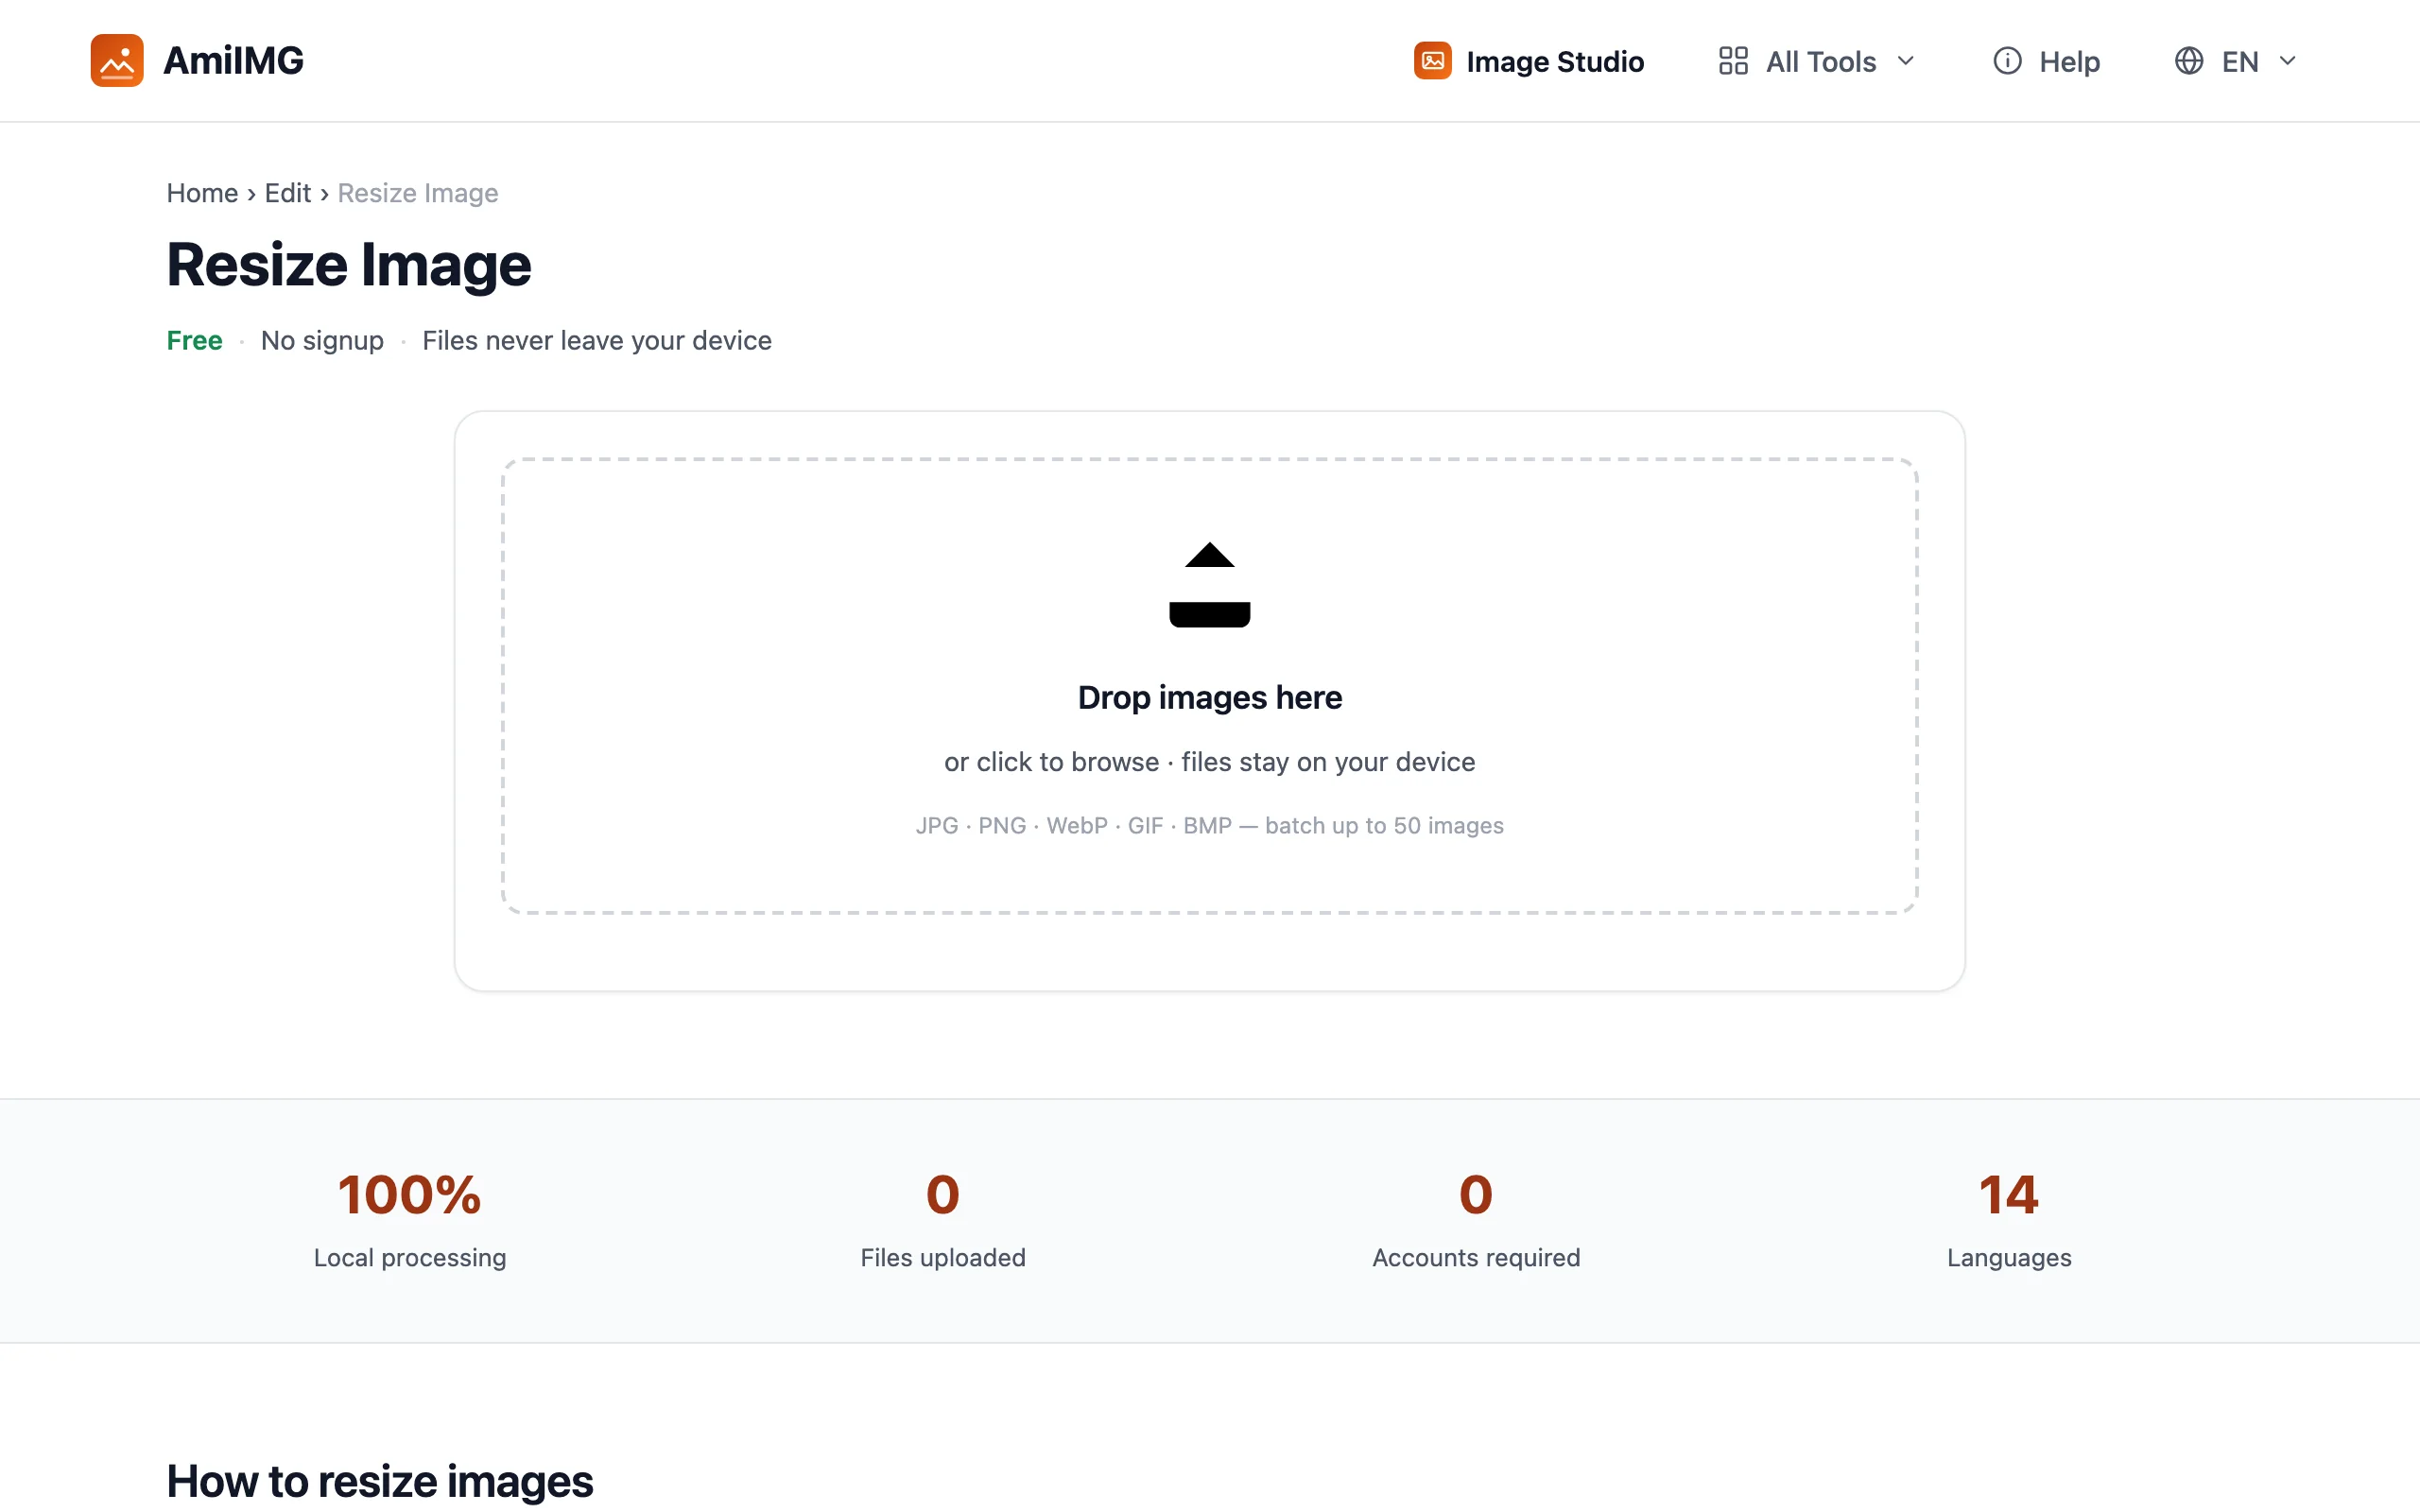
Go to the AmiIMG image resizer and drag your images onto the drop zone. Up to 50 JPG, PNG, WebP, GIF, or BMP files can be queued at once — mixed sizes are fine, and each file card shows its current dimensions so you can sanity-check the batch.
Set the new size
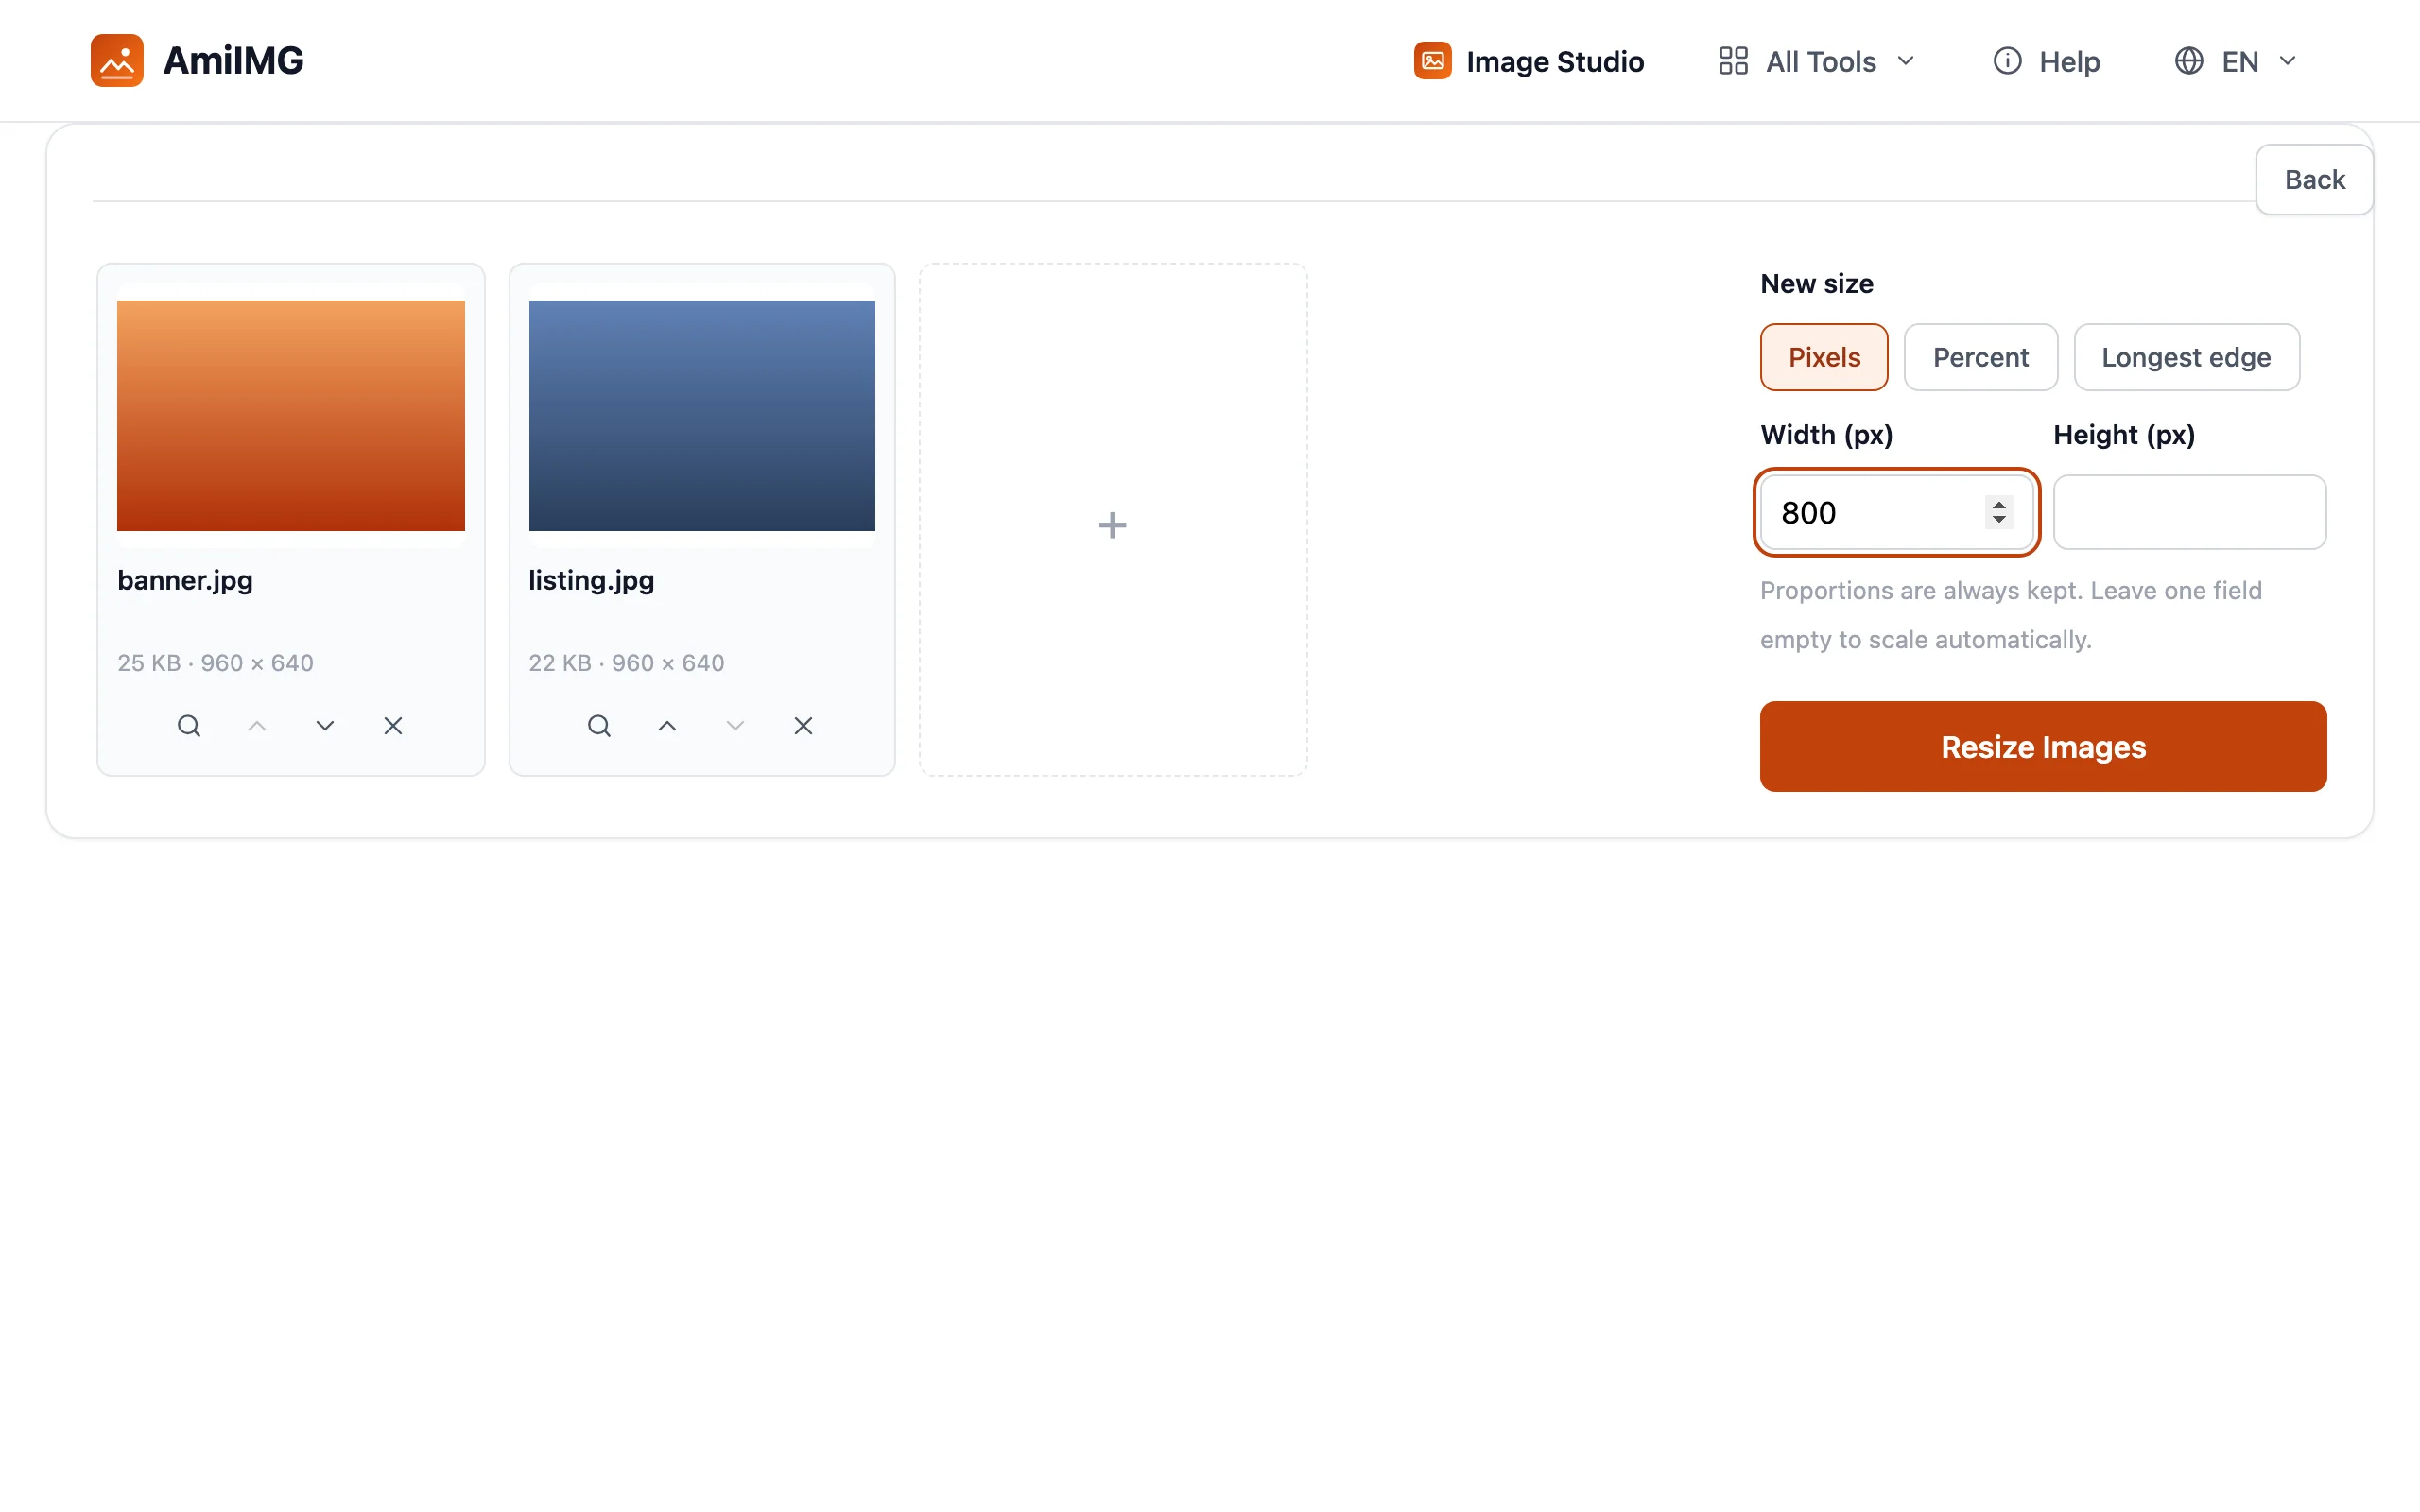
Three modes cover every common case. Pixels: enter width and height — leave one field empty and it is calculated from the other, keeping the aspect ratio. Percent: scale the whole image by a percentage, 50 for half size. Longest edge: cap the larger dimension, say 1600, and the shorter side follows proportionally — the classic marketplace rule.
Resize the batch
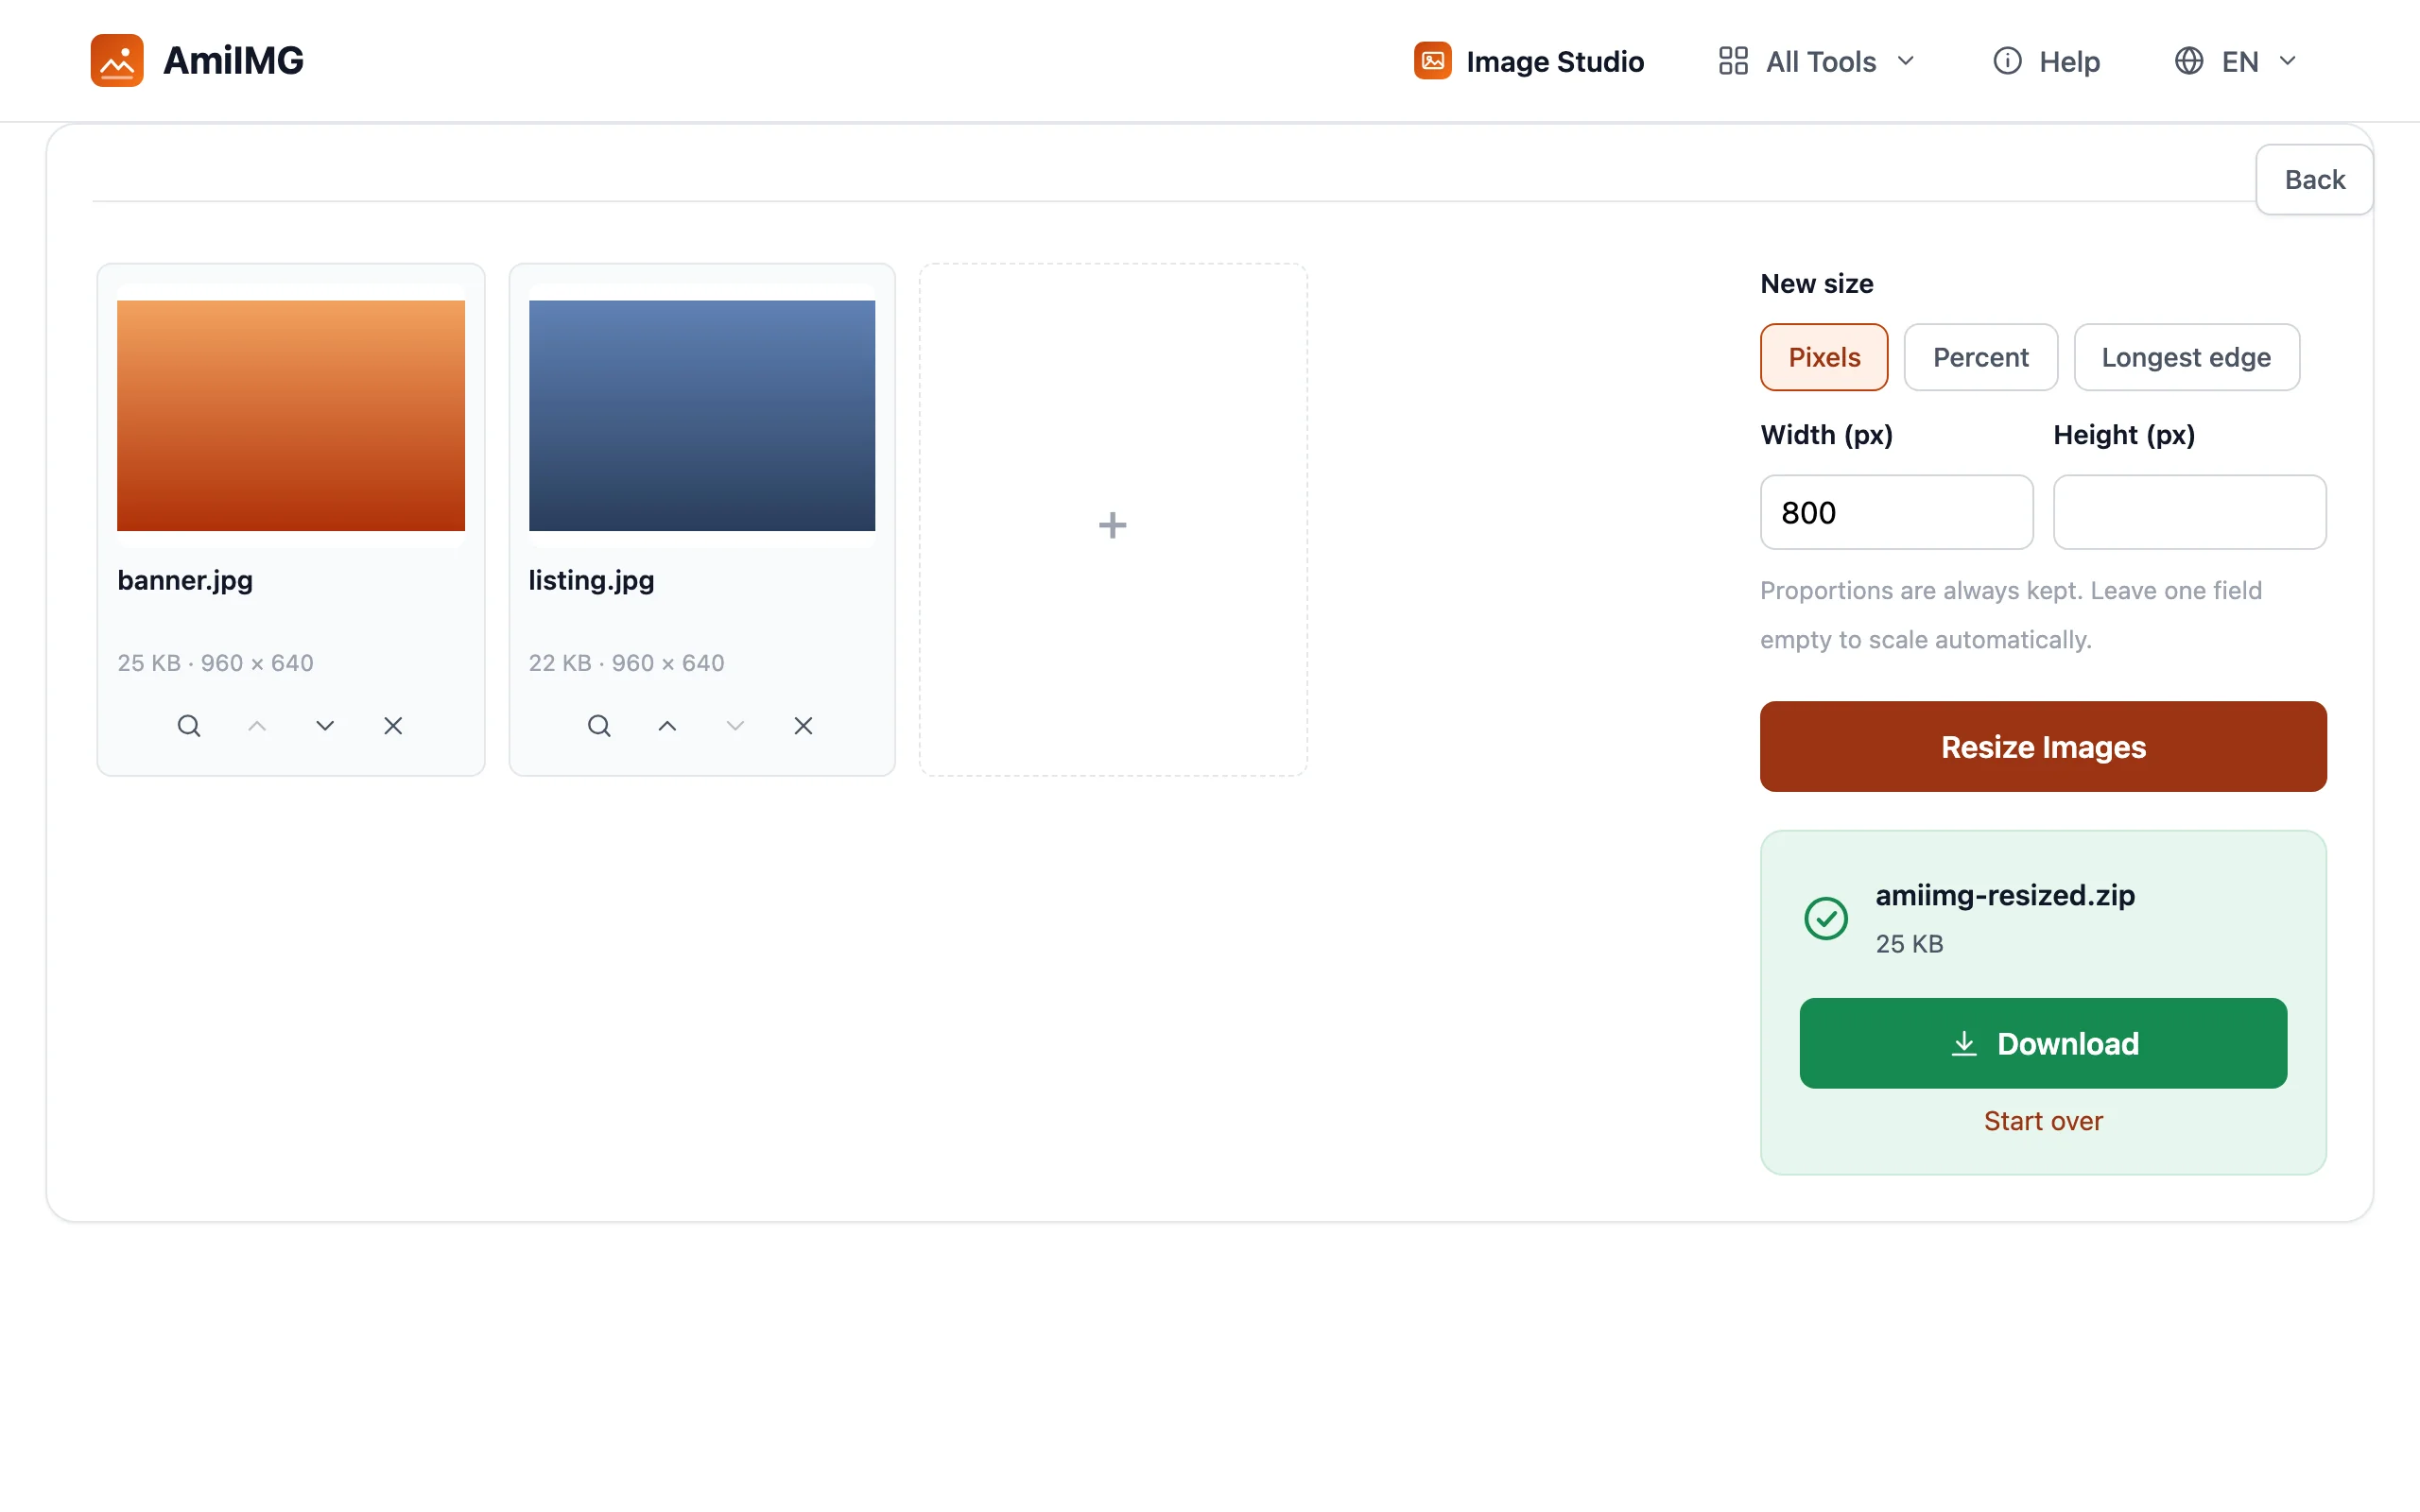
Hit the Resize Images button. Processing happens on your device and is close to instant, even for a full batch of 50. A progress bar tracks the run, and each file card updates with the new dimensions as it finishes.
Download your resized images
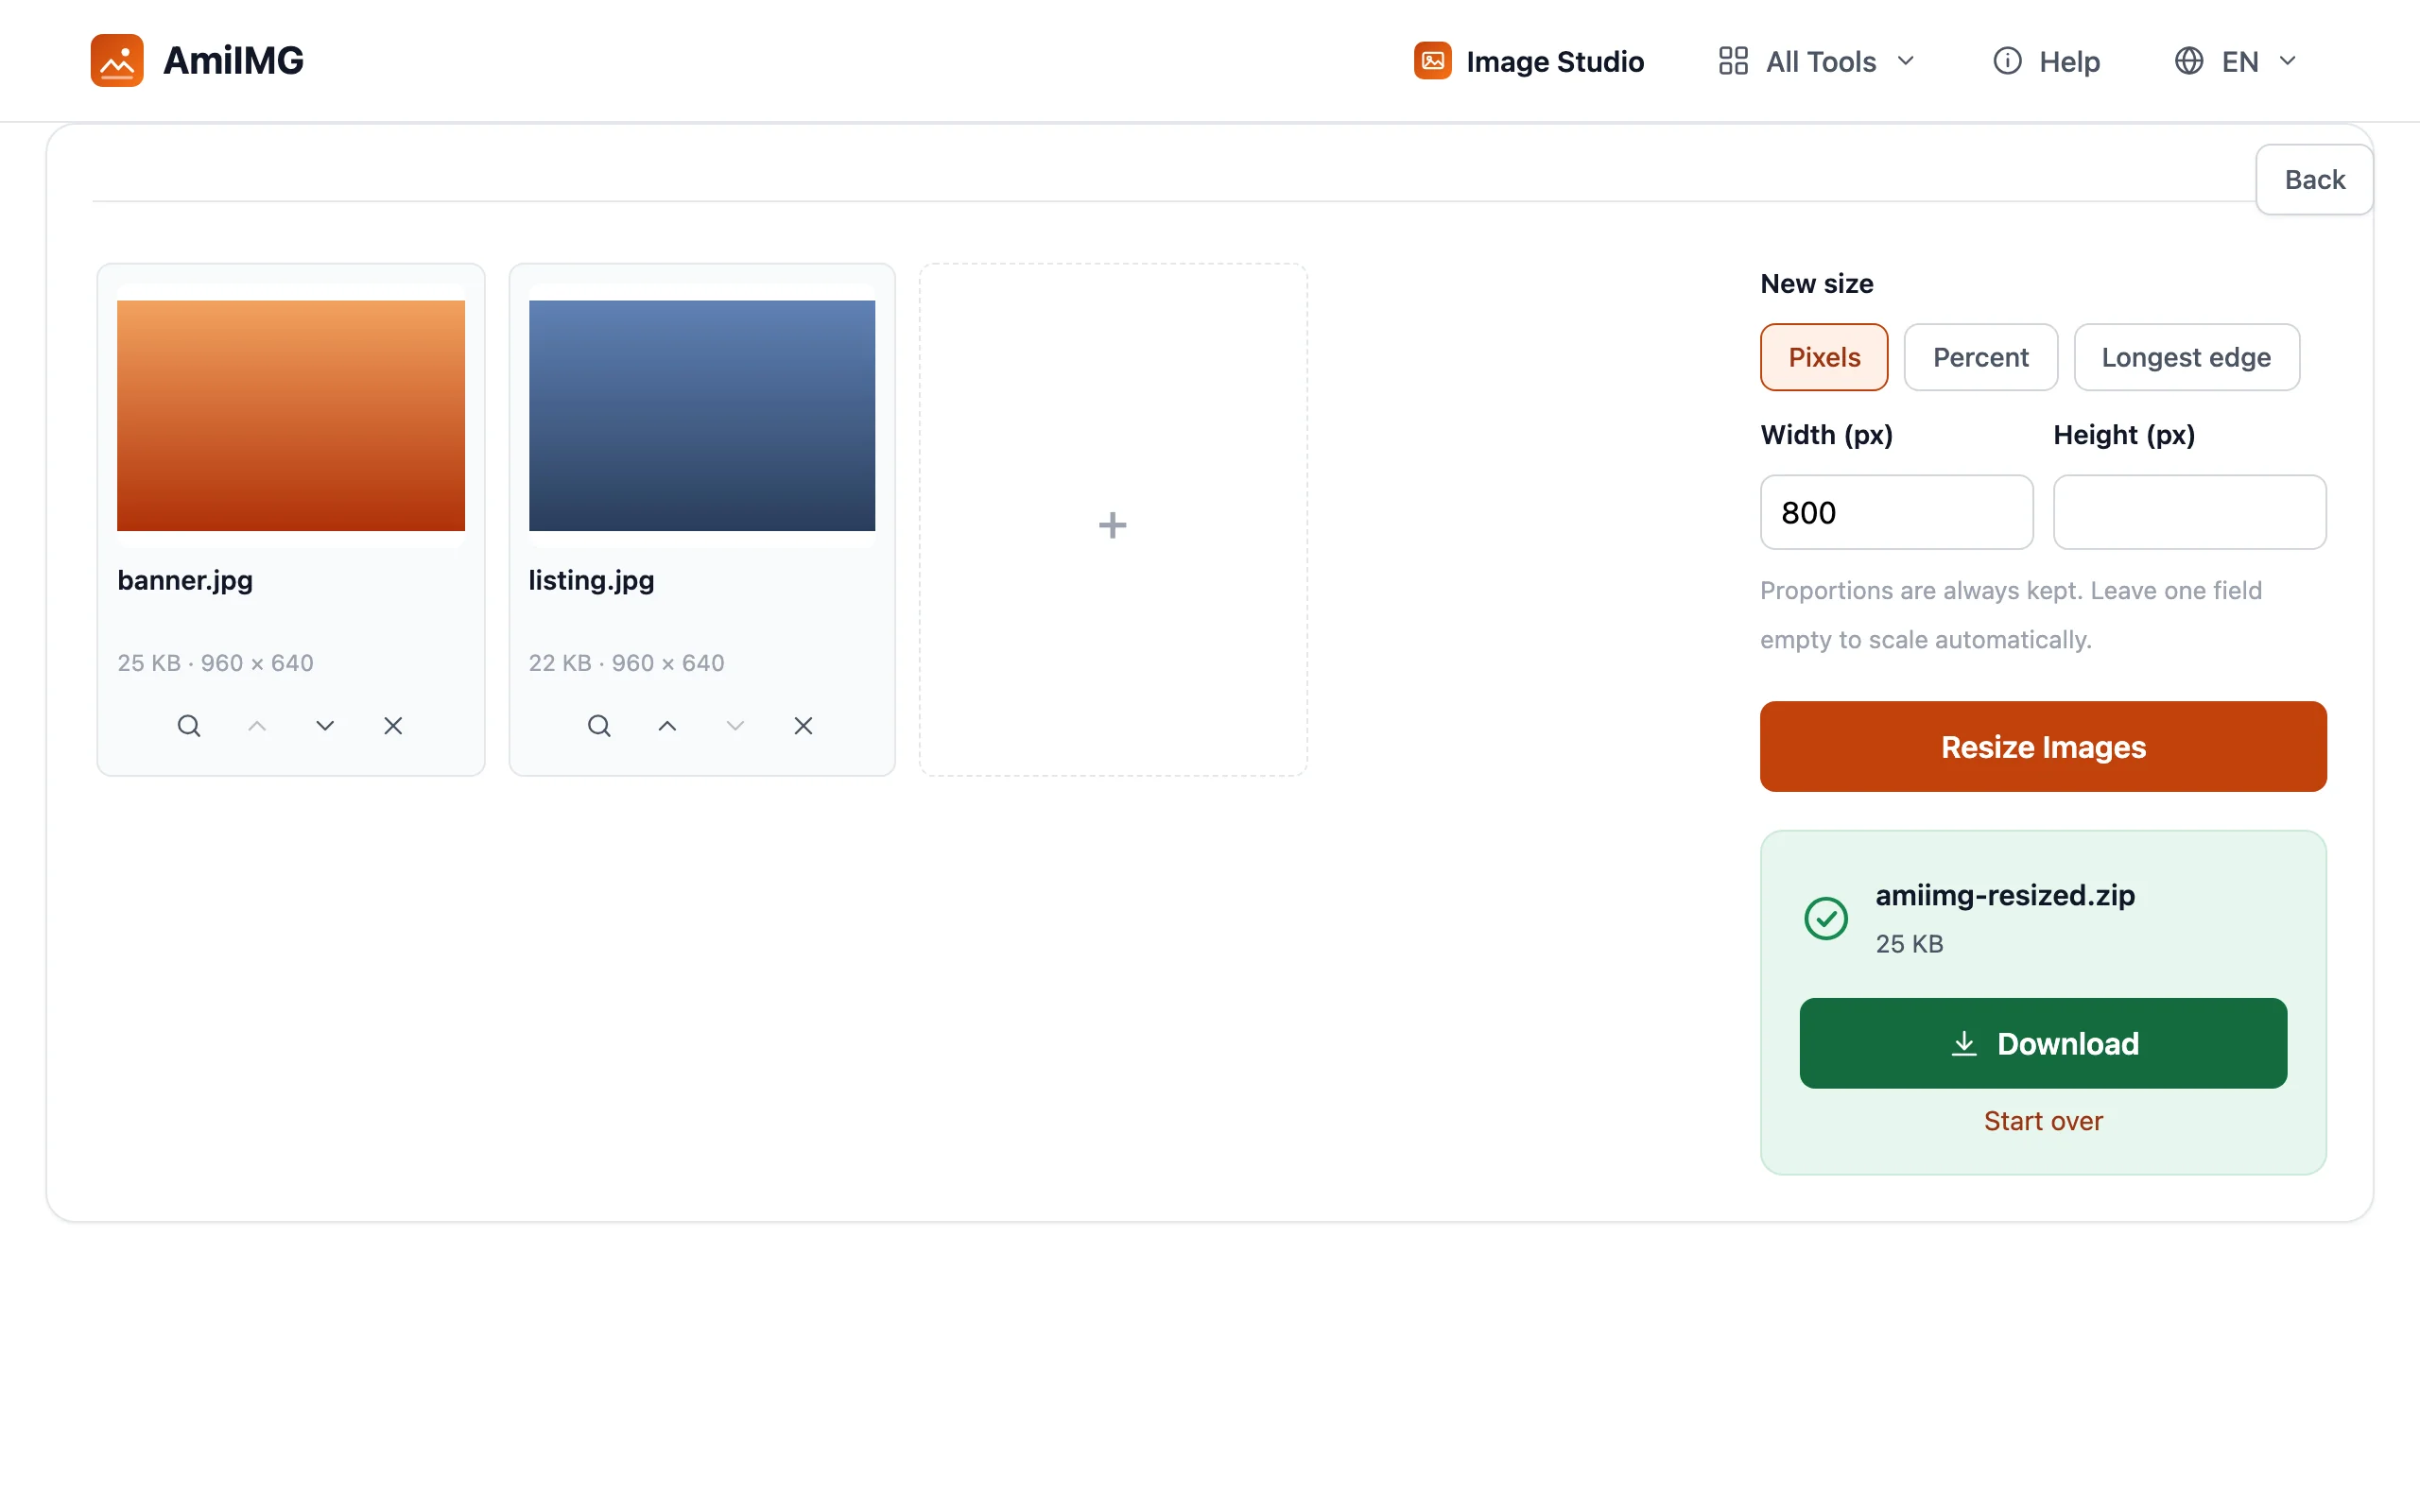
Save images one by one or as a single ZIP. Names match the originals, so resized files drop straight next to their sources — or into an upload form — without any renaming.
Getting the best results
Shrink only — pair with the upscaler to grow
The resizer reduces dimensions and never enlarges, which is what keeps quality predictable. If you need a bigger image, run it through the AI upscaler first, then resize down to the exact target.
One setting for a whole batch
Whatever mode you pick applies to every file in the queue. That is ideal for uniform outputs — all listings at 1600 pixels on the longest edge, all thumbnails at 25% — and a reason to group same-destination images into one batch.
Resize before you compress
Smaller dimensions mean less to encode, so resize first, then run the result through the compressor to hit file-size caps. The order saves work and produces cleaner output than compressing a full-size image down.
Frequently asked questions
Can resizing distort my image?
No. Proportions are always kept: enter just a width or a height and the other side is calculated automatically. There is no way to stretch or squash an image by accident.
Can I make an image larger?
The resizer only reduces dimensions — enlarging would only add blur. To genuinely increase resolution, use the AI upscaler, which reconstructs detail as it grows the image.
Do all files in a batch get the same size?
They get the same setting. In pixel mode a fixed width gives every image that width; in longest-edge mode every image is capped identically. Heights or short sides vary with each photo's aspect ratio.