How to Sharpen an Image
Sharpen images online: Light, Medium, and Strong unsharp masking for soft photos, scans and screenshots. Batch up to 50 files, no watermark, nothing uploaded.
Sharpen an image nowSoft happens. A product photo resized for a shop listing comes out slightly mushy. An old scan loses the bite it had on paper. Text in a screenshot goes fuzzy around the edges. Sharpening raises the contrast along edges, and the photo reads crisp again. The honest limit: it only amplifies edges that exist. Detail the lens never captured stays gone.
The AmiIMG image sharpener runs unsharp masking at three strengths, with Medium as the sensible default for photos that look a touch soft. Whole batches ride along, up to 50 files in one pass, no watermark, no account, and the processing stays in your browser.
Sharpening images, step by step
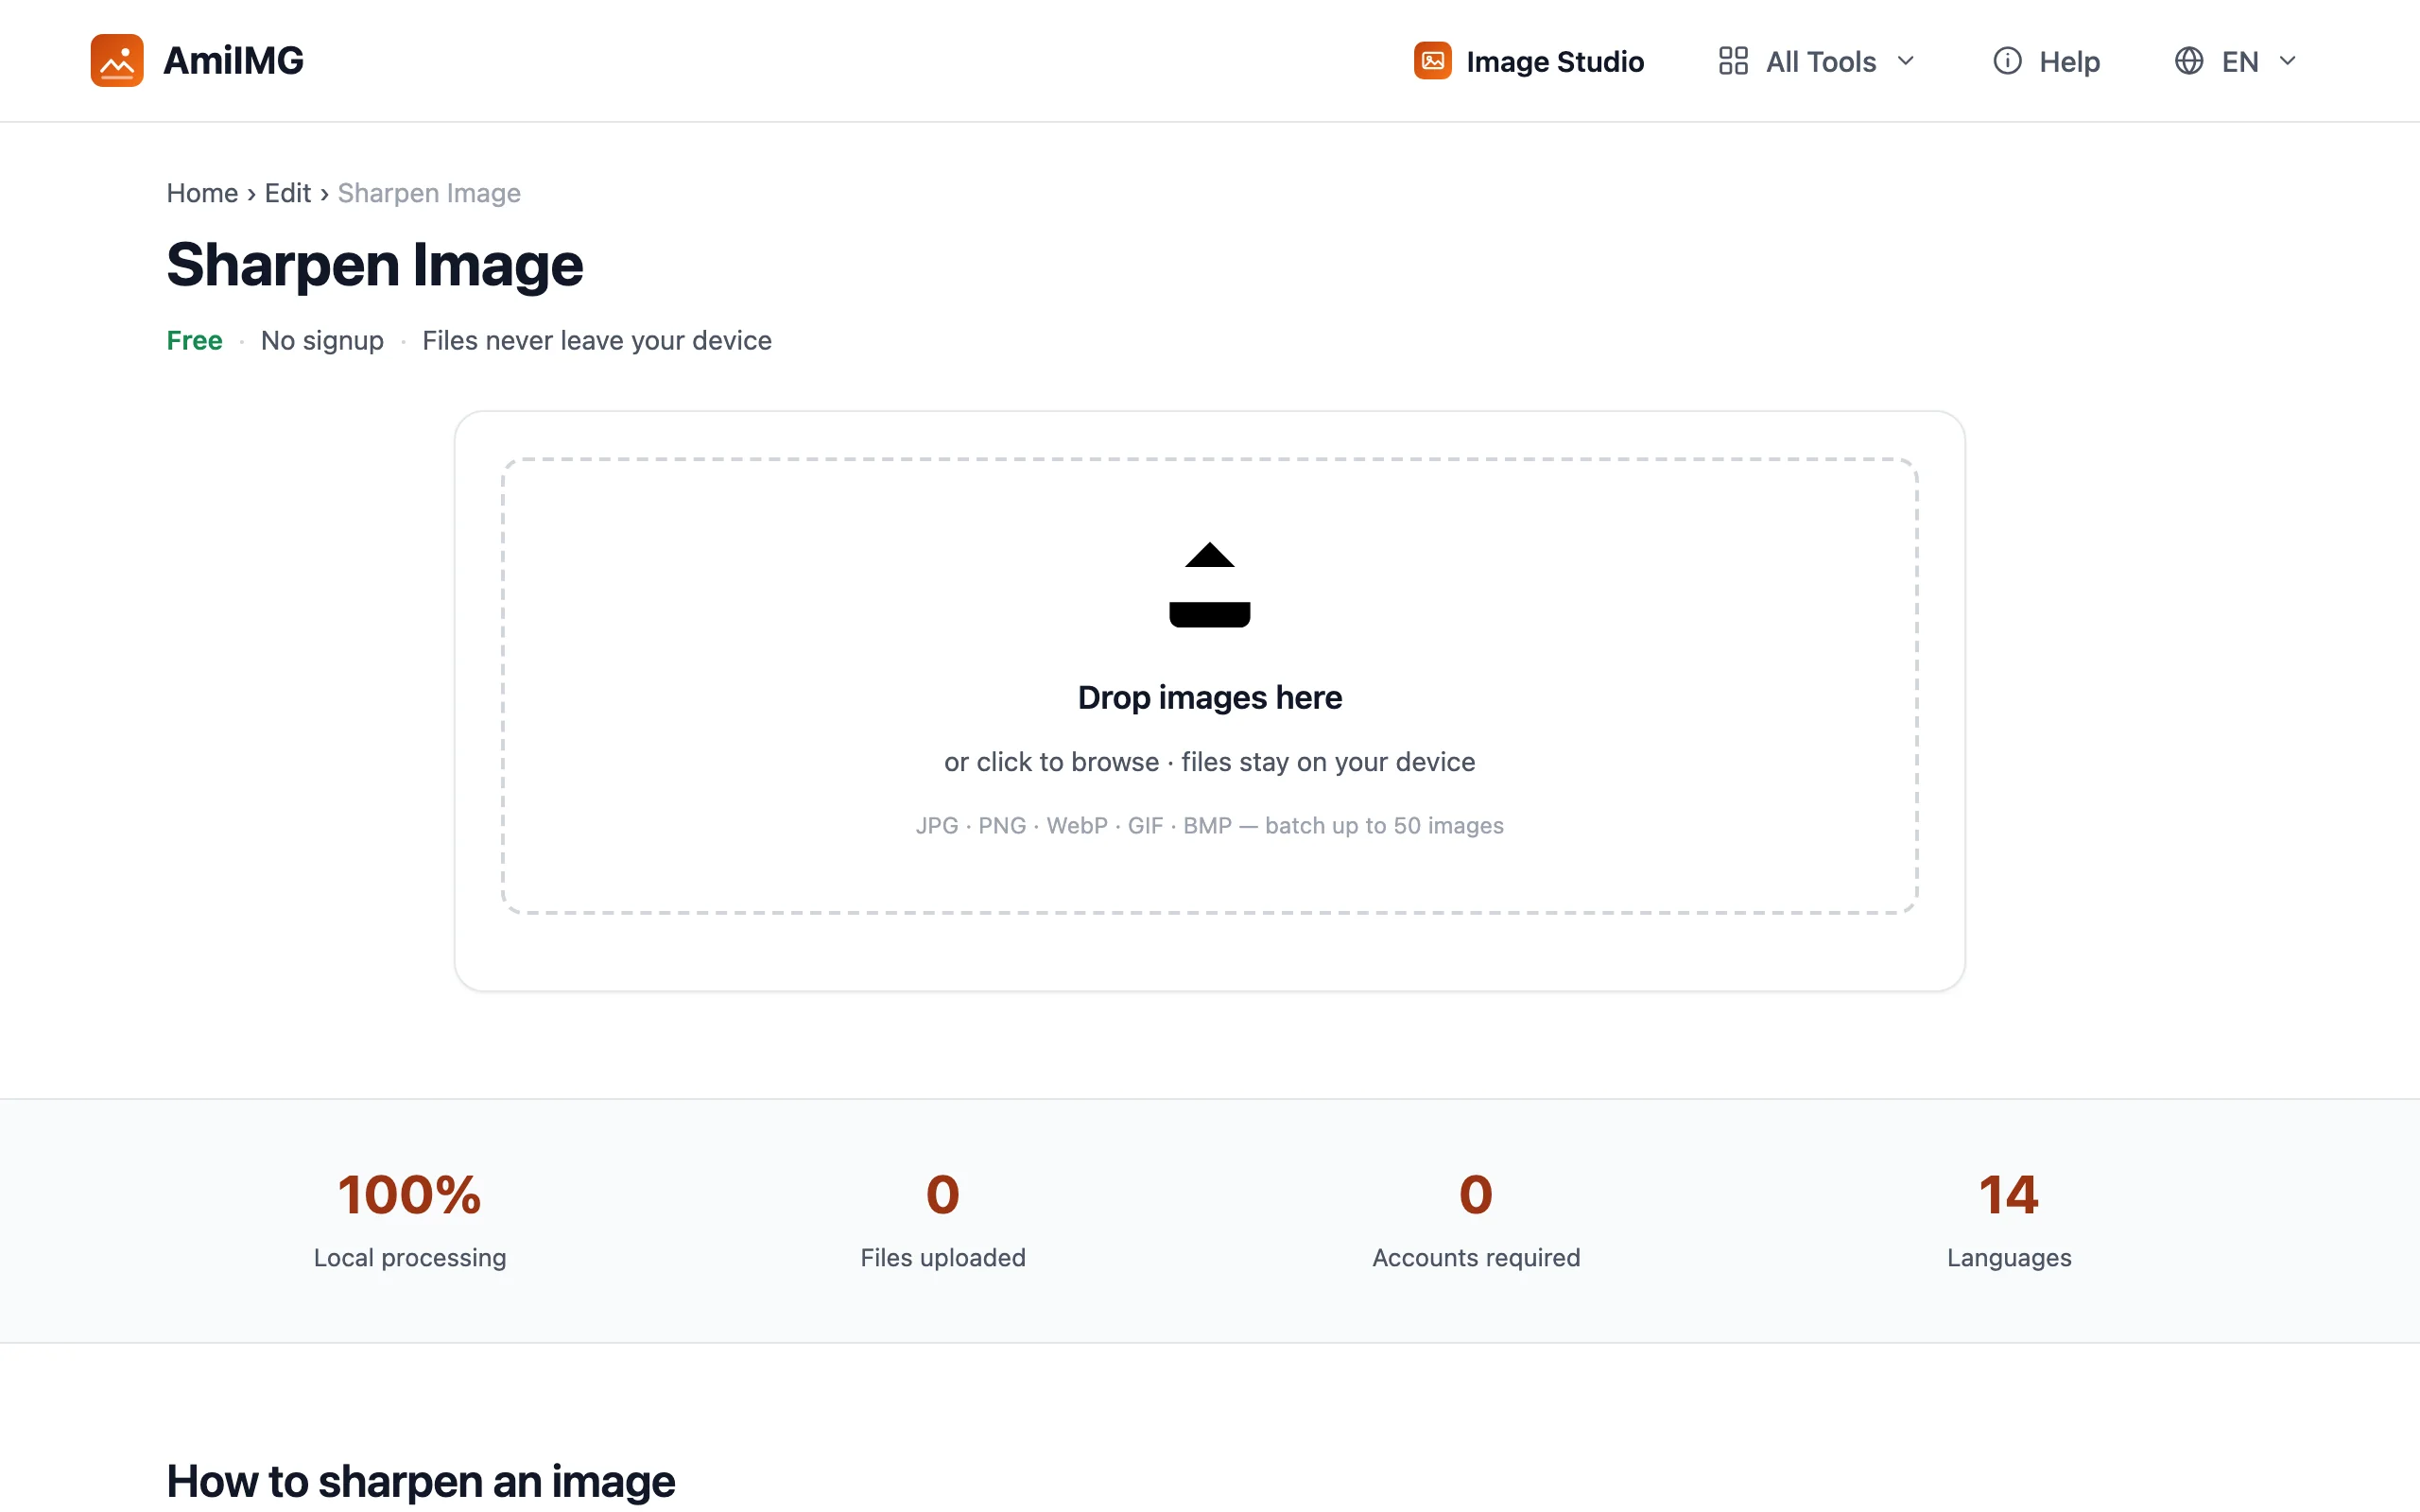
Add the soft images
Open the AmiIMG image sharpener and feed it the soft files, by drop or by click. JPG, PNG, WebP, GIF, and BMP each work, 50 files per batch at 30 MB apiece, and the thumbnail order is the order of the ZIP.
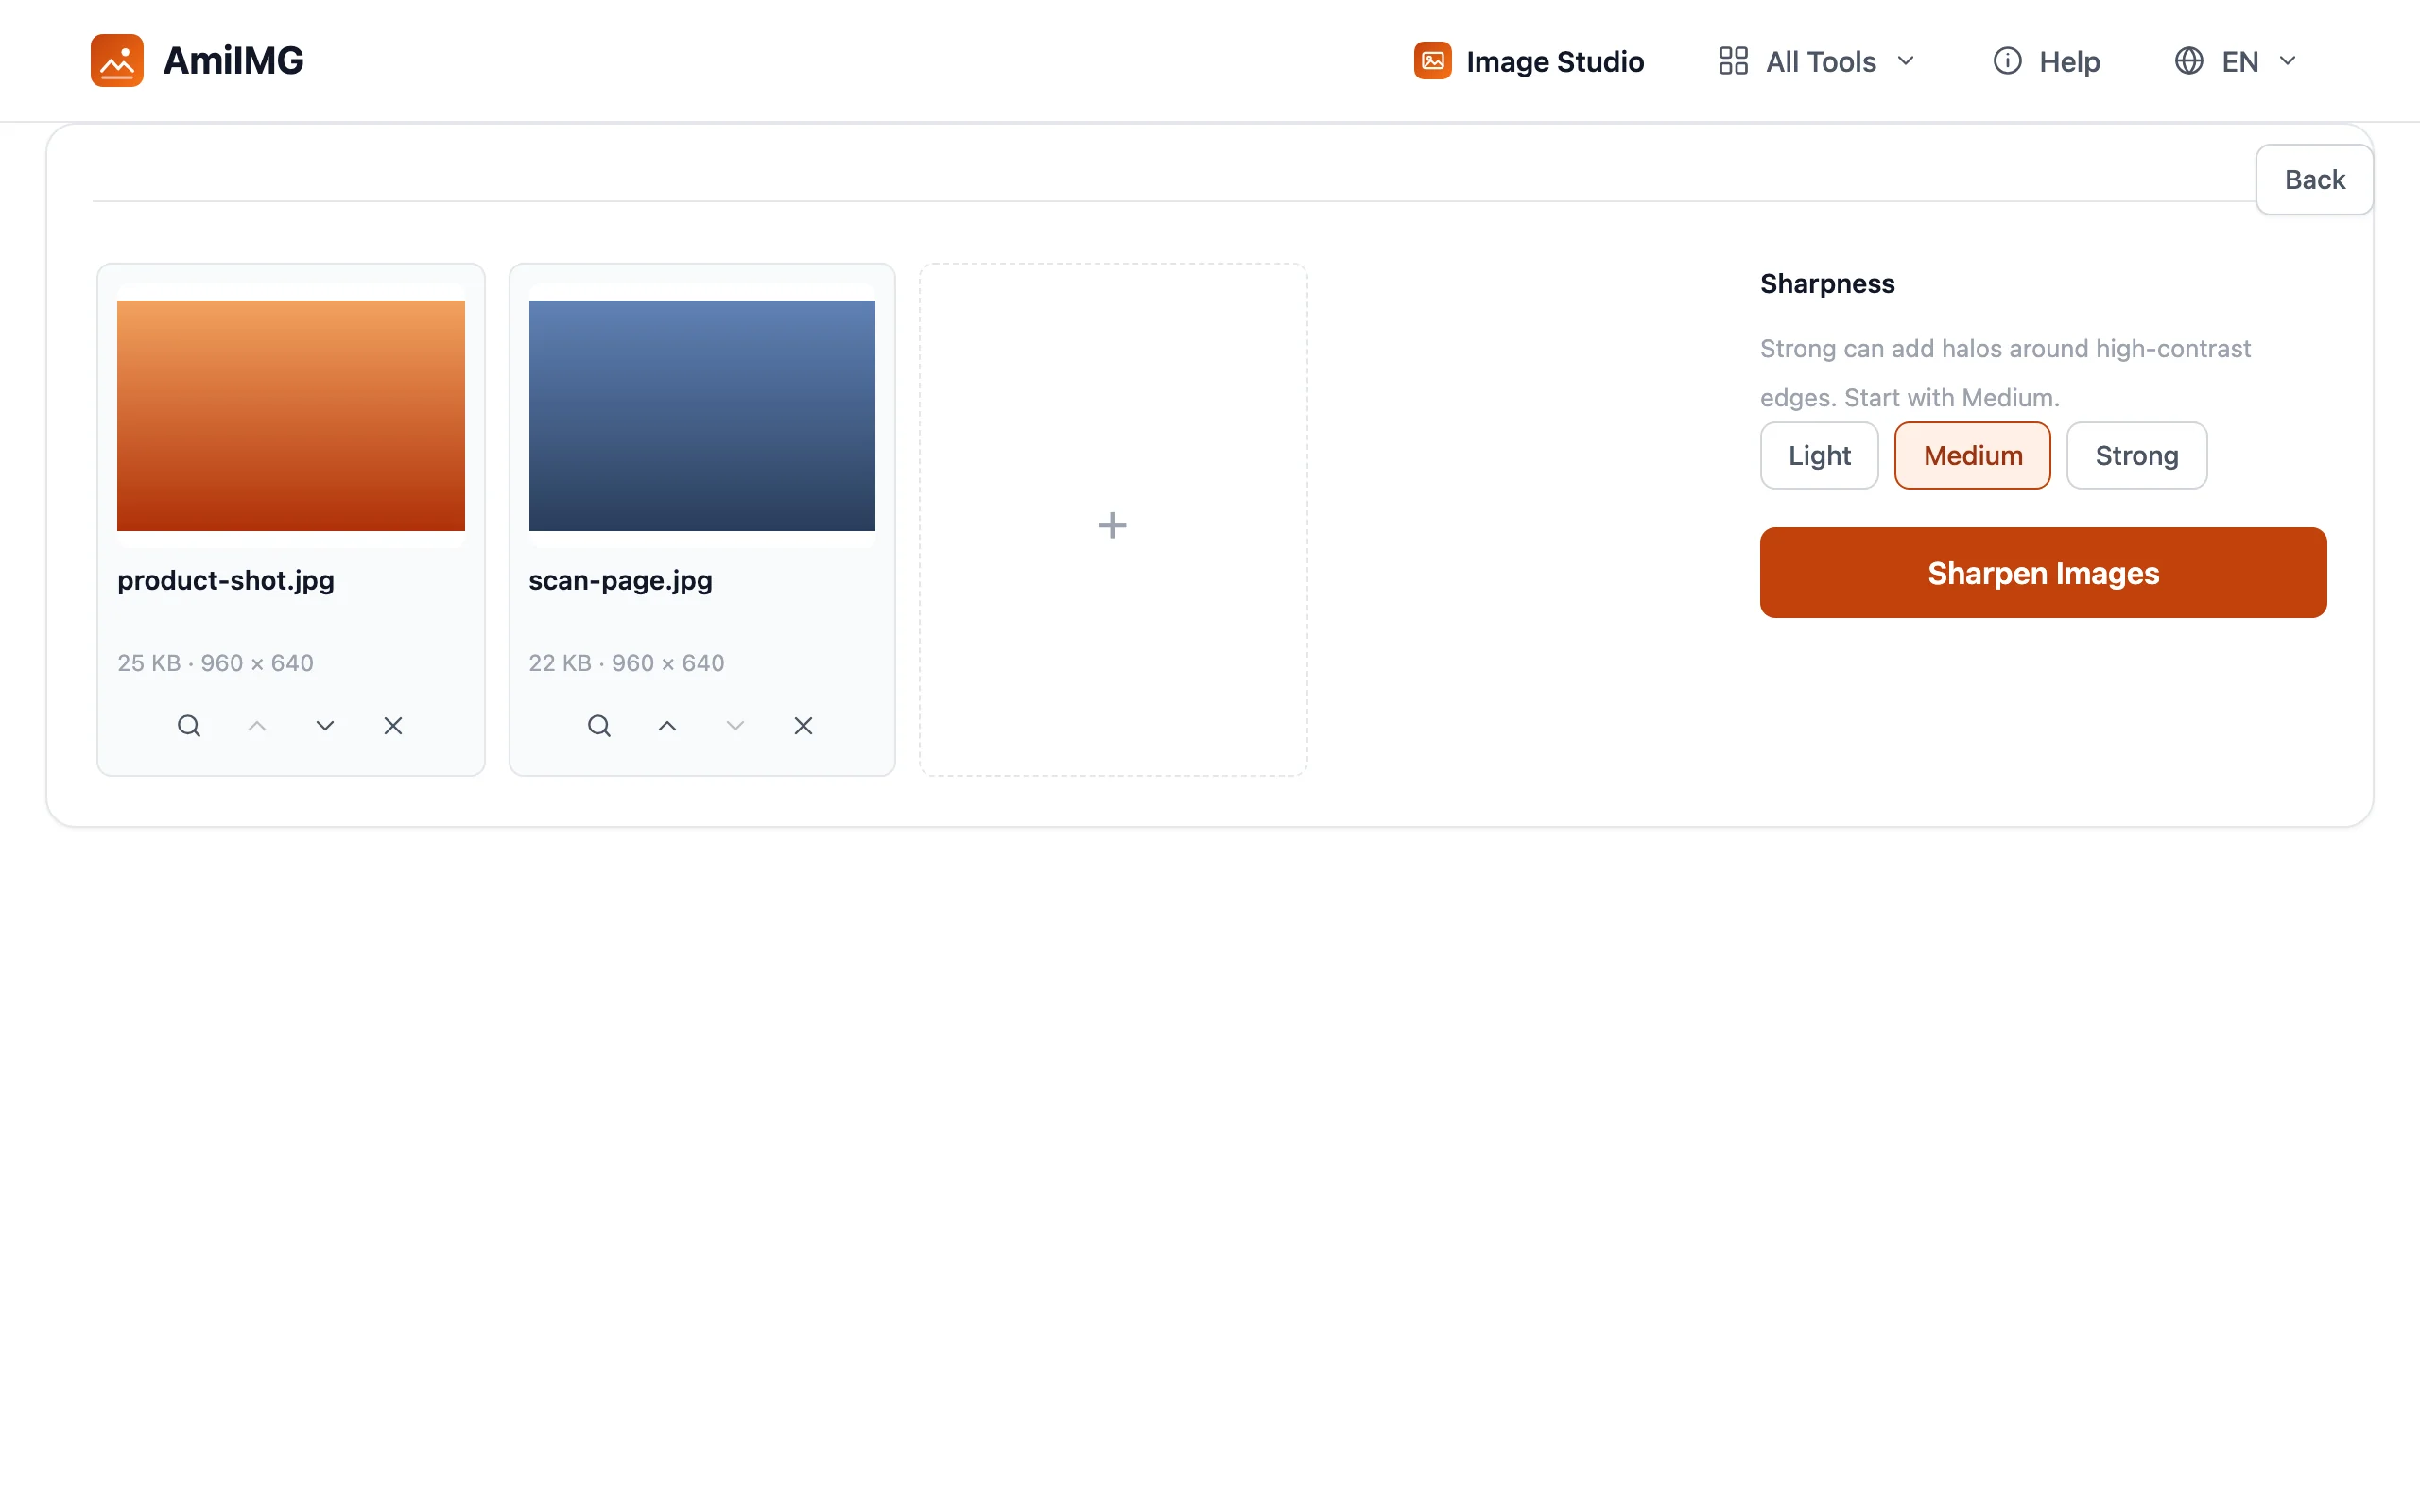
Pick a strength
The panel offers Light, Medium, and Strong. Medium covers most slightly soft photos. Strong pushes harder and can add halos around high-contrast edges at full zoom, so save it for images that will be shown small or printed at reduced size.
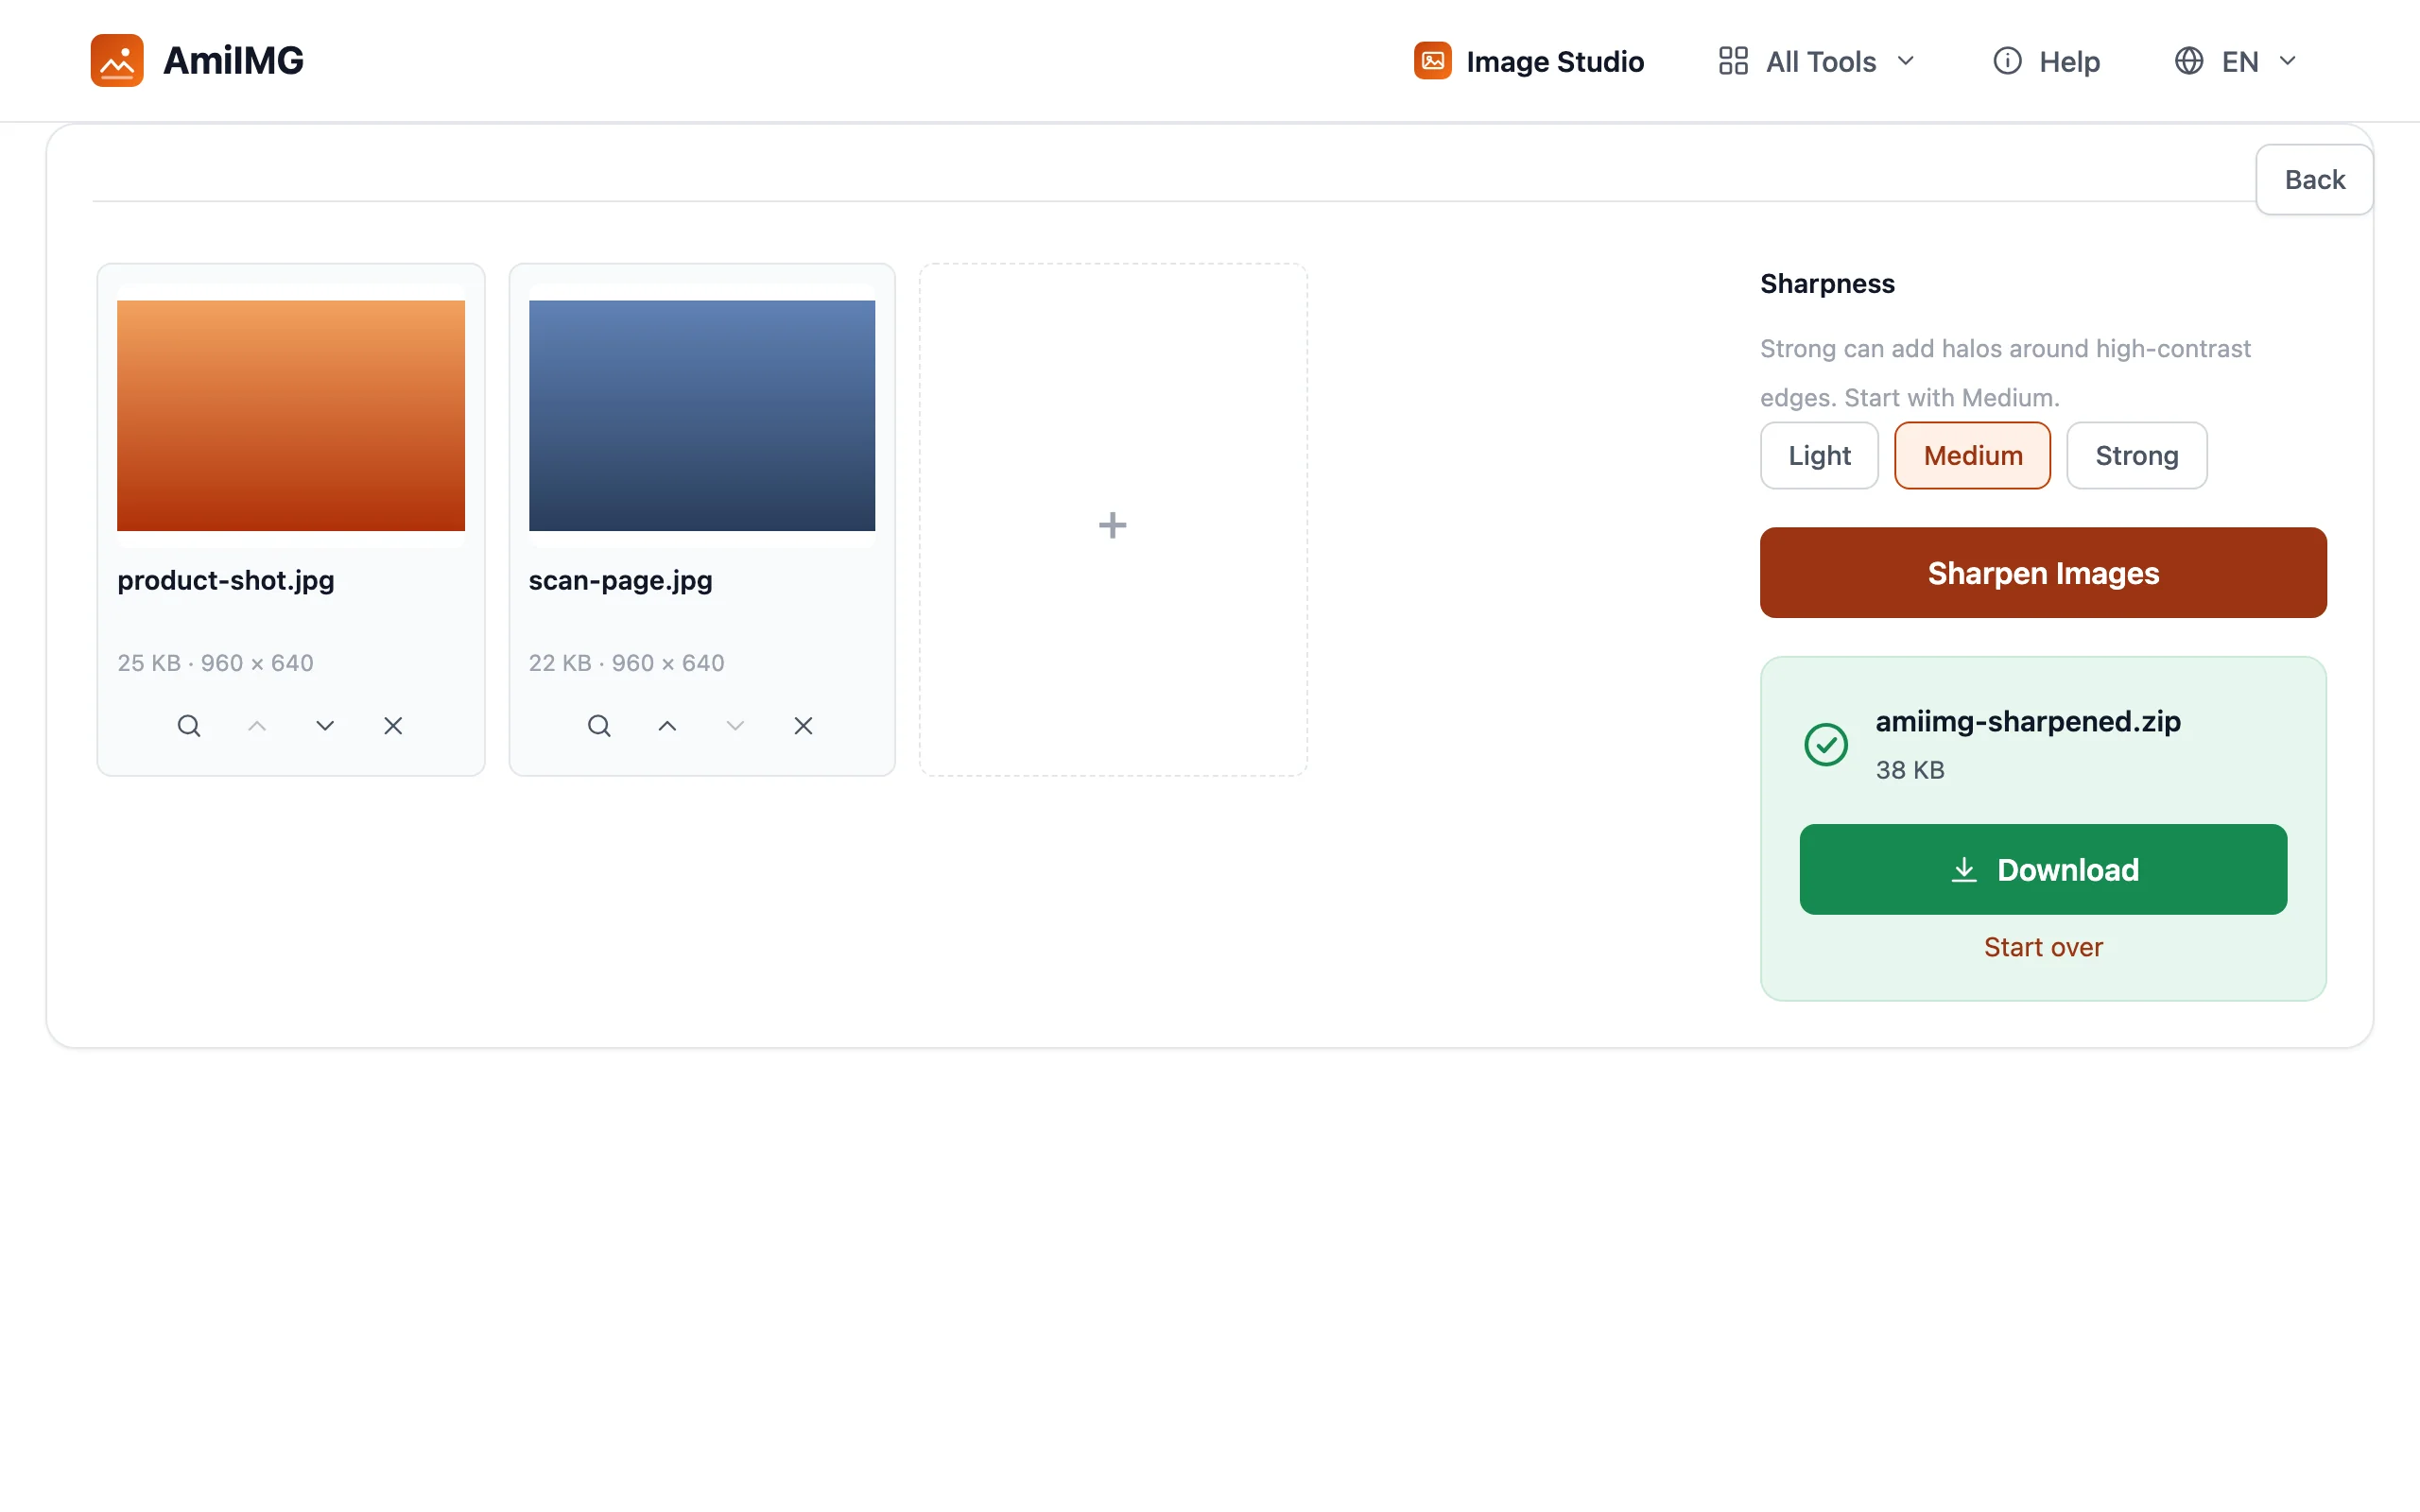
Sharpen the images
Hit Sharpen Images. Under the hood it's the classic darkroom technique: each pixel gets compared against a blurred copy of itself, and the difference is added back at the strength you picked. The level locks for the run, so every file in the batch gets identical treatment.
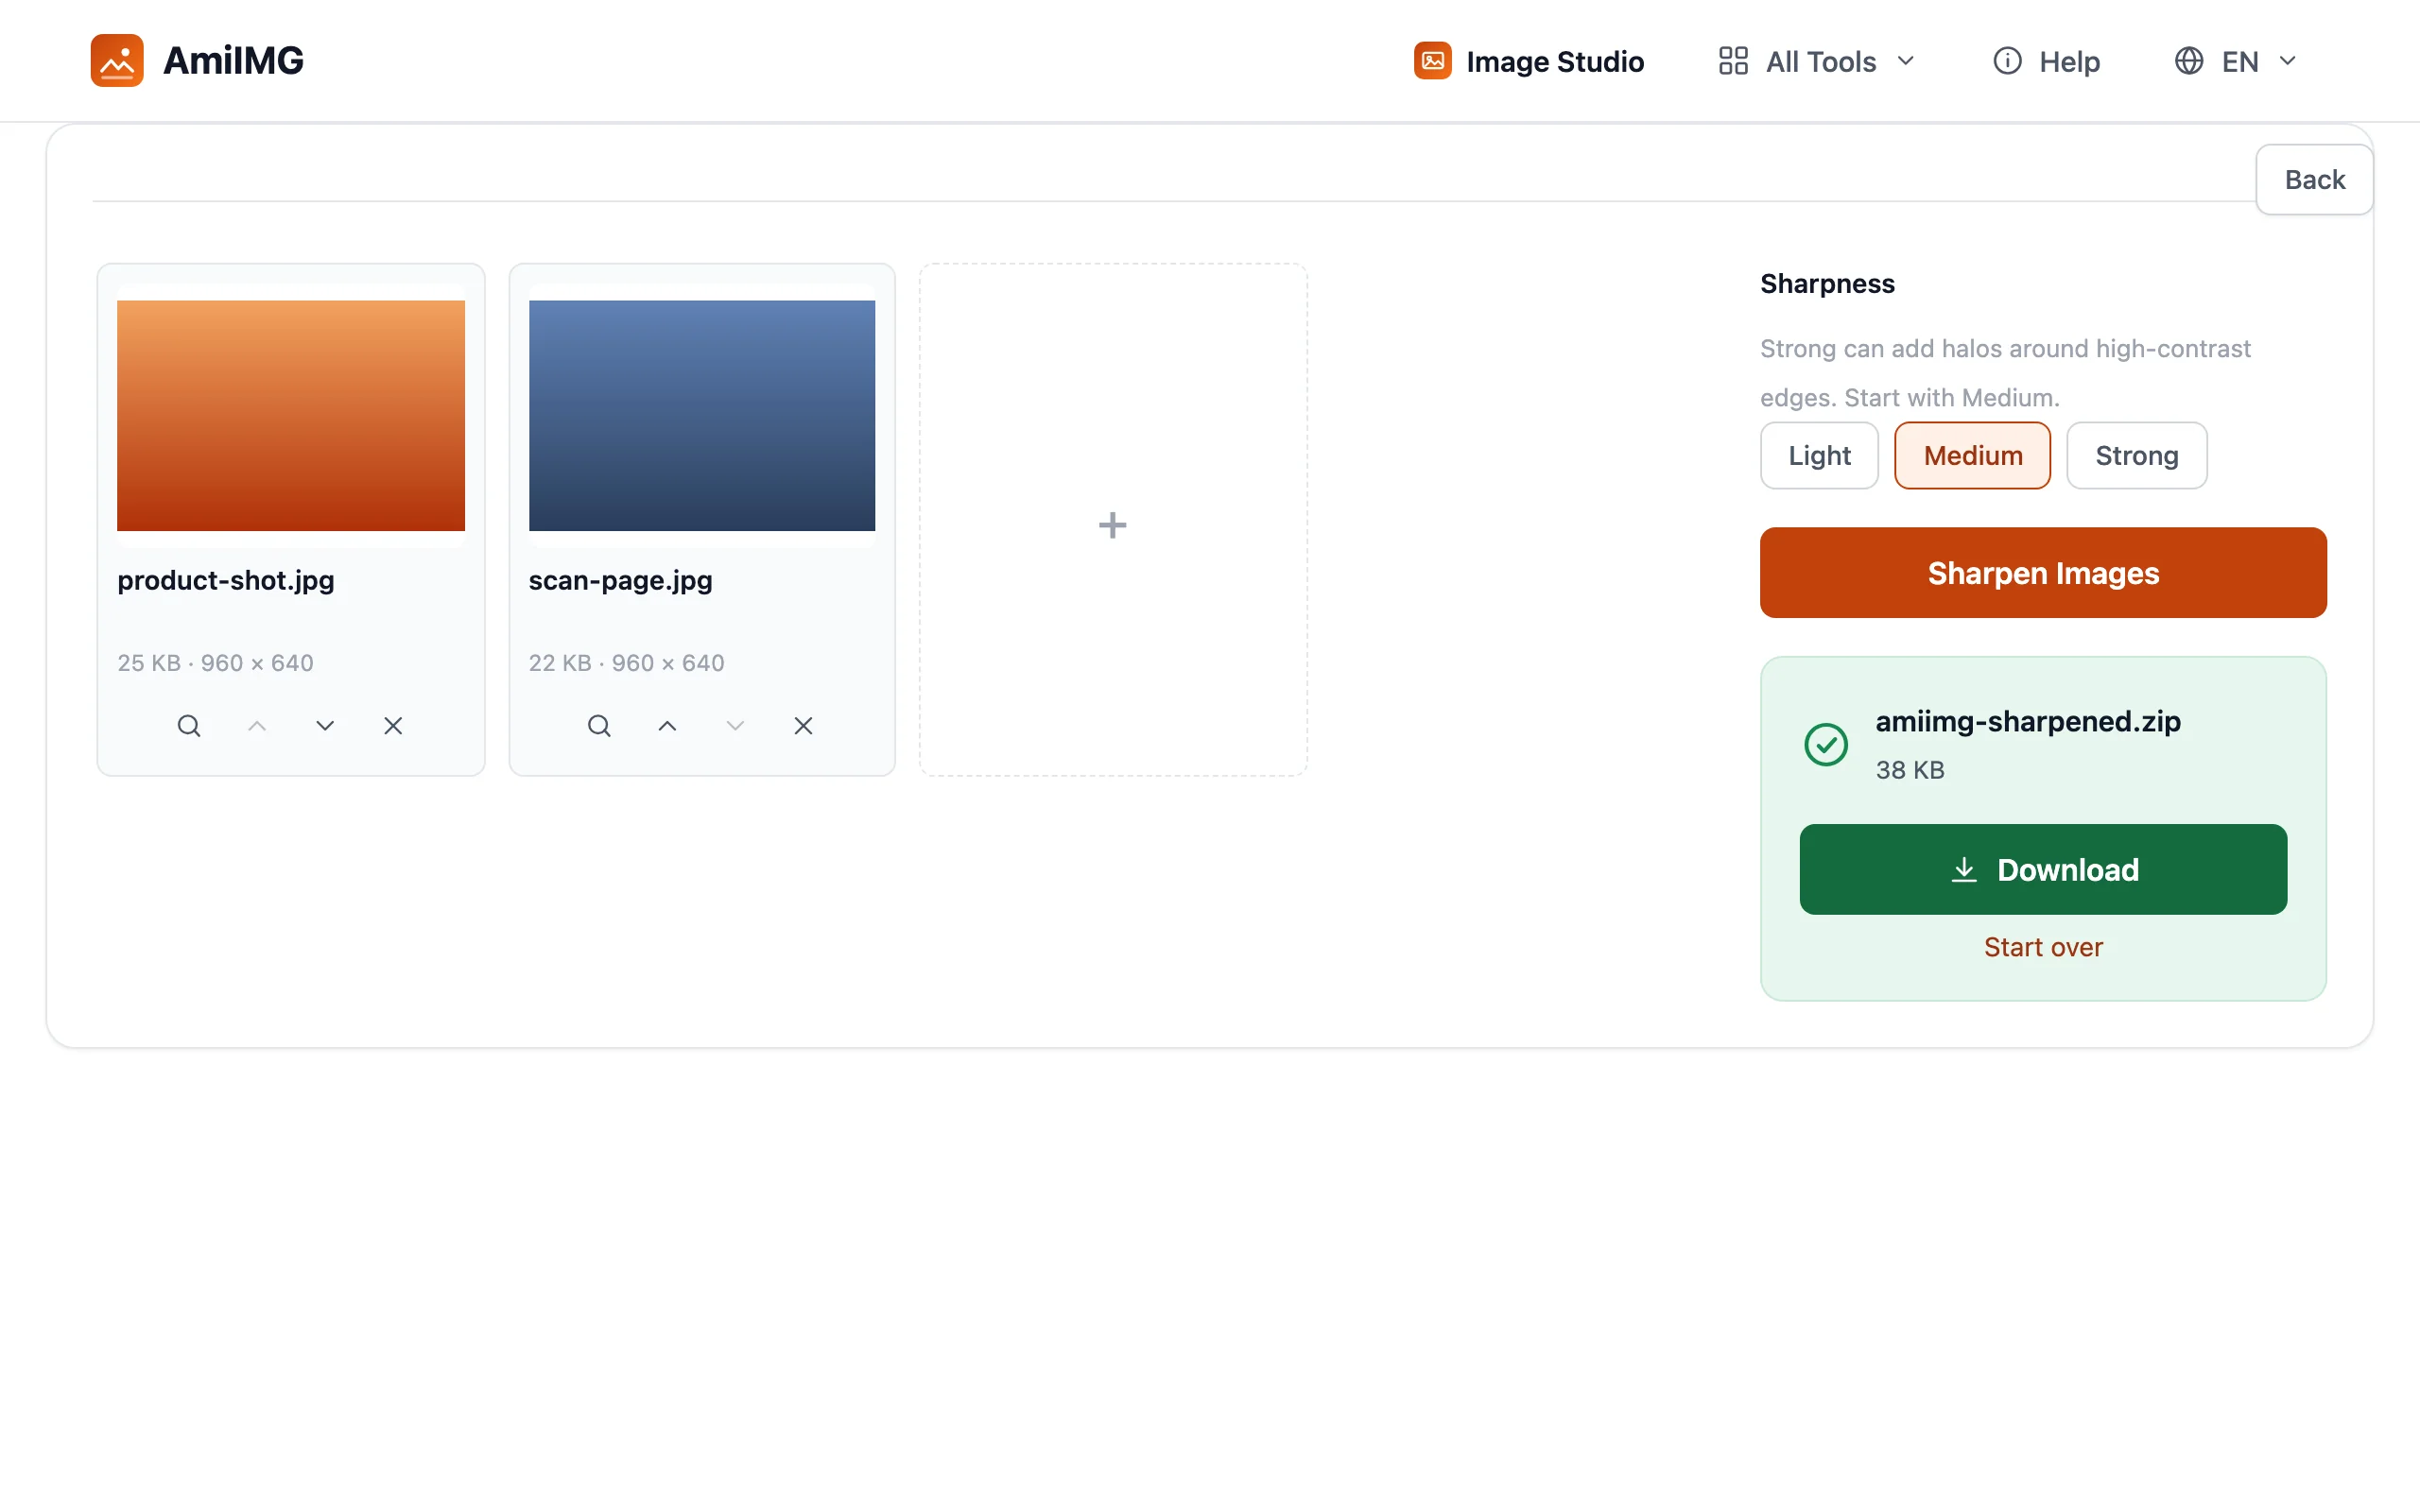
Download the results
The result card hands over one file directly, or a single ZIP when the batch ran. JPG, PNG, and WebP stay in format; GIF and BMP land as PNG.
Sharpening without the artifacts
What sharpening can and can't recover
Sharpening amplifies contrast along edges already present in the pixels. A photo that's genuinely out of focus, or smeared by motion, has little edge left to work with and gains almost nothing. Resized, re-compressed, or scanned images are exactly the case it fixes. And for an image that's simply too small, sharpening is the wrong lever entirely — adding pixels is upscaling, which has its own guide.
Why halos appear at Strong
The difference between a pixel and its blurred copy gets added back into the image. Push that difference far enough and it overflows past high-contrast edges, showing up as bright rims. At reduced display or print sizes the rims fall below visibility, which is precisely when Strong is worth its extra push.
Sharpen last
Resizing softens edges on its own, so sharpen after the resize, never before, or you'll amplify detail that the next resize smears again. The standard chain is crop, resize, sharpen.
Frequently asked questions
Can I sharpen an out-of-focus photo back into focus?
No. It amplifies edges that already exist in the pixels; detail the lens never recorded can't be reconstructed. Blurry shots gain little — softness from resizing or scanning is the case it addresses.
When should I use Strong?
When the image will be viewed small or printed at reduced size. The halos visible at 100% zoom mostly disappear when the picture is scaled down, so the extra strength buys crispness exactly where its artifacts hide.
Does sharpening change the format or size of my files?
The pixel dimensions are untouched; the filter runs on what's already there, with no resize involved. Formats pass through unchanged apart from GIF and BMP, which arrive as PNG.
Can different images in one batch use different strengths?
No. The strength applies to the whole run and locks while it executes, so every file gets identical treatment. Split a mixed batch into separate passes.
Is there a watermark, a limit, or an account?
No watermark and no account. The ceiling is 50 files per run at 30 MB apiece, and the whole run stays in your browser.