How to Add a Watermark to an Image
Add a text watermark to images online for free. A visual, step-by-step guide to watermarking photos in bulk — position, opacity, size, rotation — right in your browser.
Watermark ImagesBefore your photos go out into the world — a portfolio, a marketplace listing, a client preview — a watermark tells everyone whose work they are looking at. The catch with most online watermark tools is that they want your images uploaded to their servers. This guide uses AmiIMG's free watermark tool instead: type your text, place it with a click, and watch the preview update live on every photo in the queue. Everything renders in your browser, your images never leave your device, and a whole batch of up to 50 files gets stamped in one pass.
Watermarking your photos, step by step
Add your photos
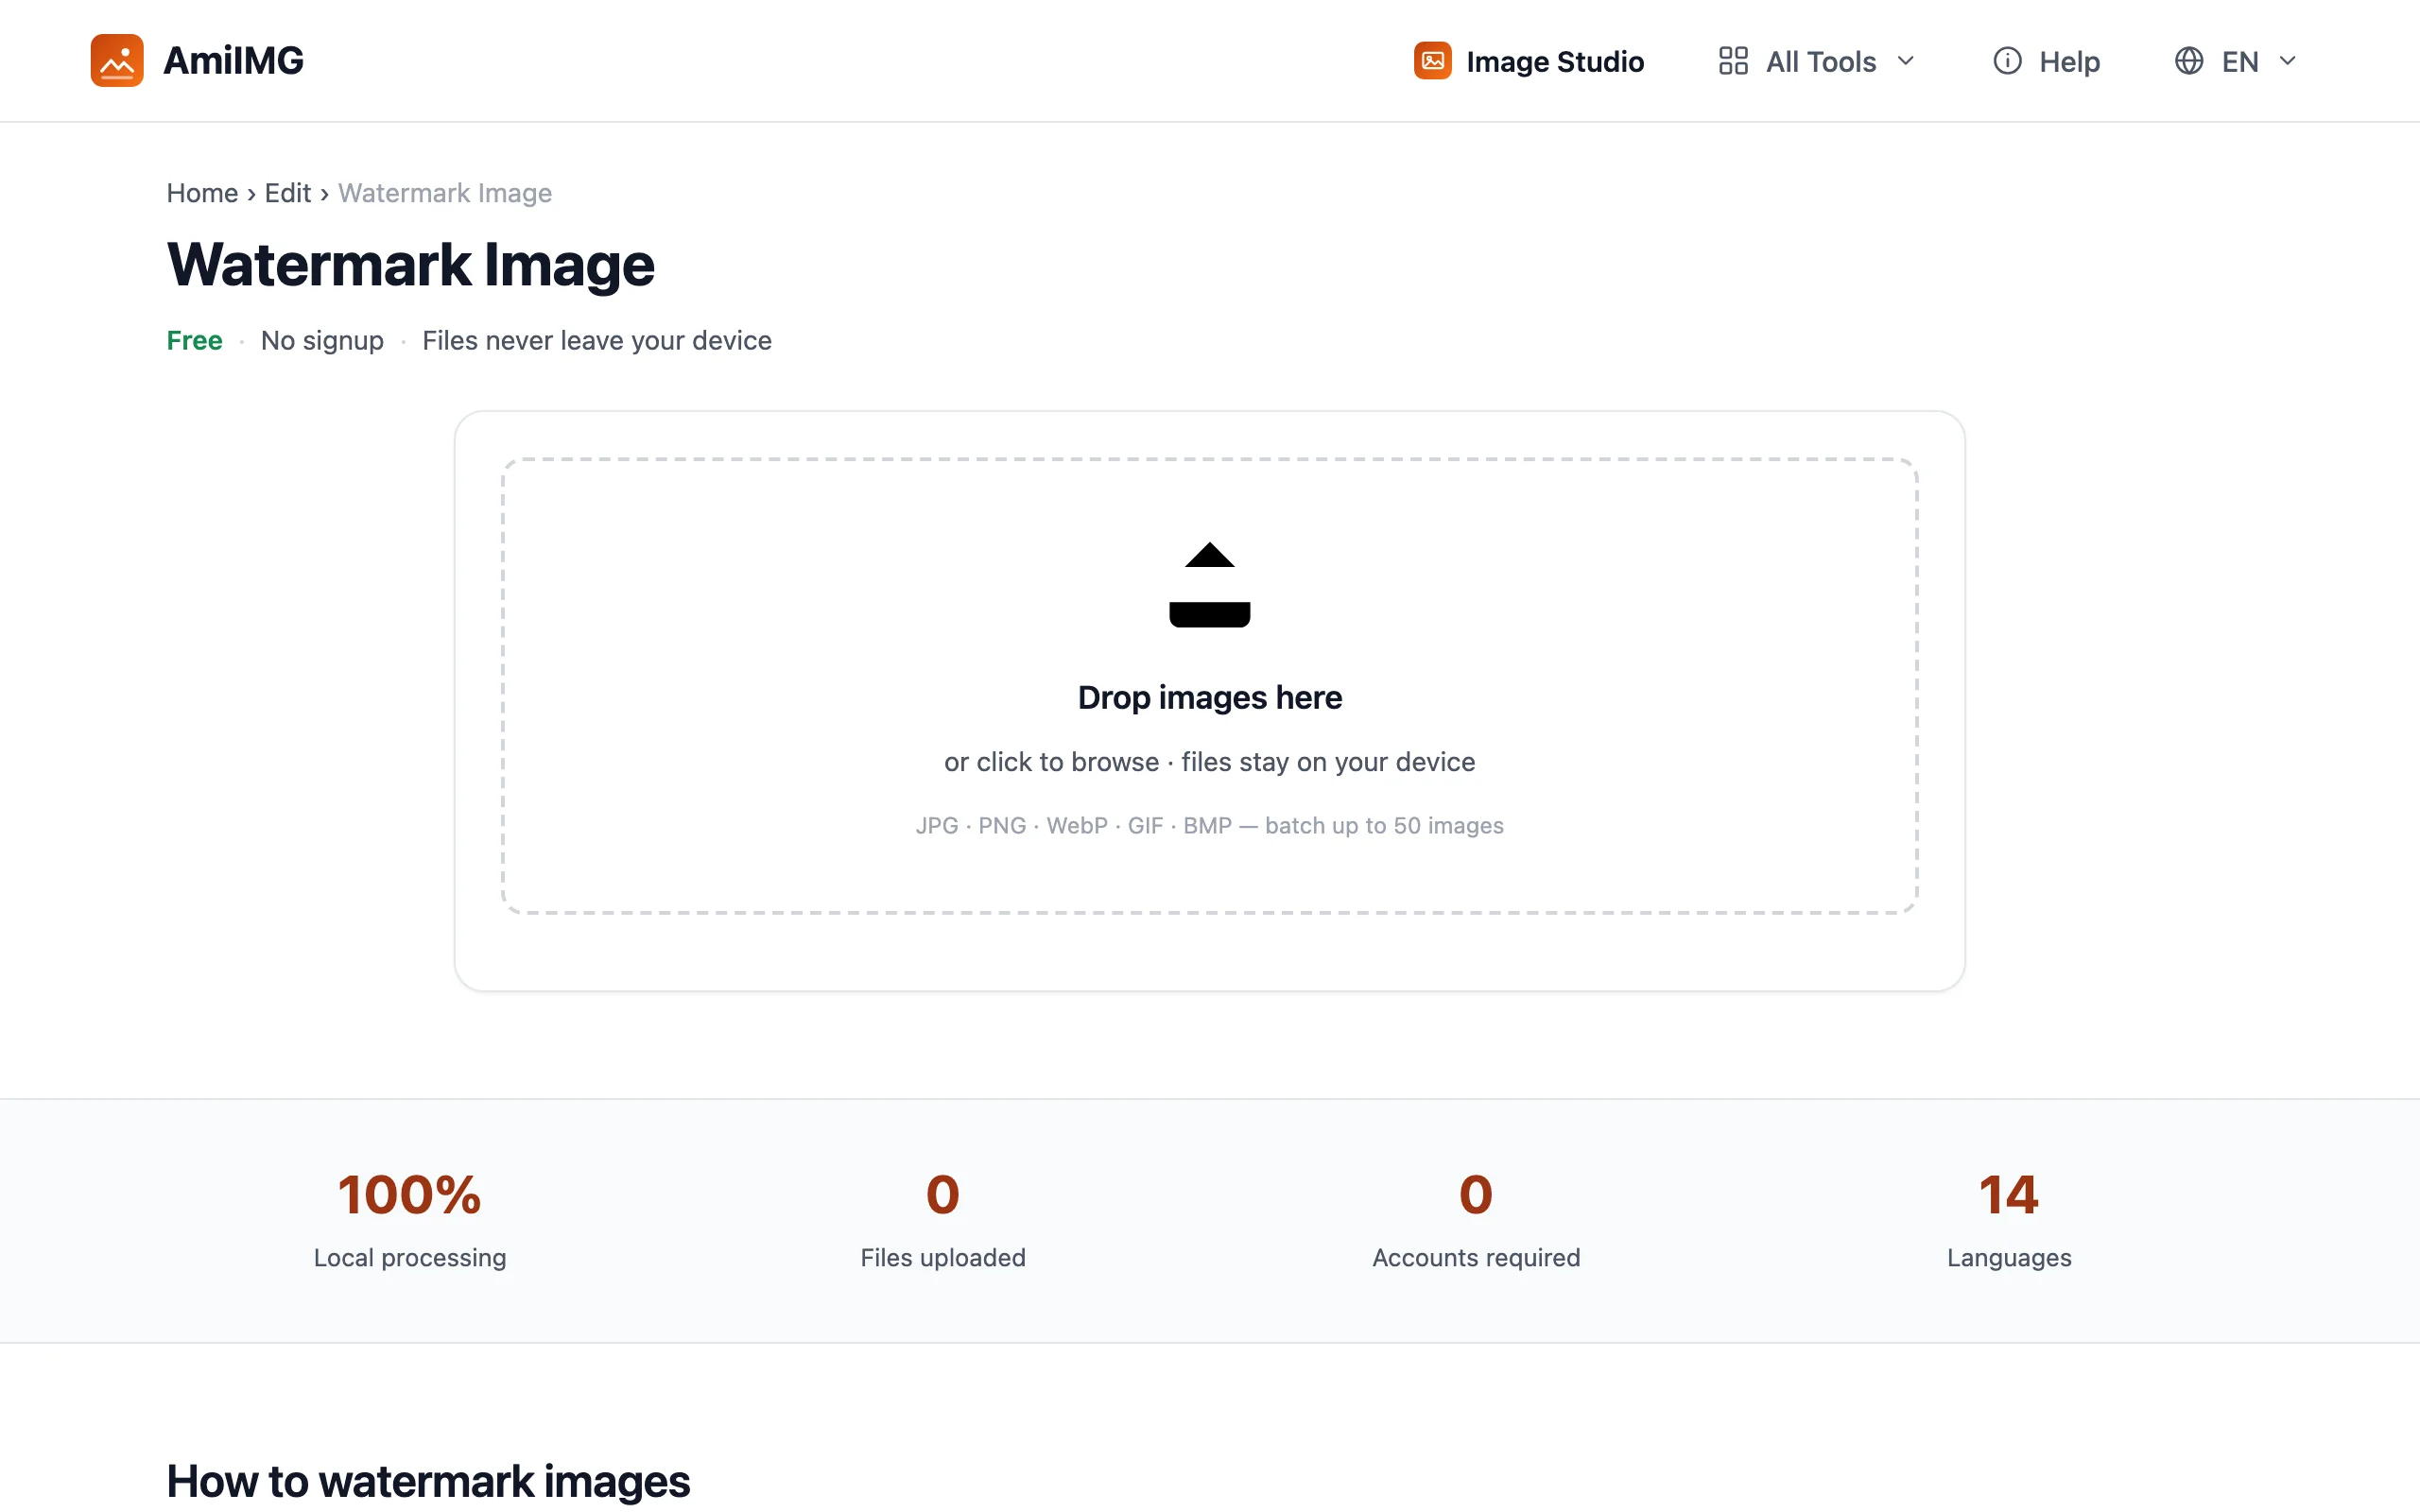
Open the AmiIMG watermark tool and drop in the images you want to stamp — JPG, PNG, WebP, GIF and BMP are all accepted, up to 50 files of 30 MB each. Each photo joins the queue as a thumbnail card ready for preview.
Type your watermark text
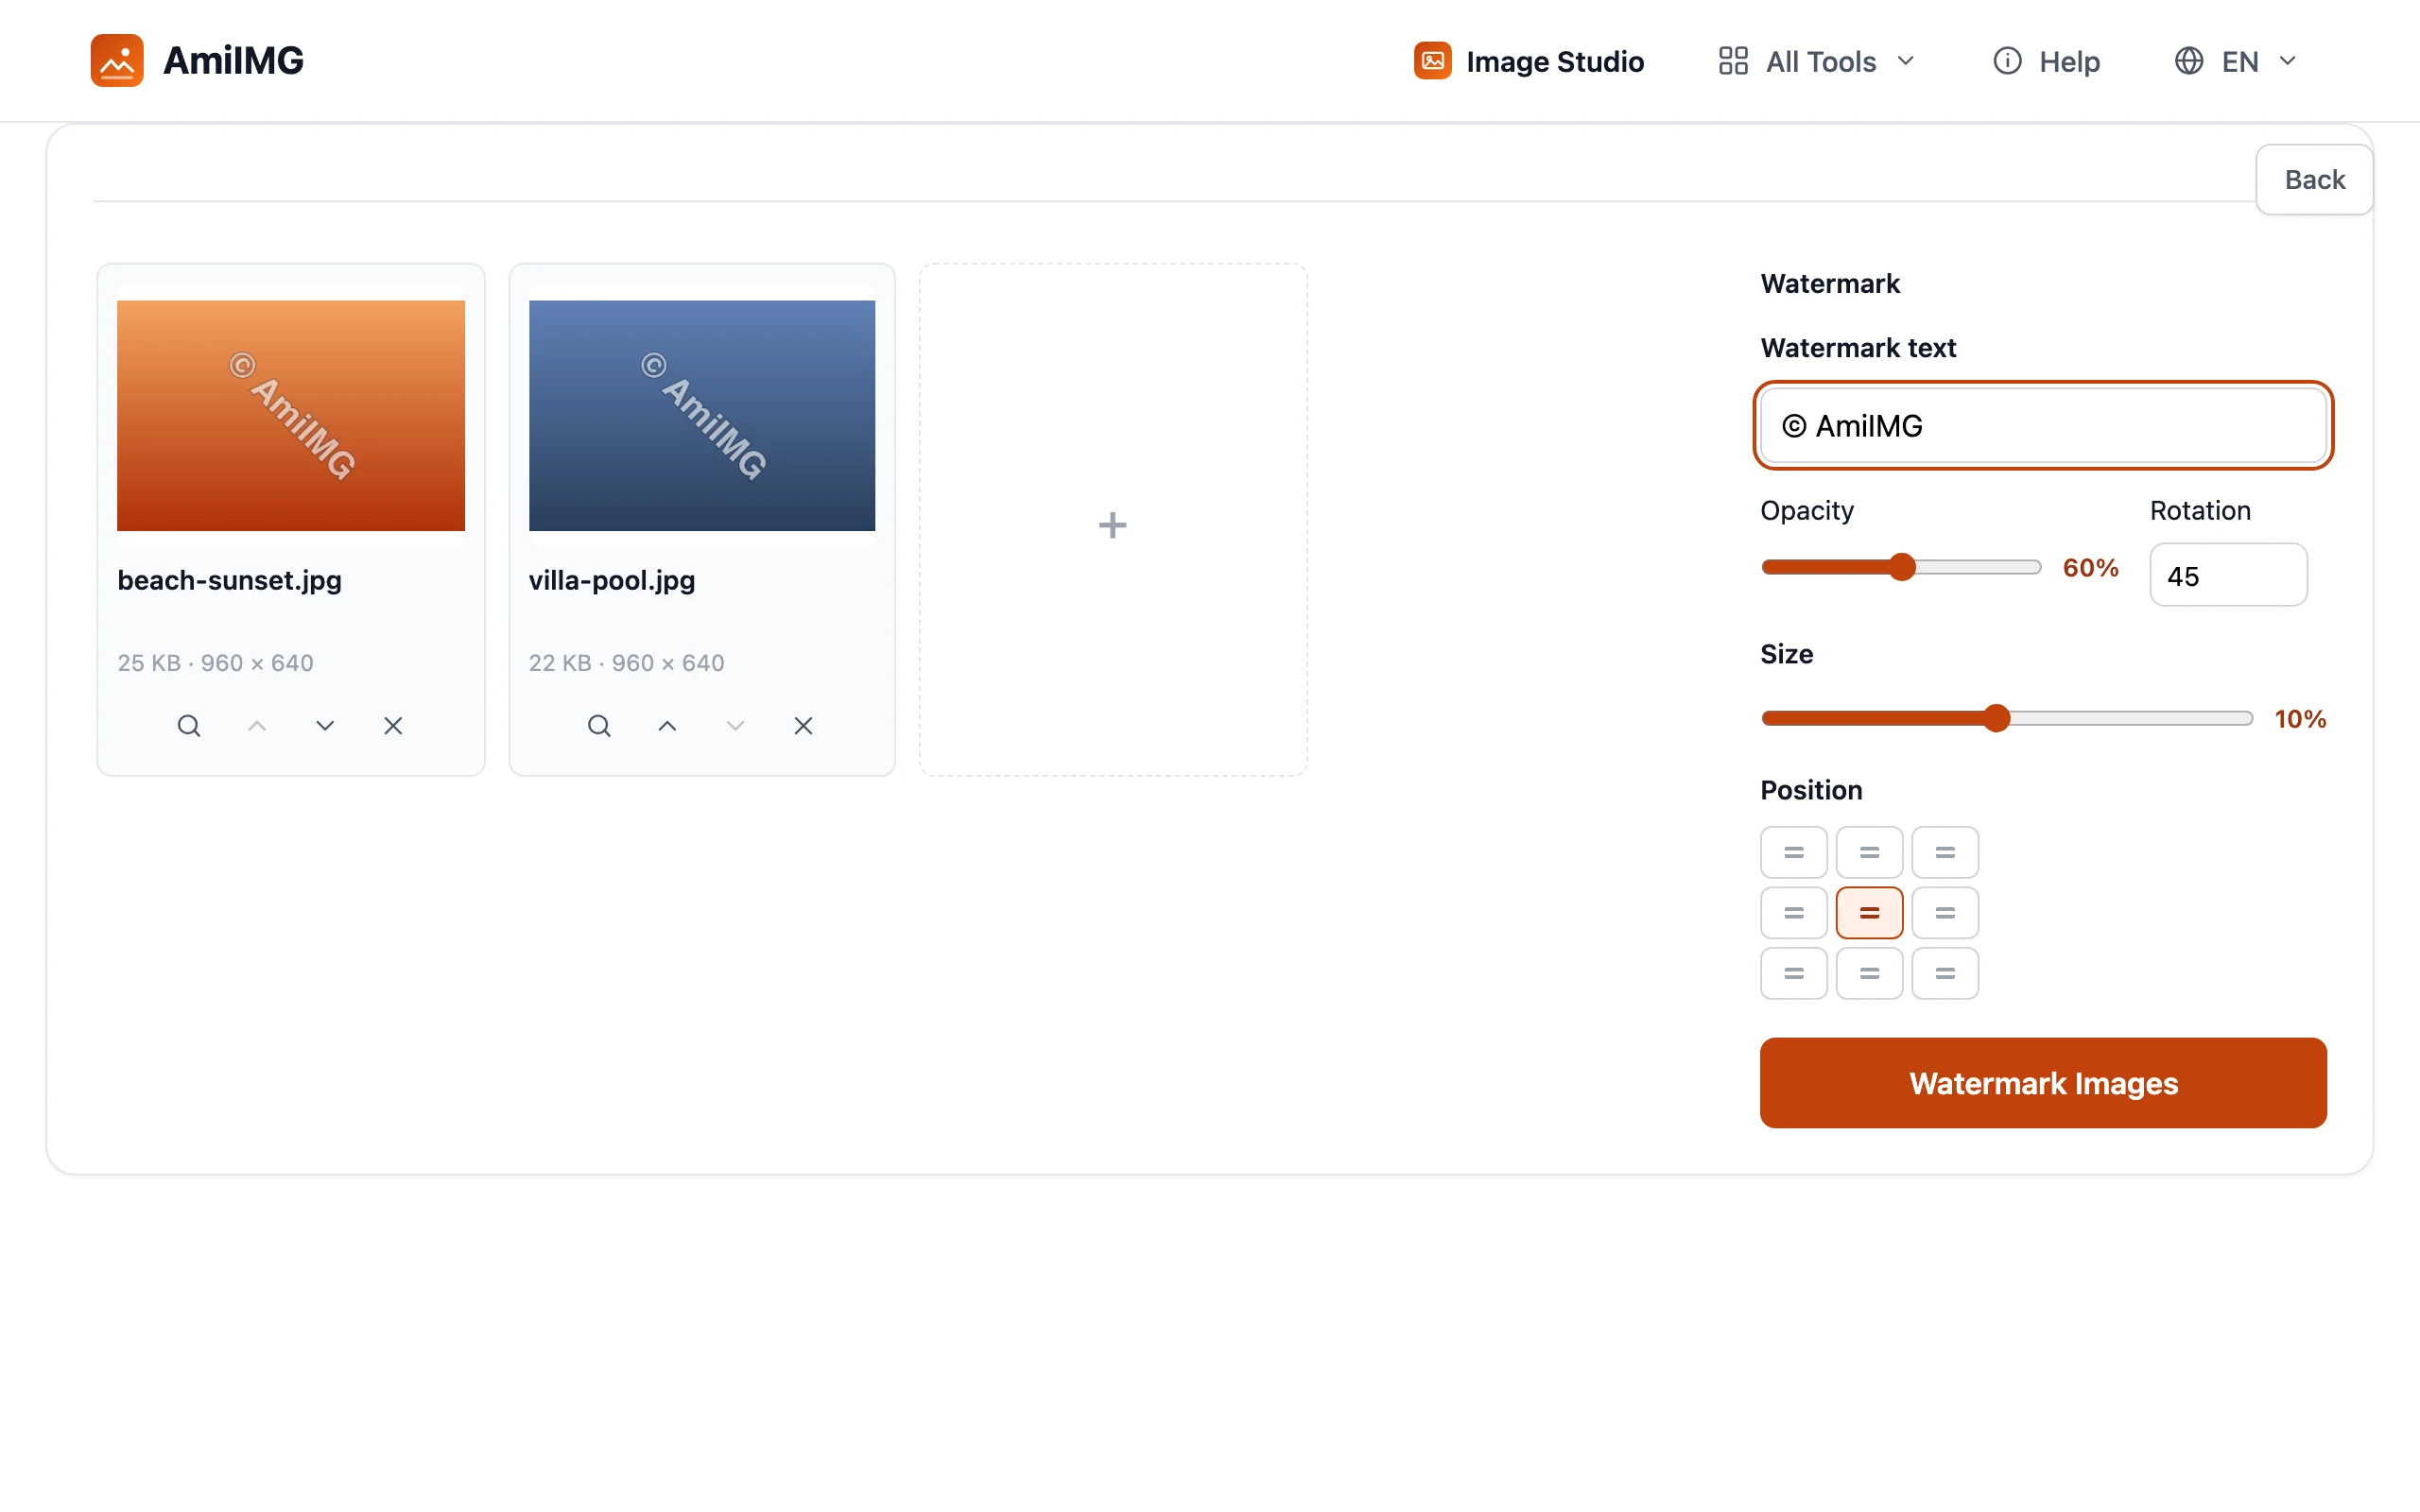
Enter the text to stamp — a name, a handle, a site domain, or a short copyright line like © Jane Doe Photography, up to 80 characters. The moment you stop typing, the watermark appears on every thumbnail in the queue, so you can judge placement and weight across the whole batch at a glance, not one file at a time.
Position it and tune the look
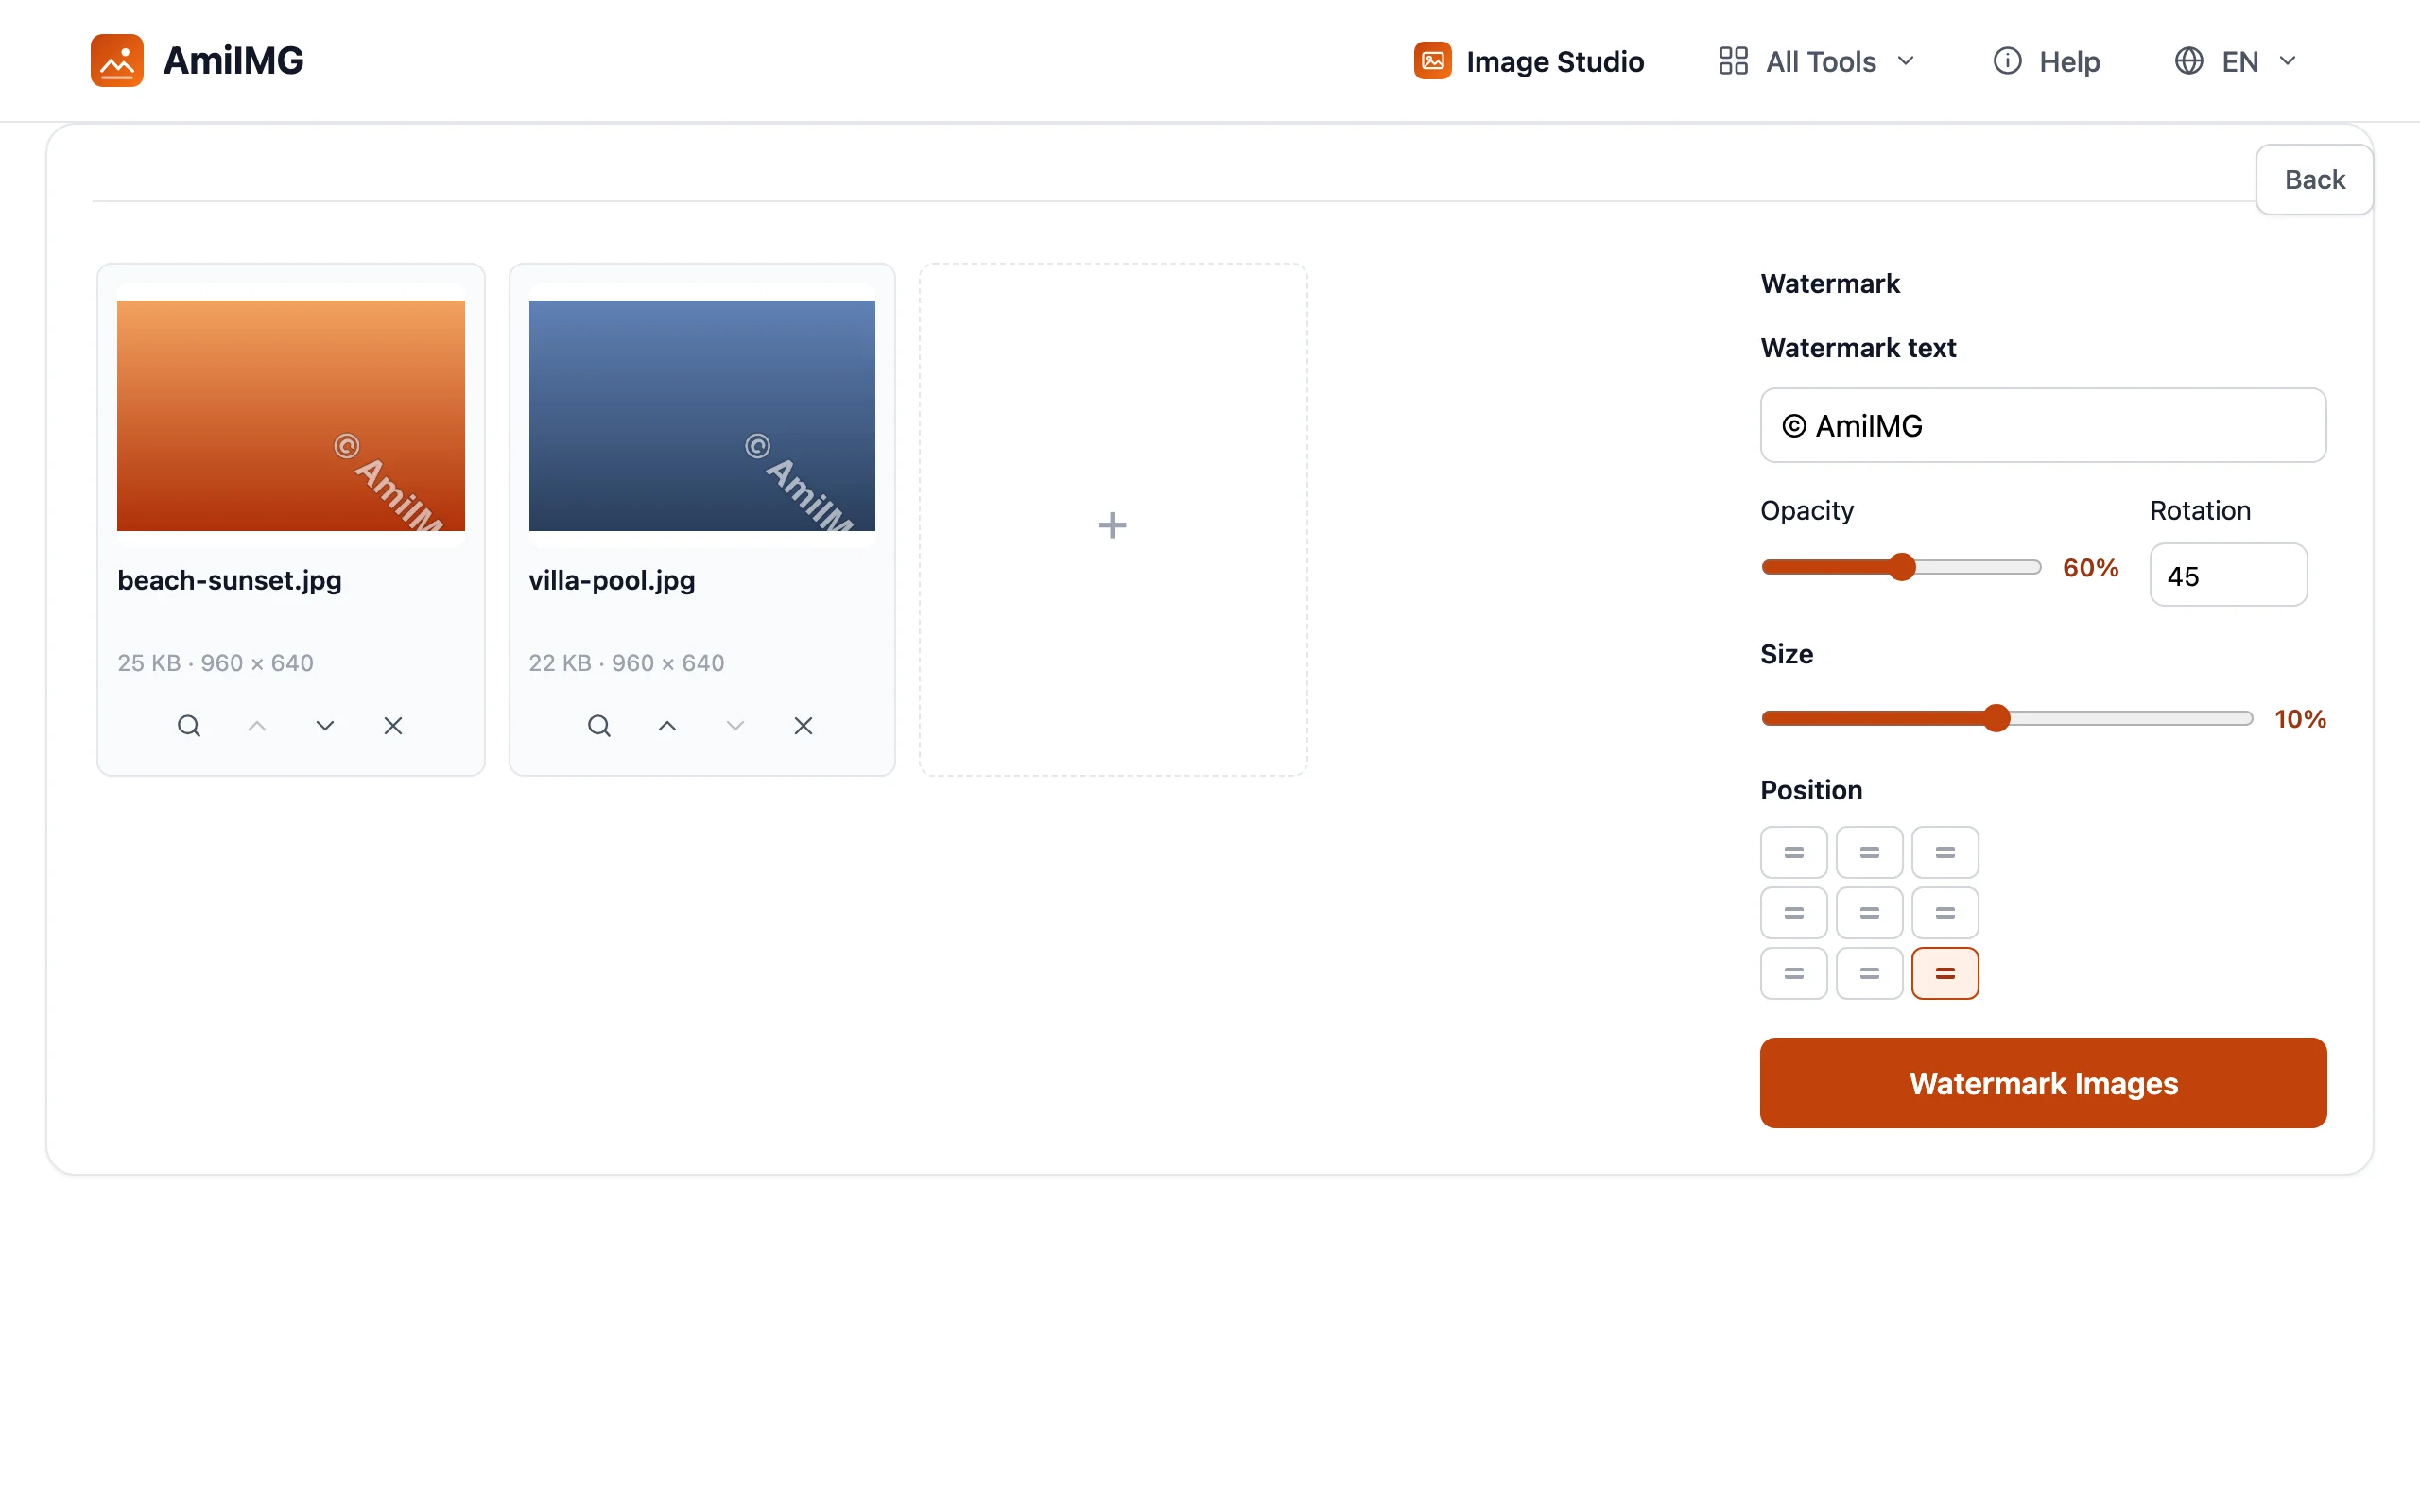
Click one of nine positions on the 3×3 grid — center for maximum deterrence, a corner for a subtle credit. Then adjust the three sliders to taste: opacity from 20% to 100% (60% is a good starting point), size as a percentage of image width so the mark scales consistently across mixed resolutions, and rotation up to ±90° for a classic diagonal stamp. The text is white with a dark outline, which stays readable over both bright skies and dark shadows, and every change repaints the previews instantly.
Apply and download
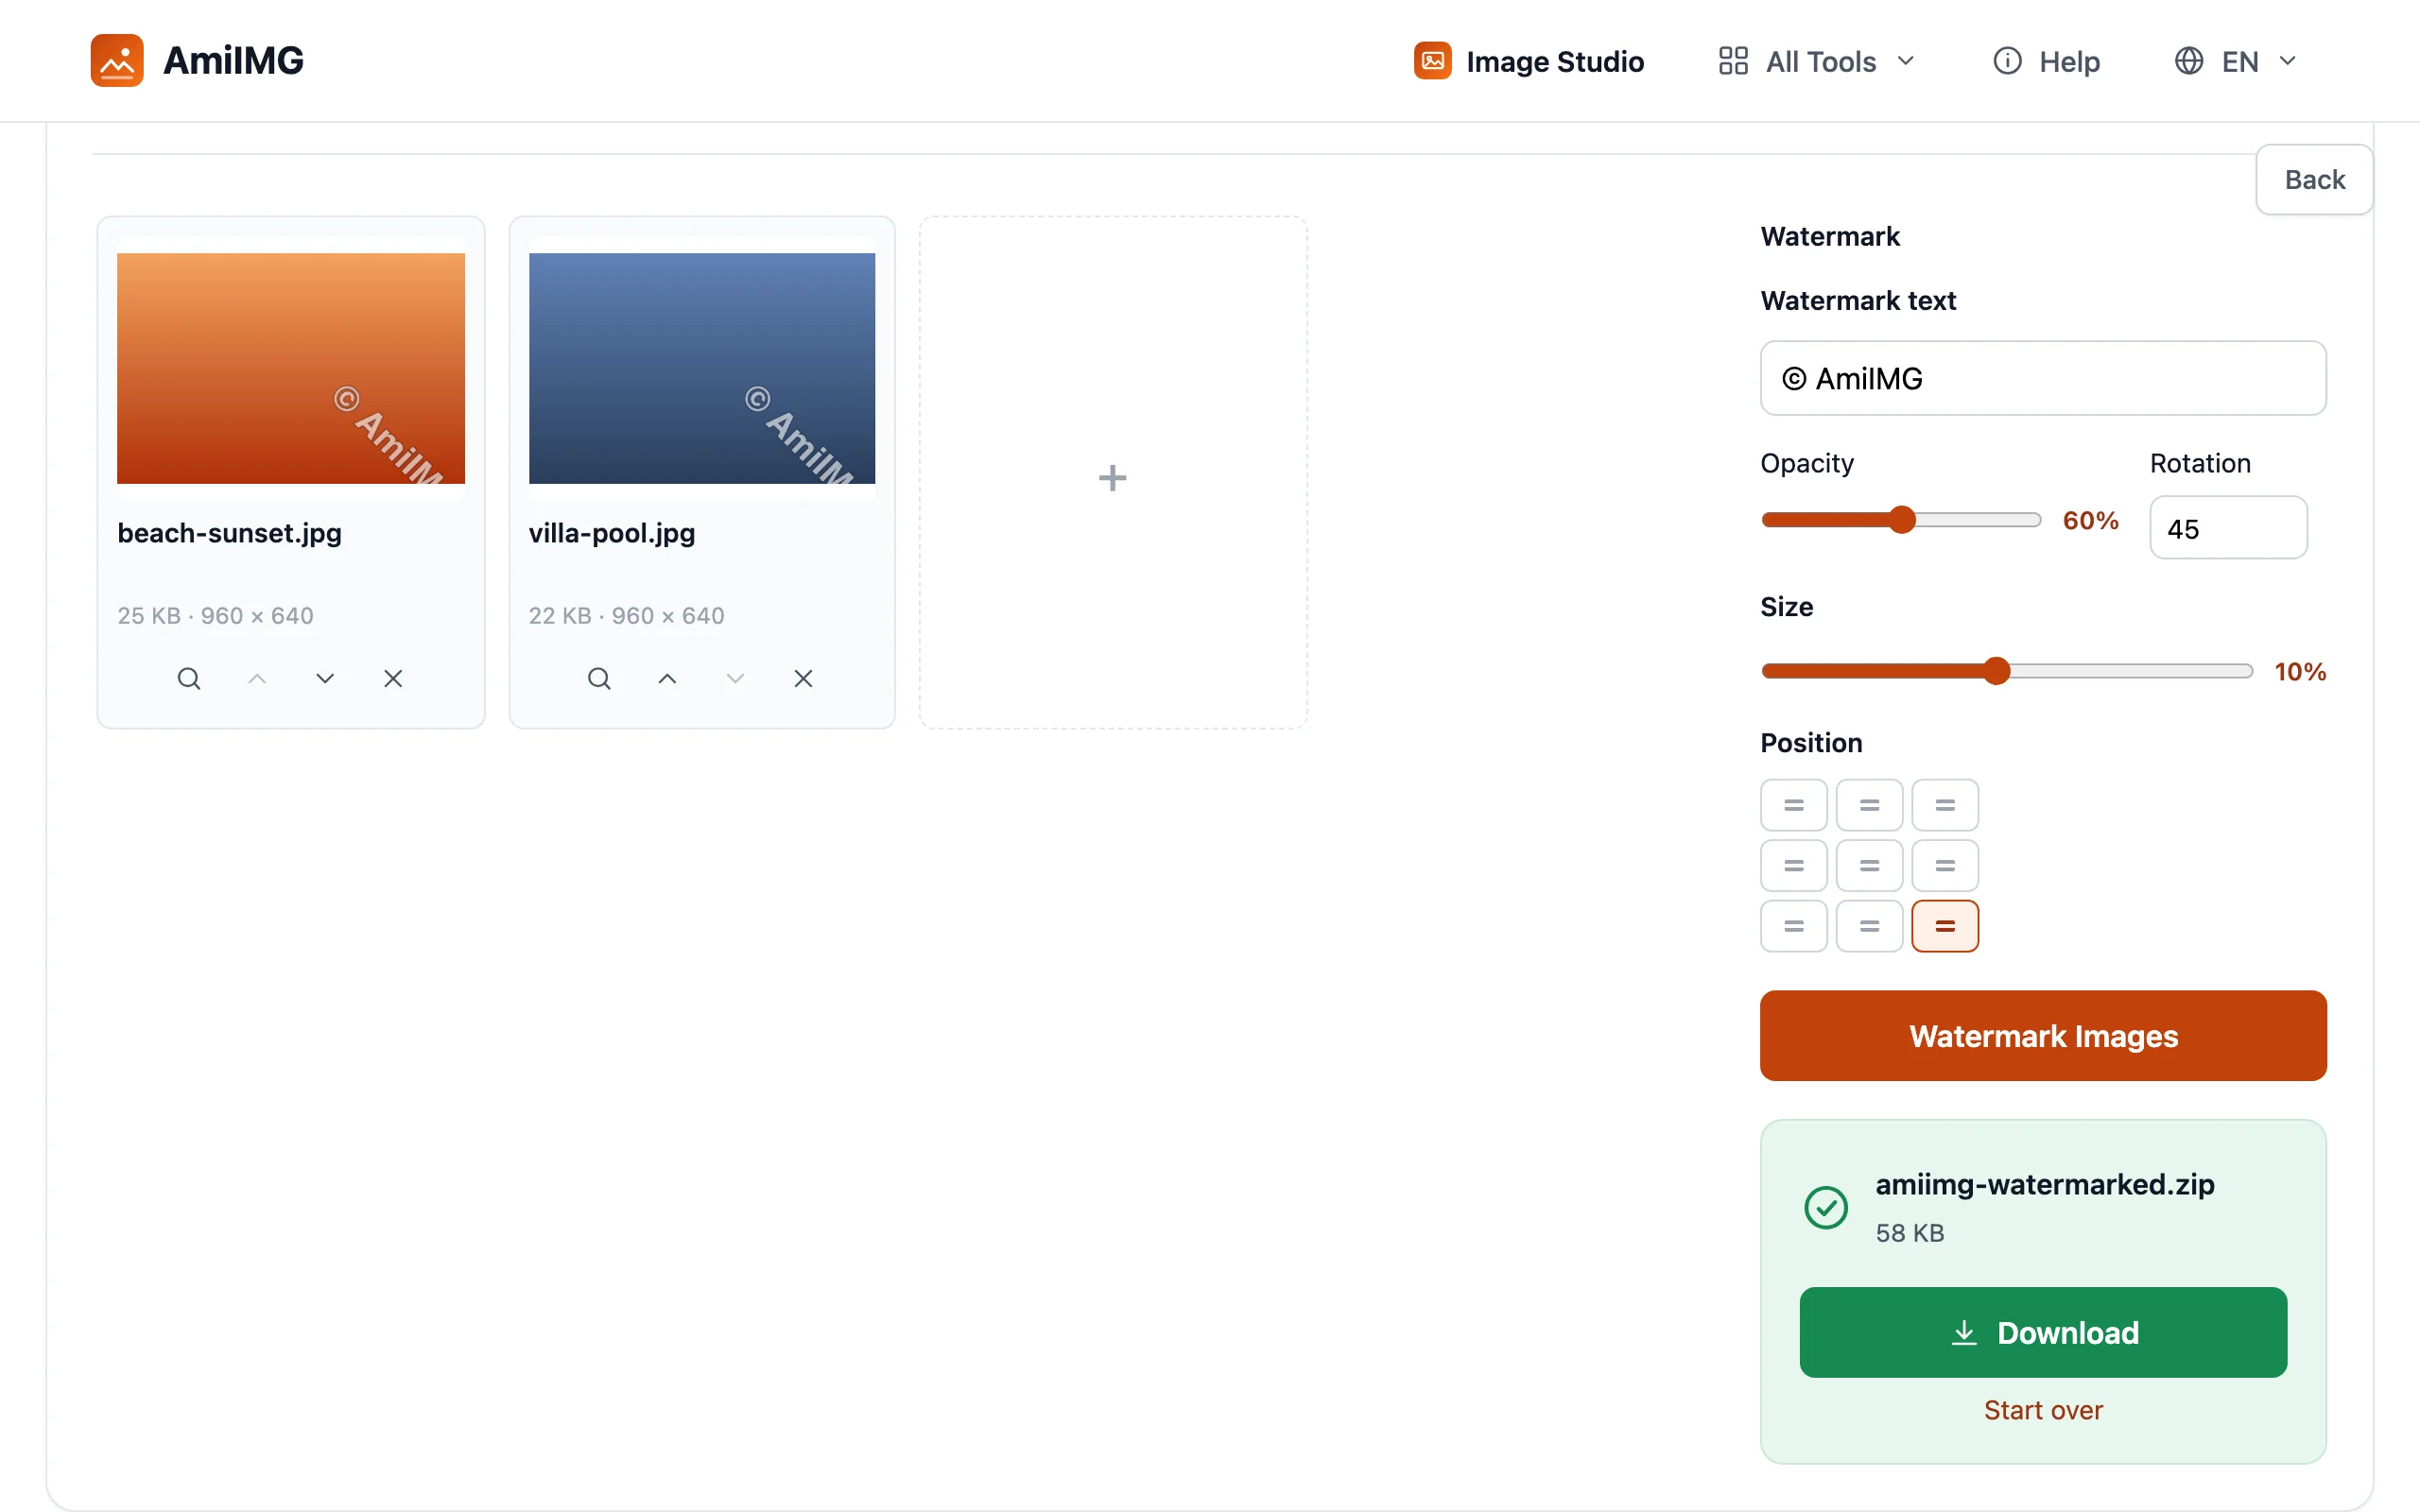
Hit Watermark Images to stamp the full-resolution copies. Each photo is saved back in its original format — JPG stays JPG, PNG stays PNG — with names like beach-sunset.jpg preserved. A single file downloads directly; a batch arrives as one ZIP.
Getting the best results
Subtle corner or bold center?
A centered, rotated watermark at moderate opacity discourages casual copying but covers the subject. A corner mark at 40–60% opacity keeps the photo presentable — the usual choice for portfolios and client previews. Nothing stops you from running important publish-ready files through twice with different settings.
Keep the mark consistent across a mixed batch
Because size is defined as a percentage of image width, one setting looks the same on a 6000-px original and an 800-px web copy. Set it once on the largest photo in the queue and the rest follow automatically.
What a watermark can and cannot do
A visible watermark deters casual reuse and identifies the creator at a glance, but a determined editor can still crop or retouch around it. For proof of ownership, keep your un-watermarked originals — the watermark is the label, not the lock.
Frequently asked questions
Is the watermark tool free?
Yes — free, no signup, no daily cap. Batch up to 50 images per run, each up to 30 MB.
Are my photos uploaded anywhere?
No. The watermark is drawn locally in your browser; images are never sent to a server.
Can I watermark different images with different text?
Not in one run — the text and style apply to the whole queue. Give each set its own run; the preview shows exactly what every file will get.
Does the output keep the original format and quality?
Each photo is re-encoded in its original format (JPG, PNG, WebP…) at the same resolution, with the watermark drawn at full quality on top.