How to Blur Part of an Image
Blur or pixelate part of an image — drag a box over faces, license plates, or sensitive details, pick a strength, export. Single image, runs in your browser.
Blur your image nowThe photo is worth sharing; parts of it are not. A stranger's face in the background, a license plate on a parked car, an account number on the document you're photographing for a support ticket. Deleting the photo wastes the good parts — the fix is to obscure the bad ones and leave everything else untouched.
Selective blurring touches only the pixels you frame: draw a box, and inside it the detail dissolves while the rest of the image keeps its original sharpness. AmiIMG's blur tool does it in two moves — a box over the area, a strength level — with the mosaic rendering live before you export. One image per session, nothing uploaded.
Blurring part of an image, step by step
Drop in the photo
The AmiIMG blur tool takes one image at a time: JPG, PNG, WebP, GIF, or BMP, read straight off your device.
Box the area to hide
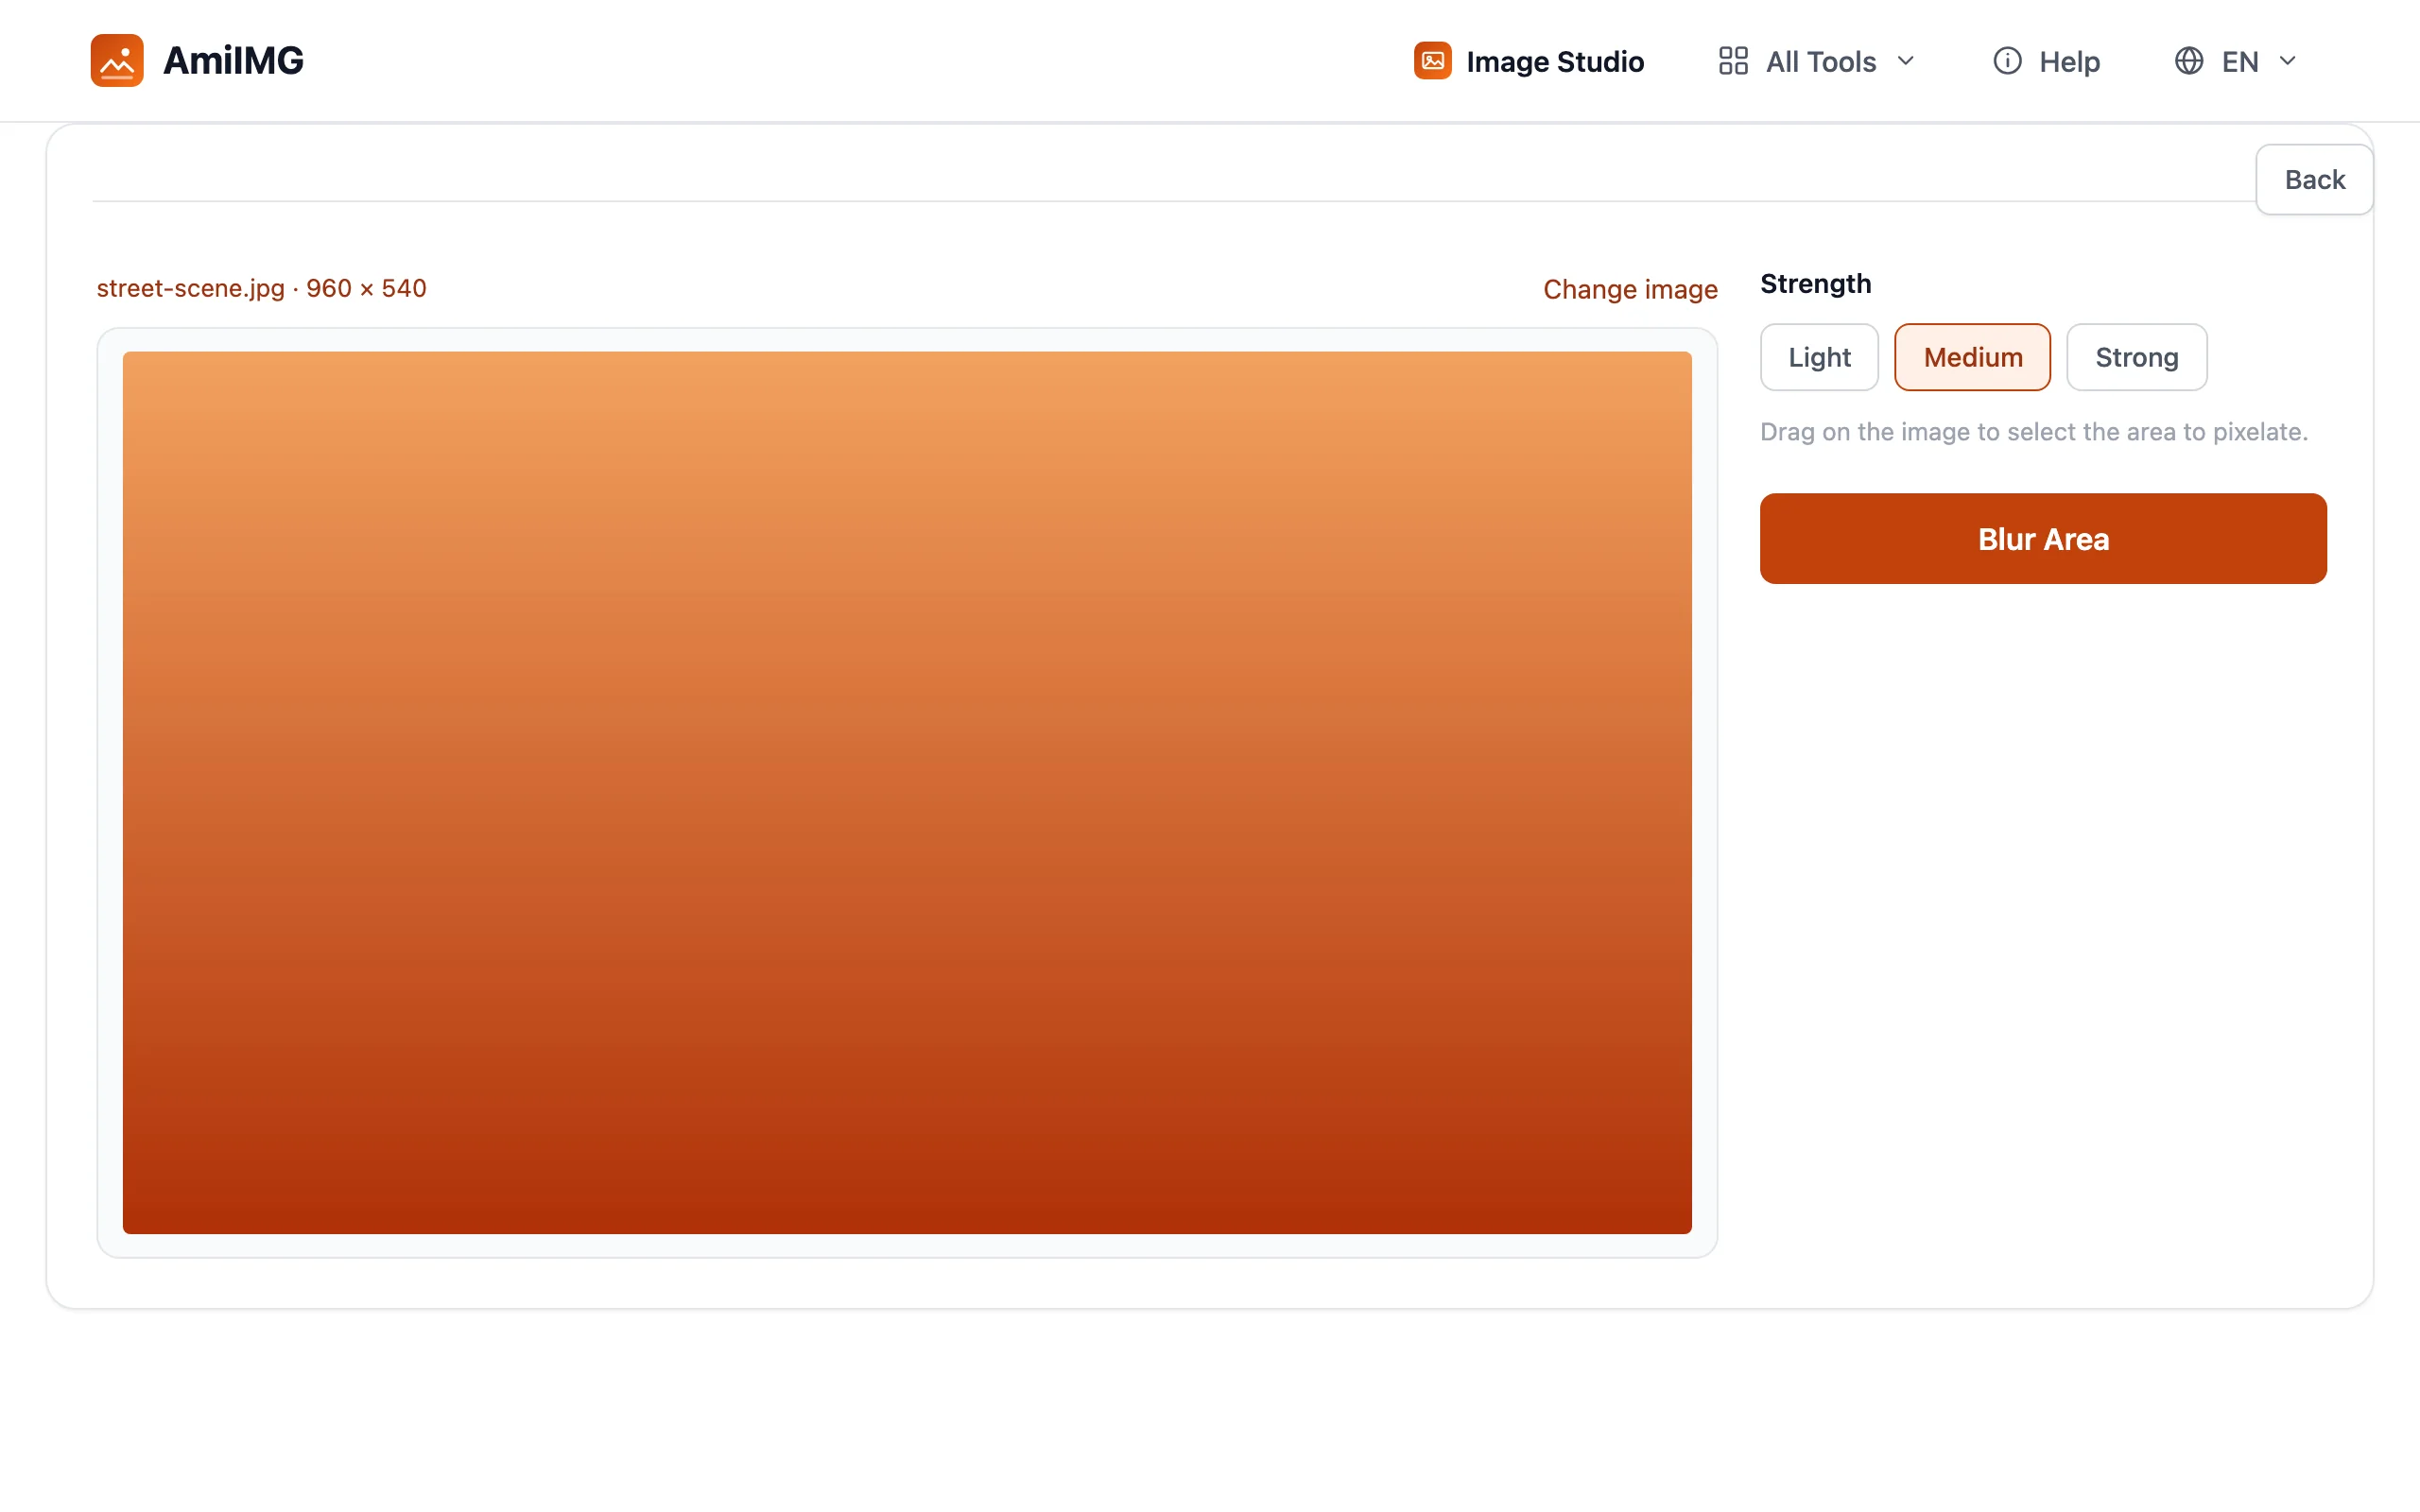
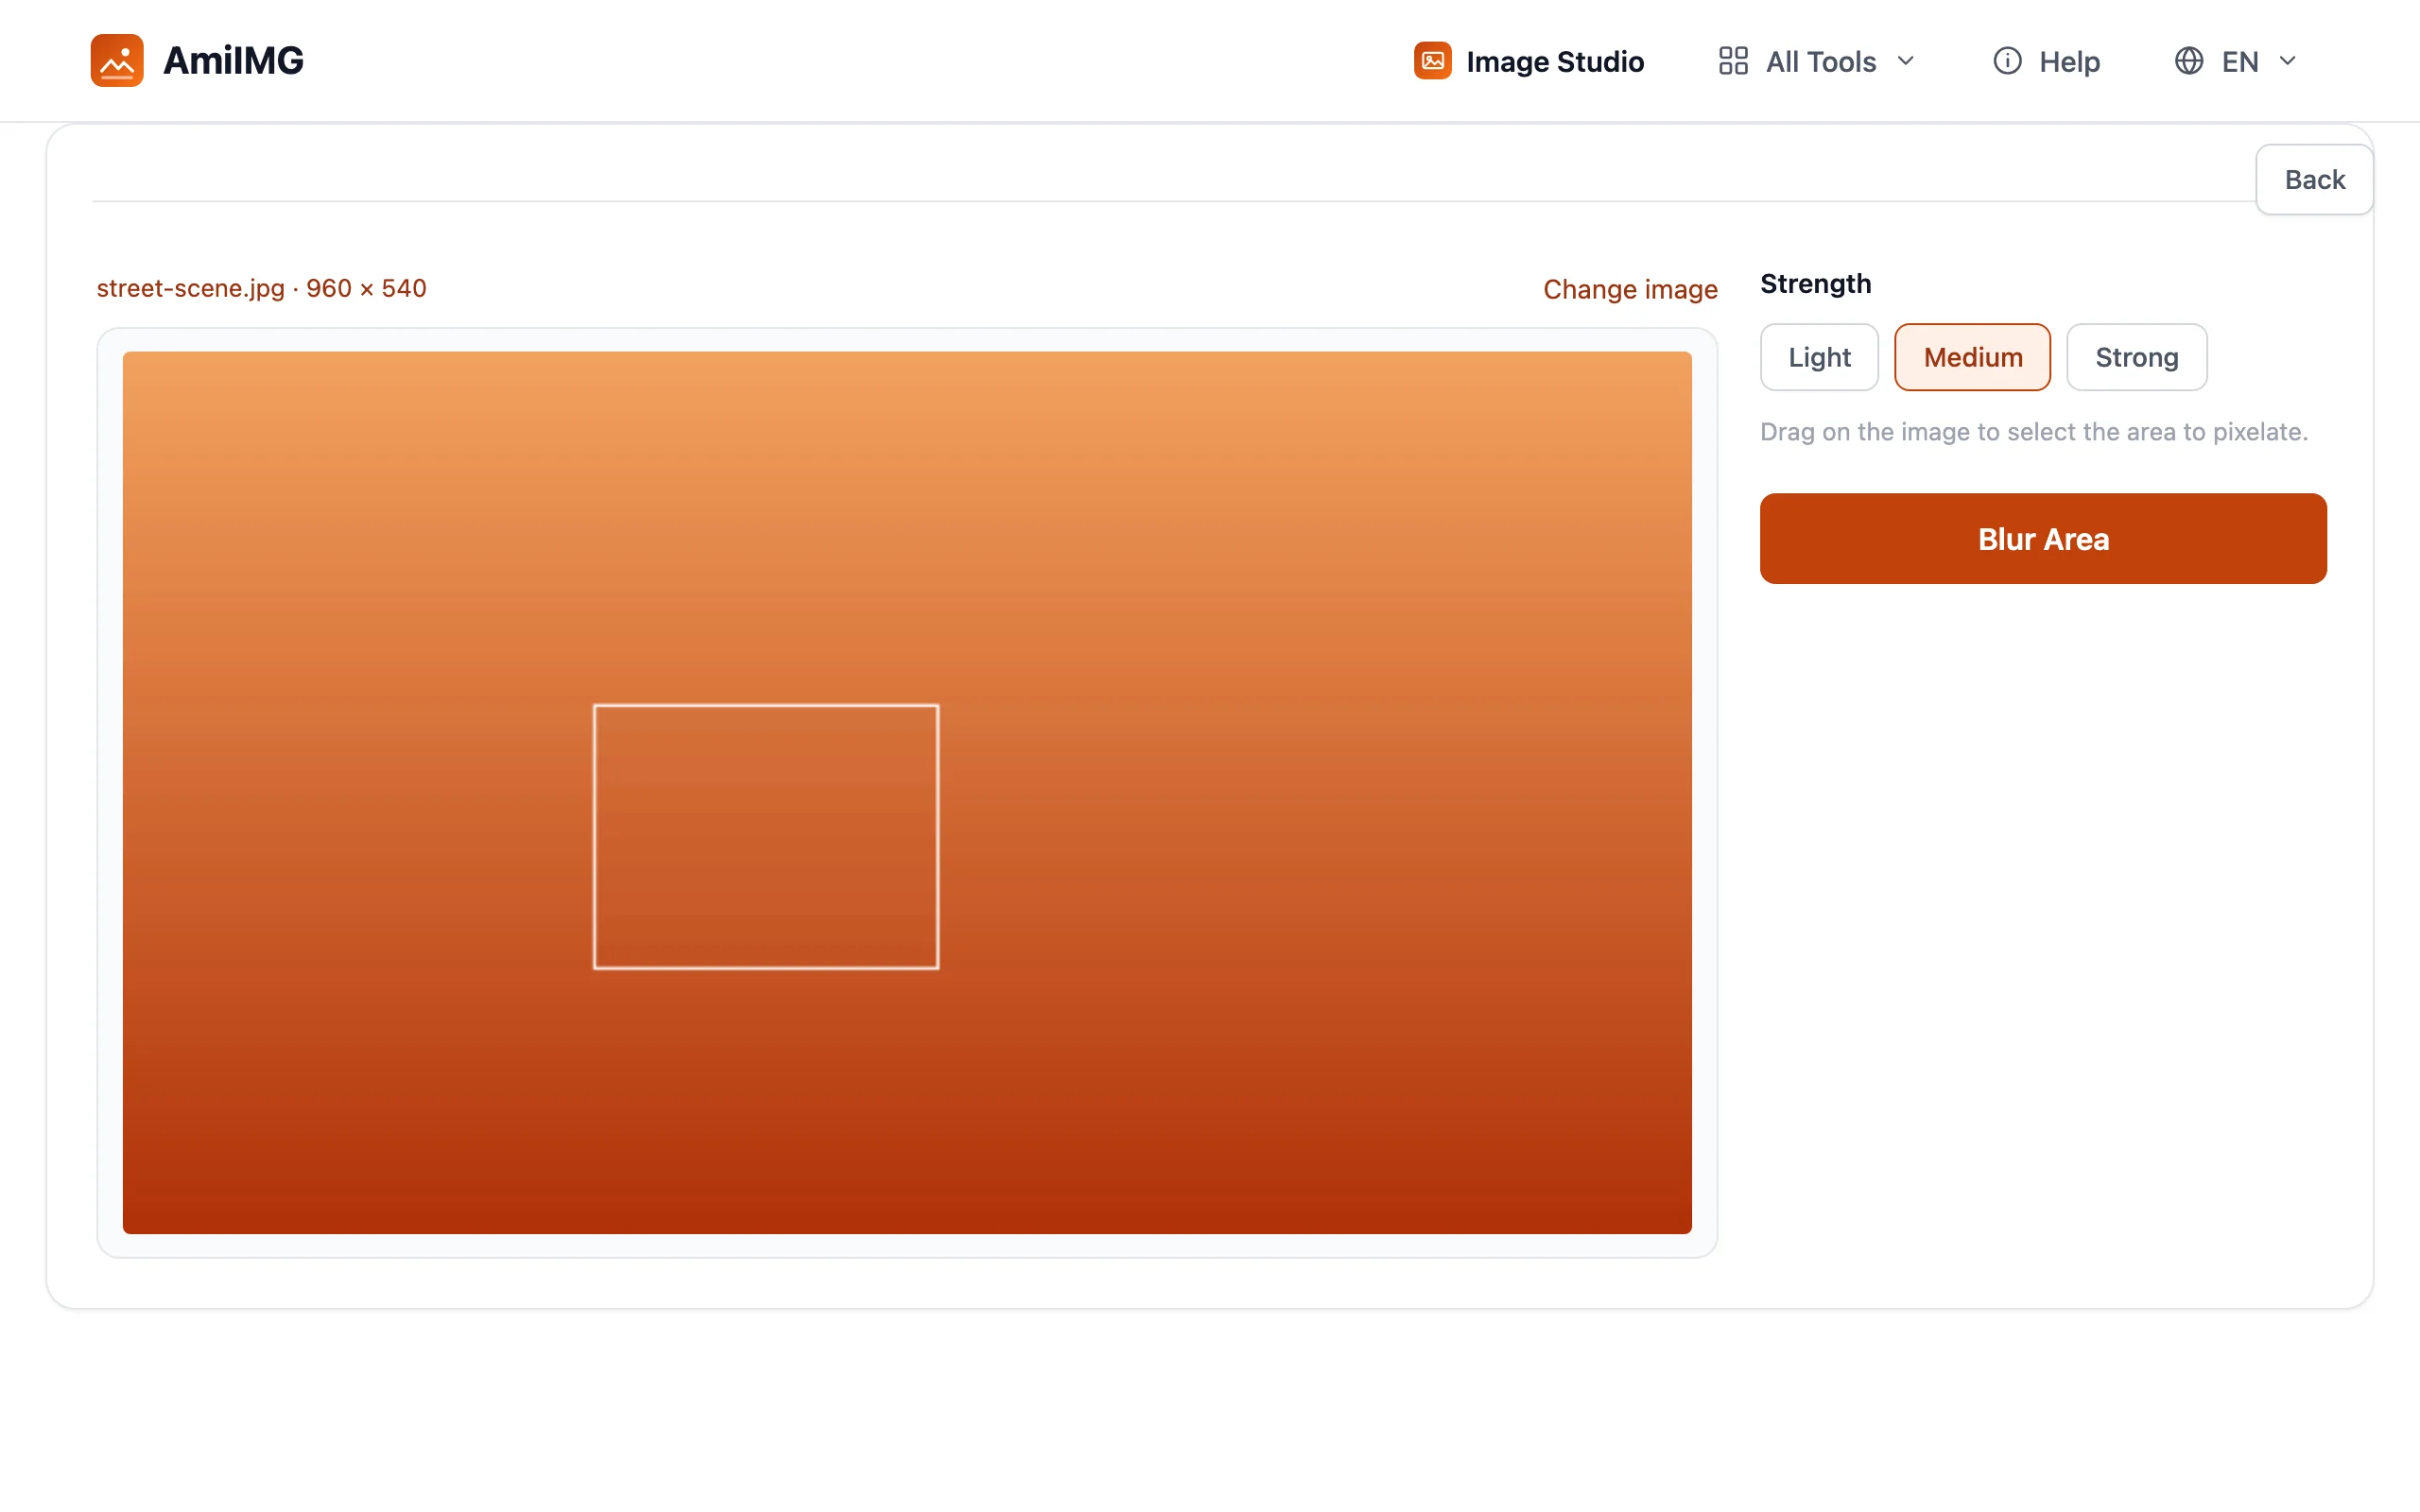
Drag on the image to draw the selection. Whatever sits inside the frame is what gets obscured — a face, a plate, a line of text — and the frame clamps to the image so the rest stays exact.
Pick the strength
Three block sizes, fine to coarse — the mosaic renders live as you choose. Fine blocks keep a hint of the underlying shapes; coarse ones destroy structure outright, which is what sensitive details call for.
Blur and download
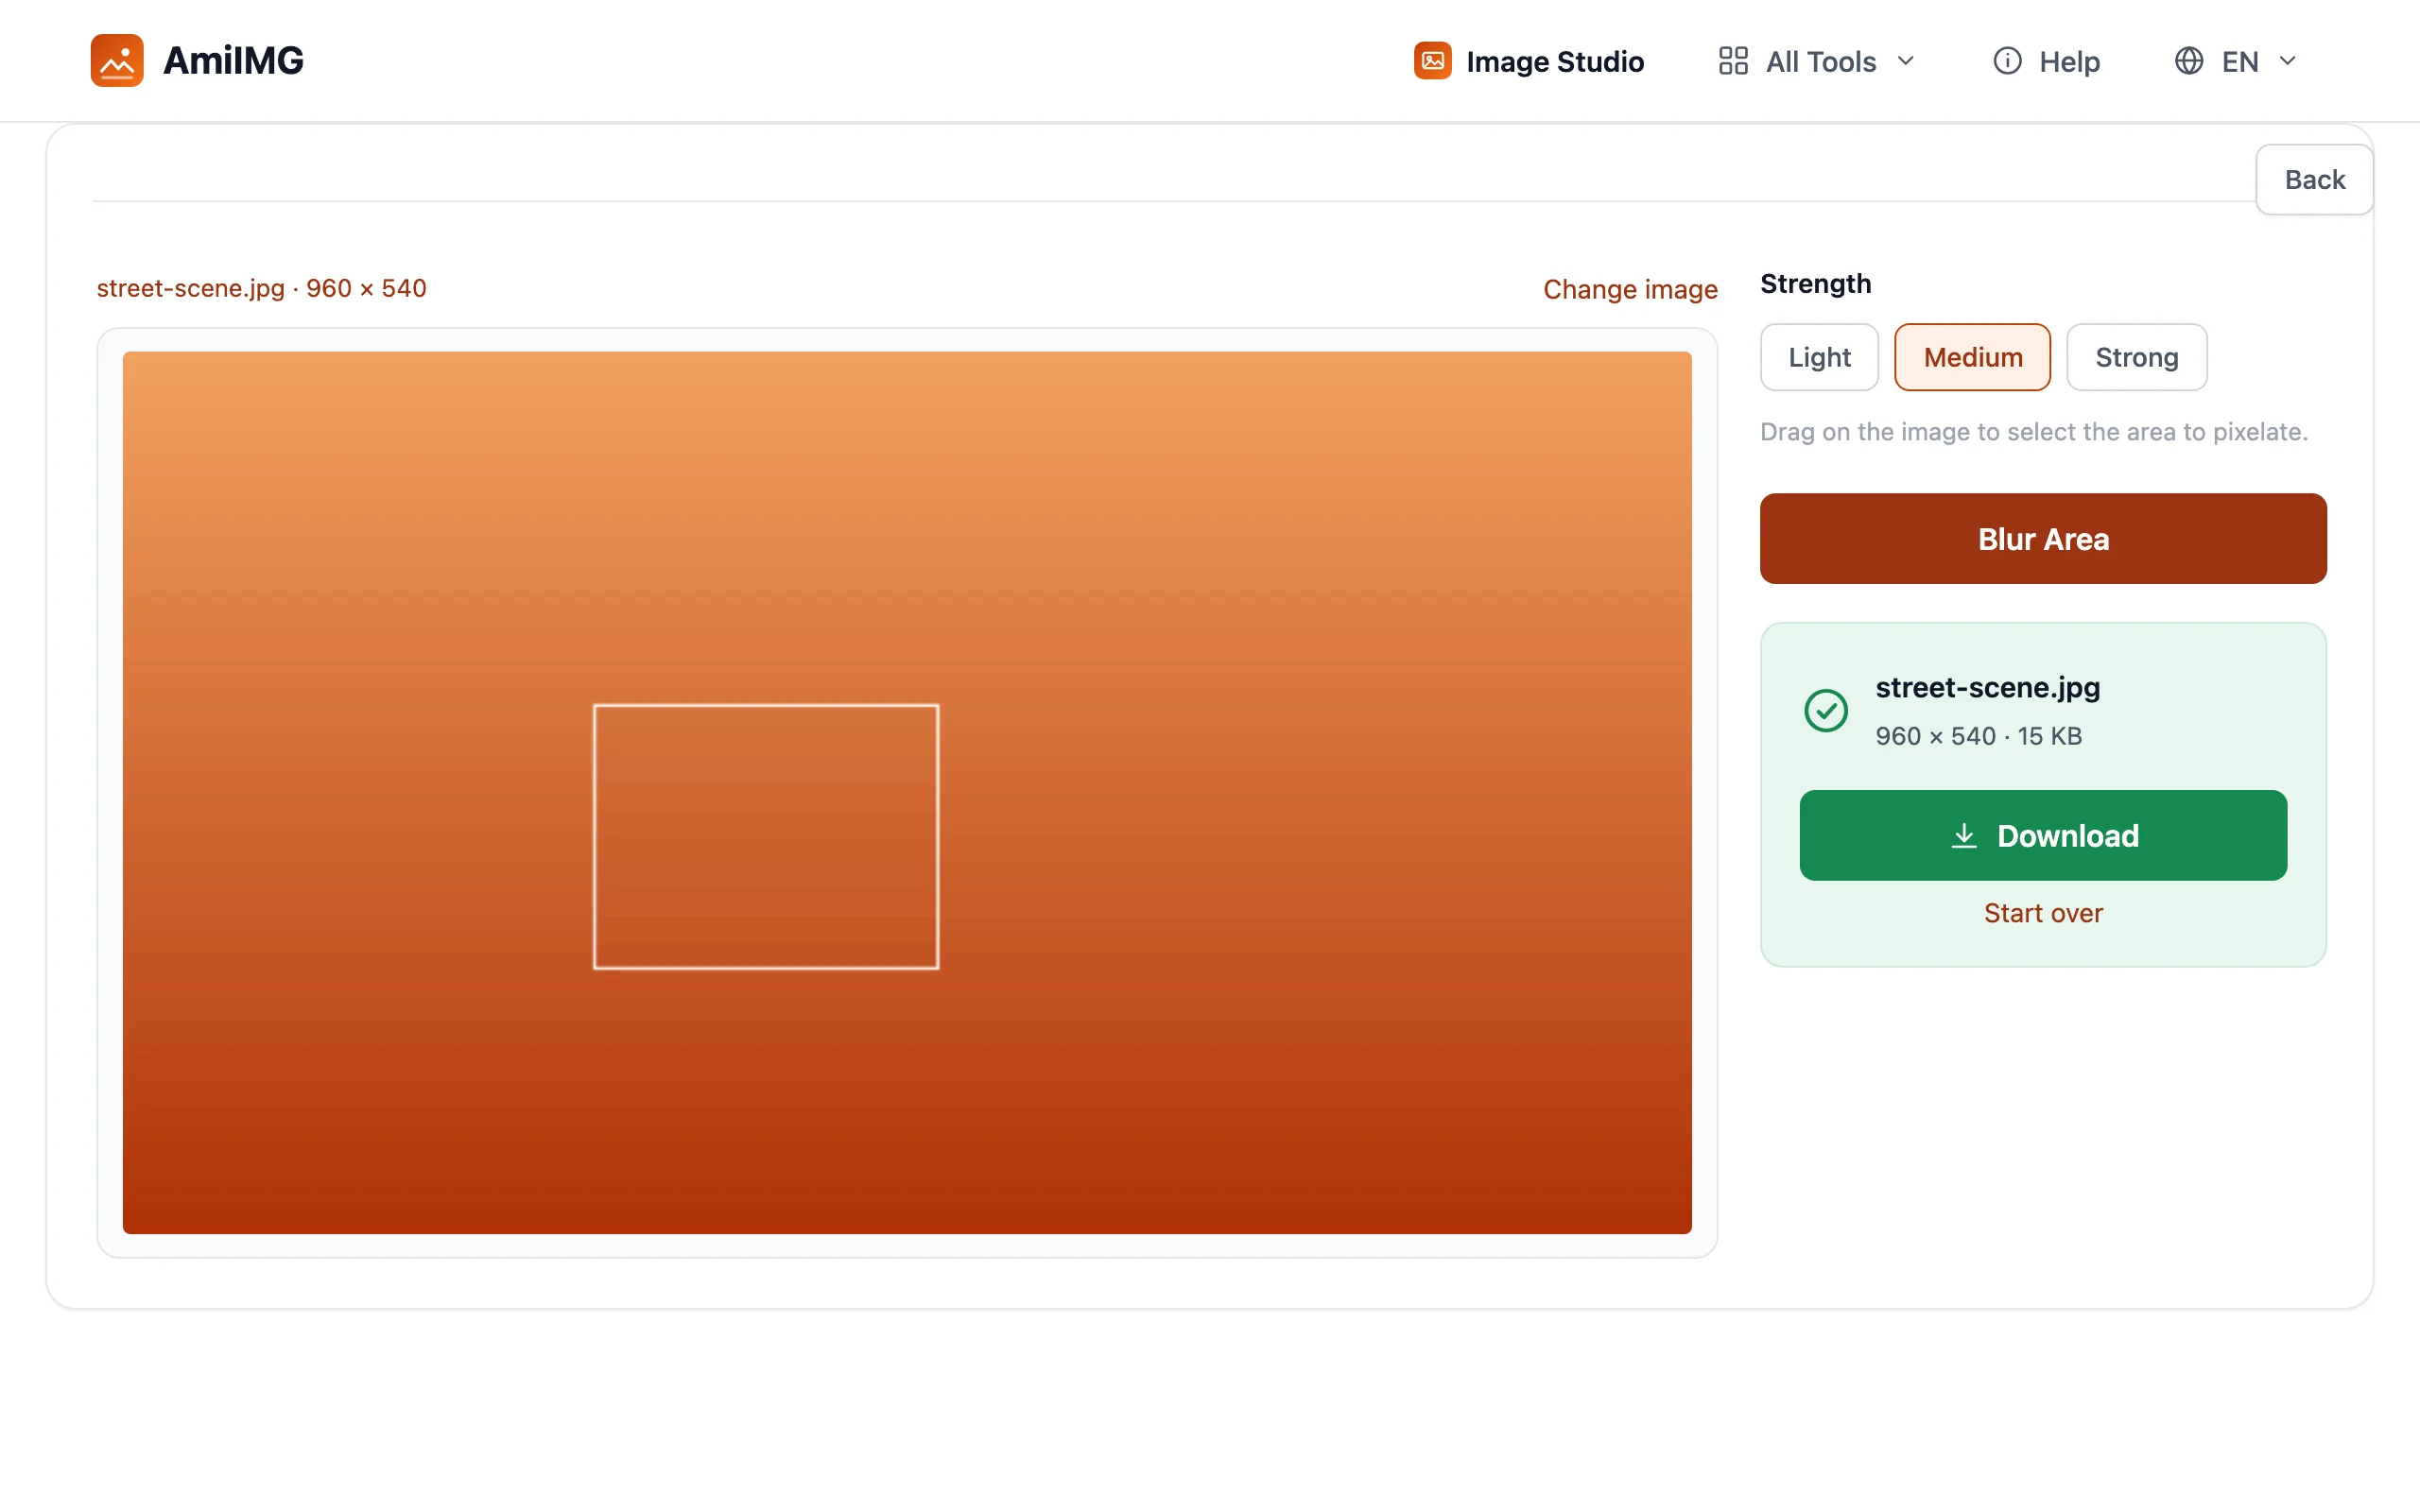
Hit Blur Area. JPG, PNG, and WebP keep their input format; GIF and BMP sources export as PNG.
Redacting without overdoing it
Pixelation beats a gentle blur for hiding things
This tool pixelates: it swaps detail for coarse blocks rather than smearing pixels together. That's deliberate — a light blur can leave shapes recoverable, while blocks destroy structure outright. For text, license plates, and faces, coarse blocks are the safer redaction.
One box per export
The tool obscures a single selected region per pass. Multiple sensitive spots means multiple rounds: export, drop the result back in, box the next area. Two or three rounds beat one screenshot with a finger over it.
What's exported is final
Obscured pixels are gone in the exported file — there is no un-blurring it later. Keep the original on your device if any future need for the clean version exists; what you send out should be considered sent.
Frequently asked questions
Does the blur affect the whole image?
No — only the region inside your box. Everything outside keeps its original pixels; the visible result there is unchanged.
Can a blur be undone?
Not from the exported file — the obscured detail simply isn't in it. The untouched original on your device is the only recovery path, which is why keeping it matters.
Which formats can I export?
JPG, PNG, and WebP keep their input format; GIF and BMP sources export as PNG.
Does blurring recompress the rest of the photo?
Like any export, the file is written out once at high quality — but the pixels outside your box are visually identical to the original.
When should I blur instead of cropping?
Blur when the surrounding context matters — the scene is the point, the detail is the problem. Crop when the sensitive part sits at an edge and the composition survives losing it. See the cropping guide for the other direction.